BAKING BREAD IN WOOD FIRED OVEN
* * * * * * * * * * * * * * * * * * * * * * * * * * * * *
* * * * * * * * * * * * * * * * * * * * * * * * * * * * *
Wood Fired Oven Bread
Baking Sourdough Bread in a Wood Fired Bread Oven: A Tutorial: How To Add in Dough Mix ins: Plus Making Butter Too: In a Mixer and On a Horse!

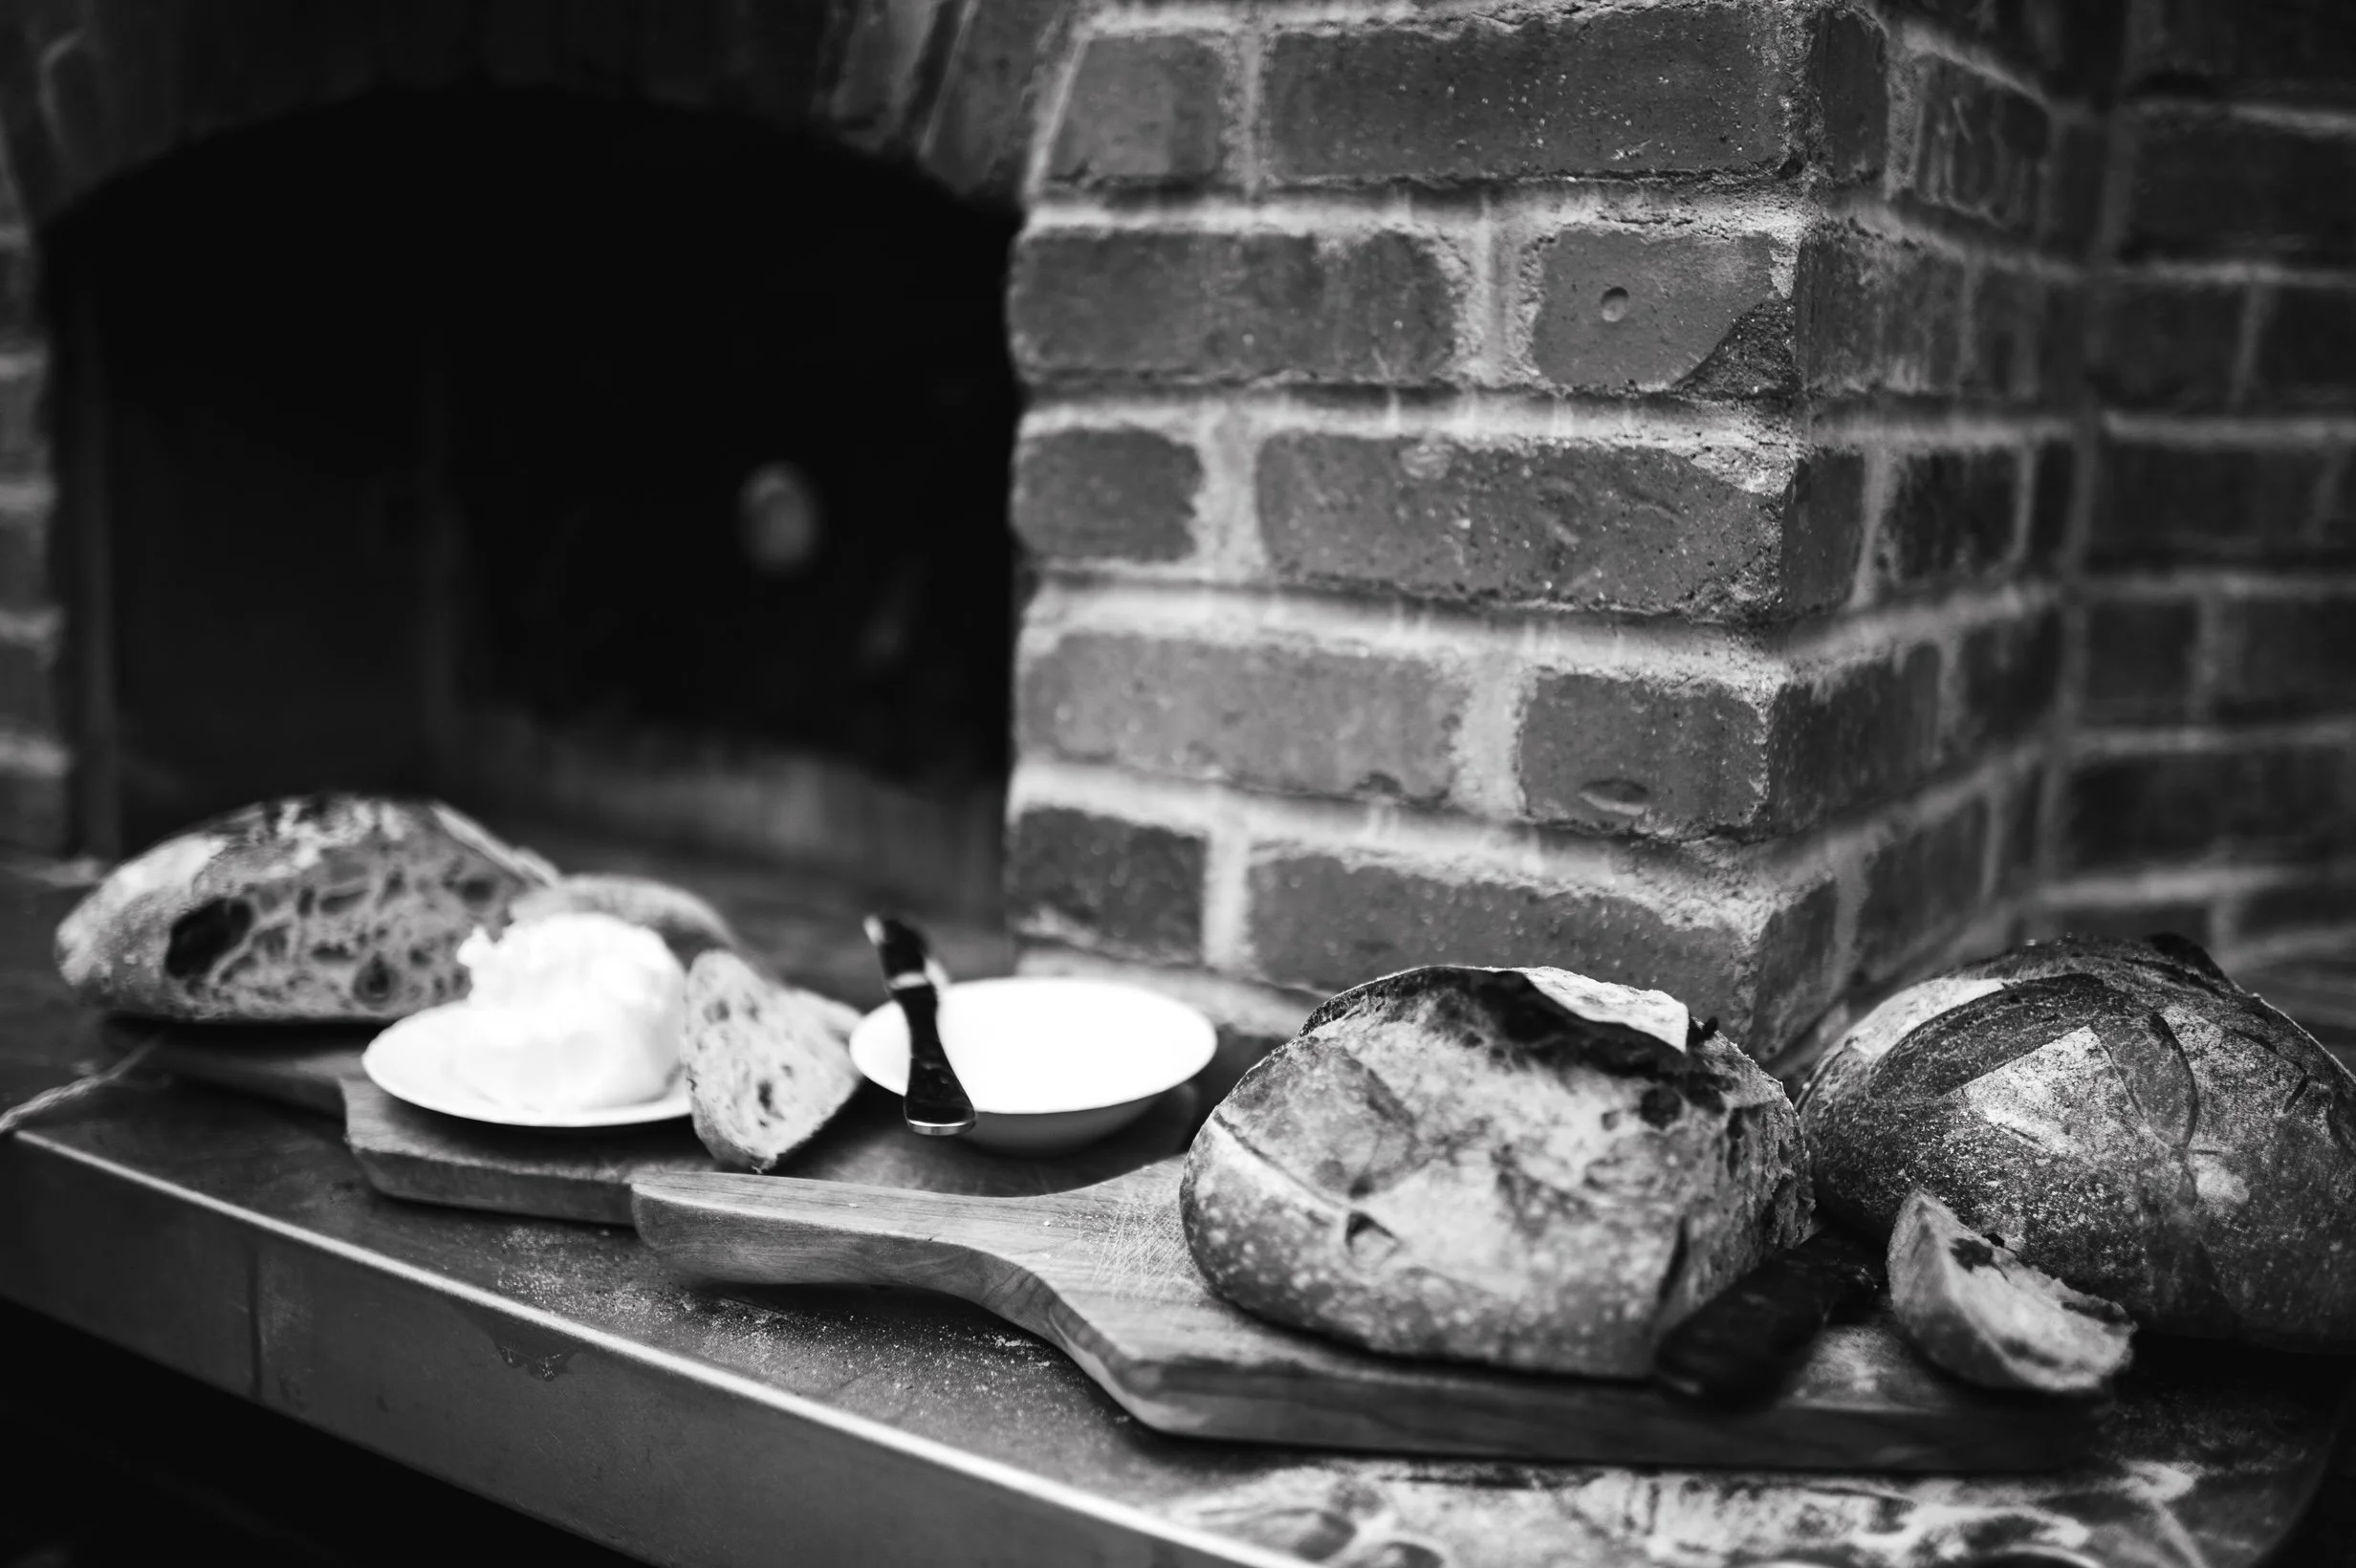
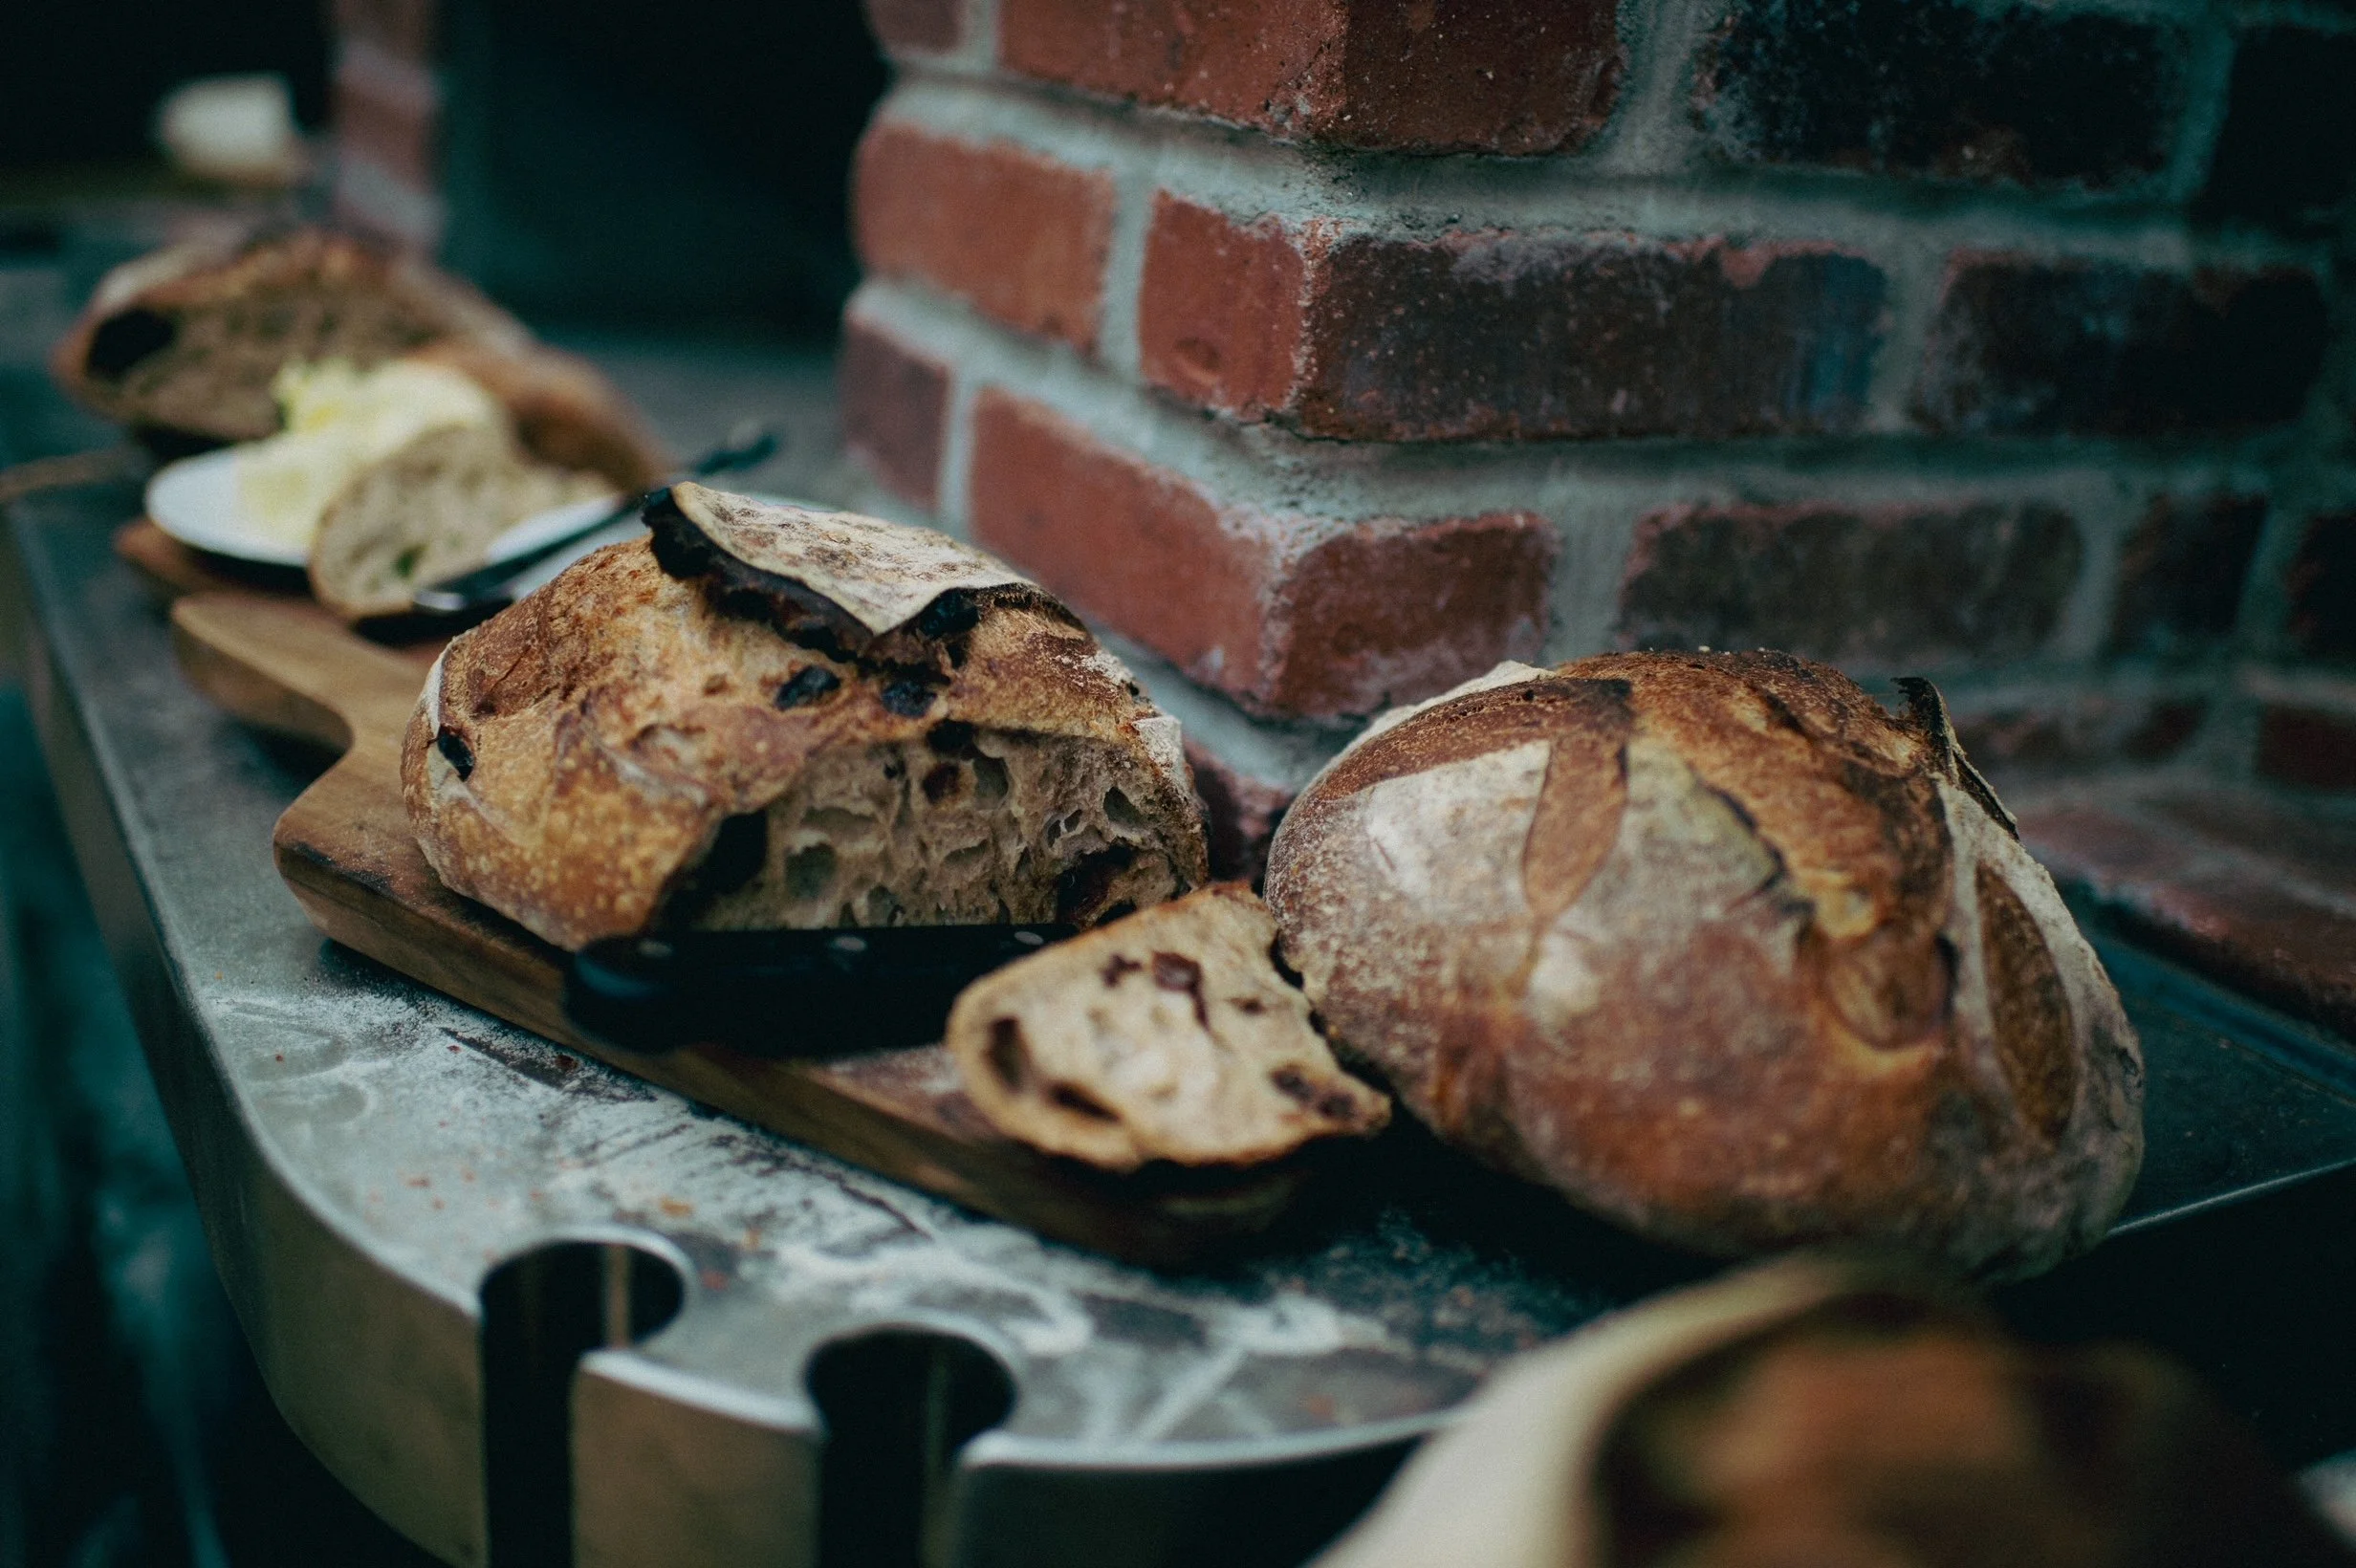


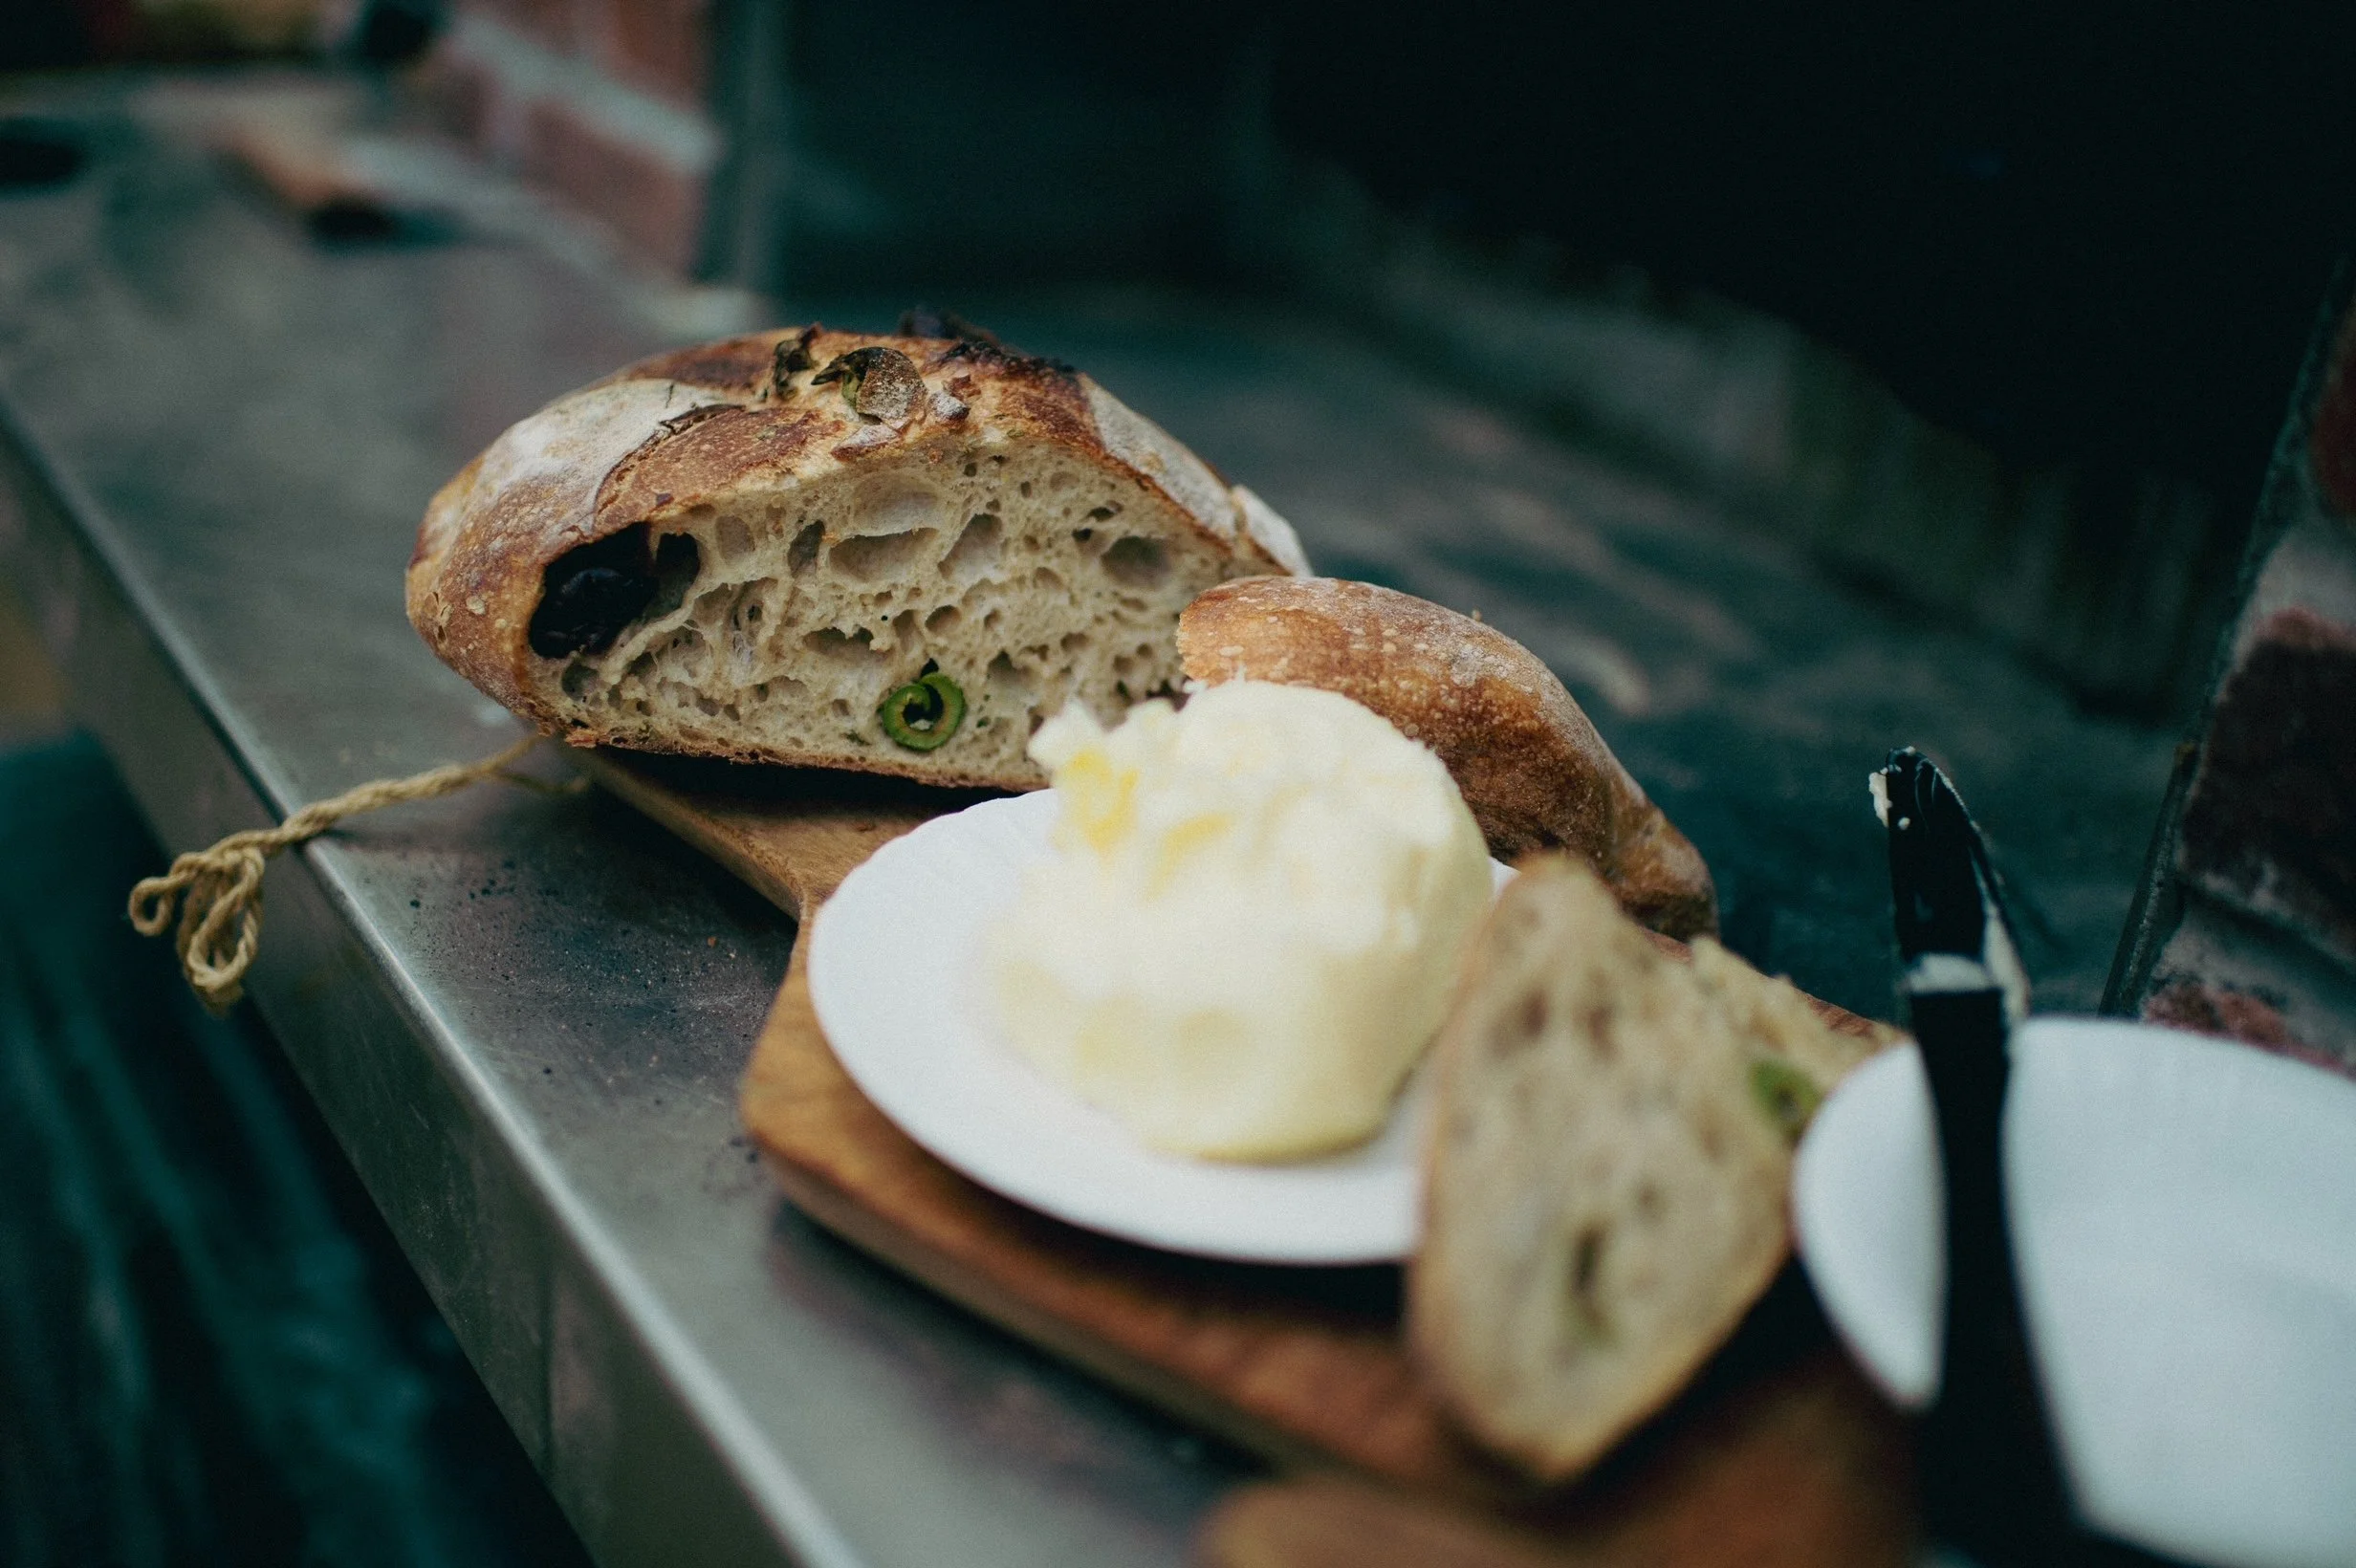
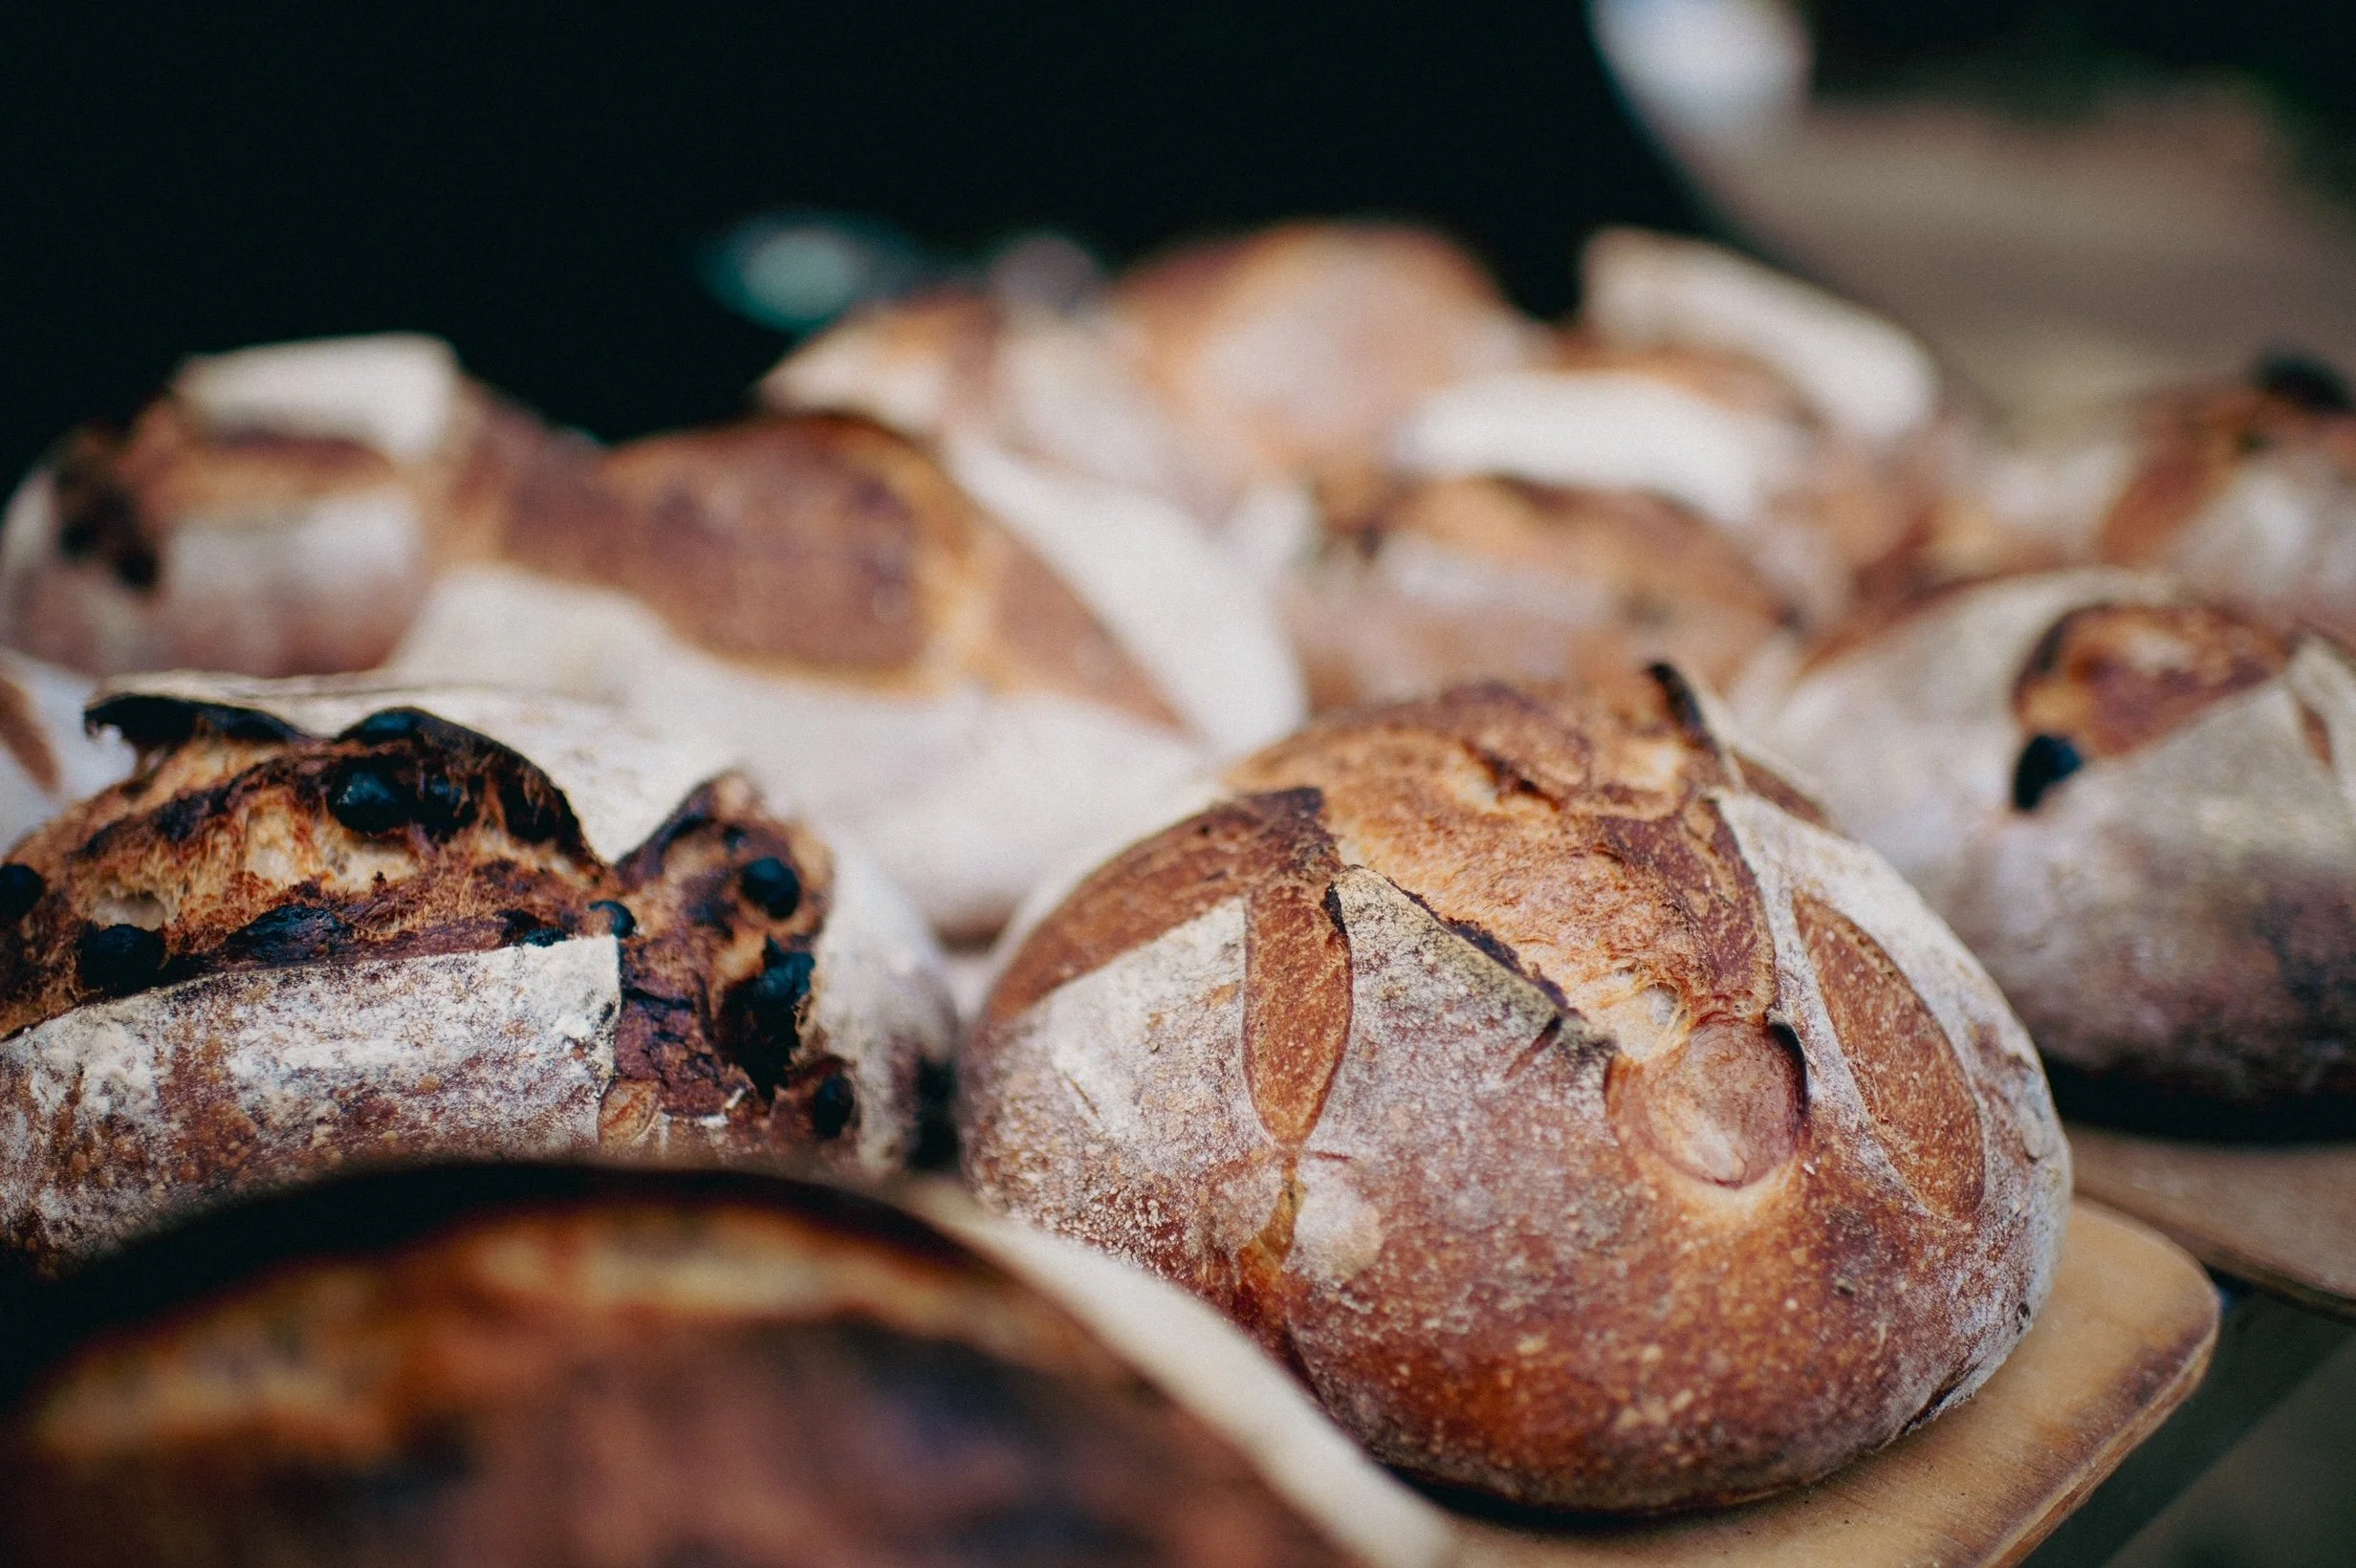
This month I wanted to explore with you the most basic and fundamental way of baking bread. From the sourdough starter, to the hand mix and long fermentation, to the final bake with fire, this process goes back centuries. To make it even more enchanting, I have added a tutorial on making your own butter. I can only say, that by the end of this project, you have one of the most beautifully perfect forms of food, a complete staple to any meal, a loaf of fresh bread with fresh butter. What more could you ever need.
Below is a run down and video tutorial on making bread from a wood fired oven. I will not be reiterating the sourdough bread formula and process on this page as it can be found in the Recipe Archives under A Sourdough Loaf. I will instead walk you through the additional steps of mix ins into your dough; in this specific tutorial we will focus on the Olive Loaf with Lemon Zest and Fresh Herbs and the Cinnamon Raisin Sourdough Boule. In the future we will jump into porridge loaves and sprouted grain breads, but for now just the most basic.
The oven tutorial is in a two part video, seperated into Day One and Day Two. It is a basic process that just takes some time. Sourdough bread is a two day process anyway, so adding in the firing of the oven on the day prior to baking makes perfect sense.
Finally, I have added a quick tutorial for making butter. The first is a quick handy kitchen method that yields fresh butter in roughly 10 minutes. The second was a fun experiment with making butter based on the historical discovery of butter. Sometimes things are simply for fun.
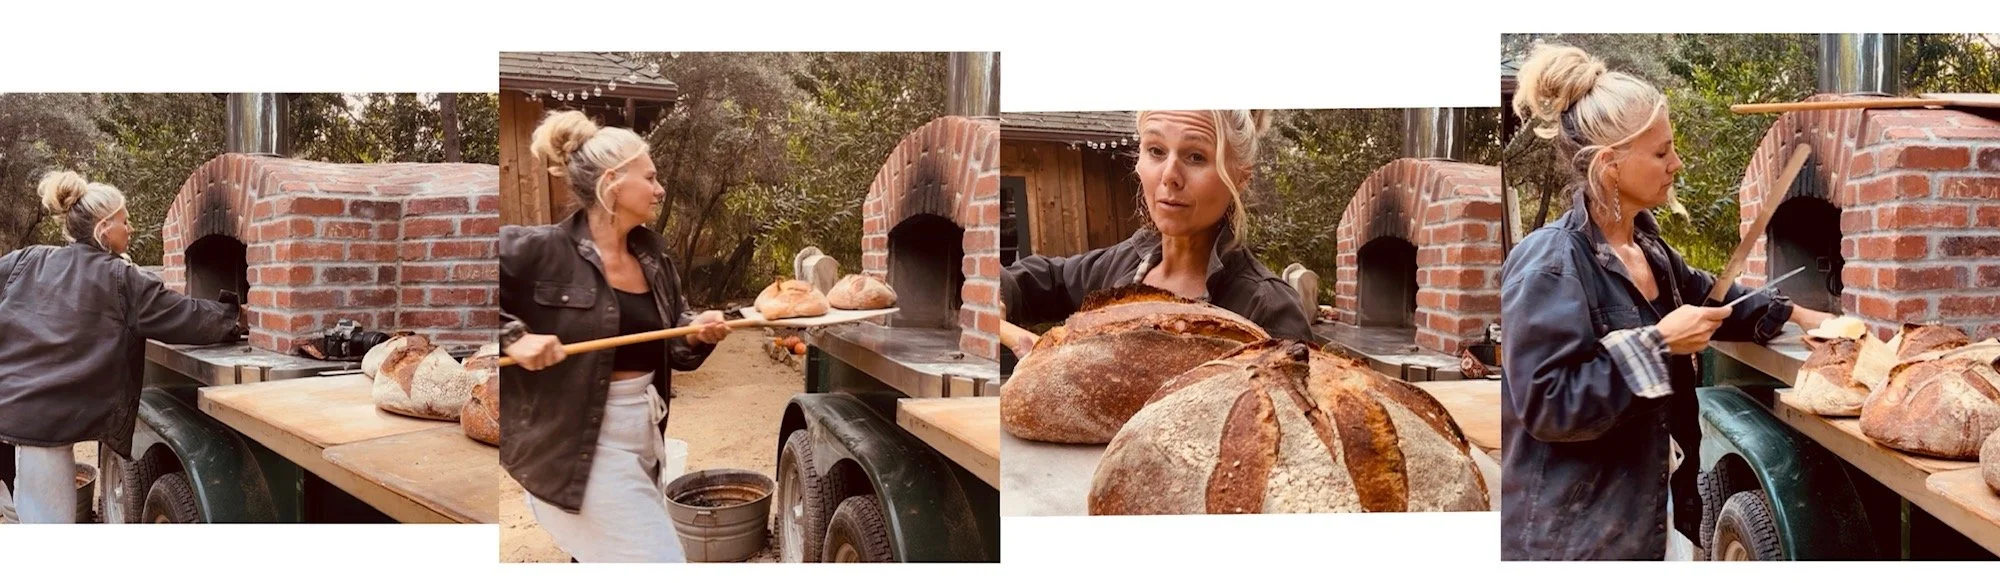
BREAD OVEN TUTORIAL FOR BAKING SOURDOUGH LOAVES
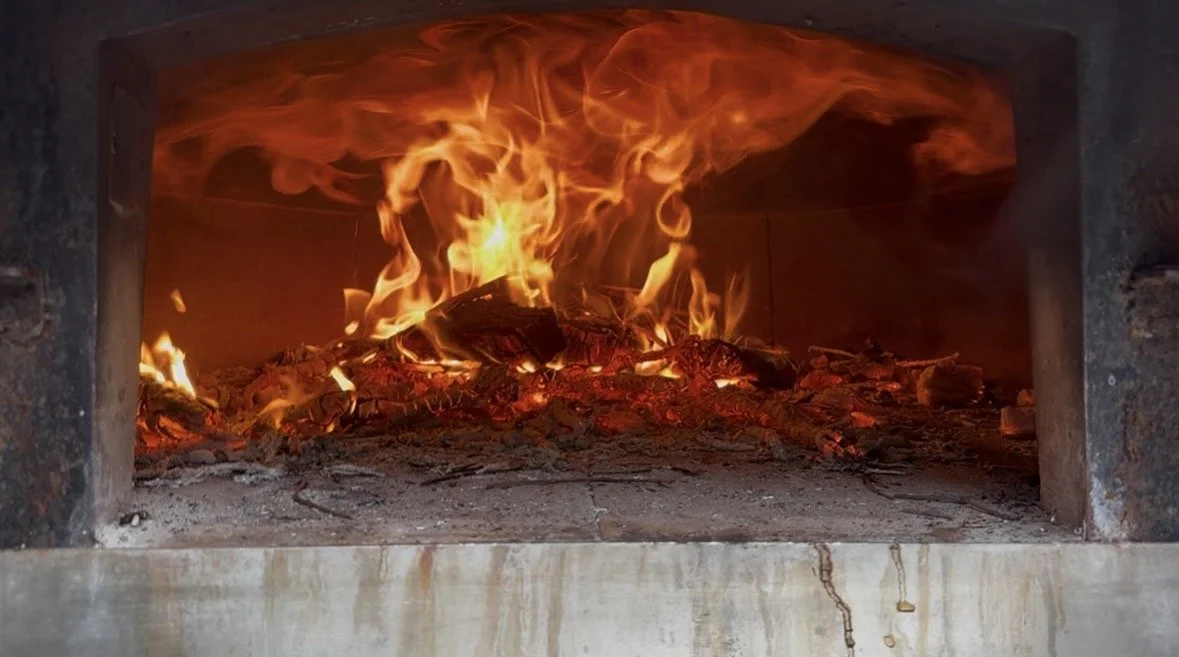
The goal is to build and retain a lot of heat over an extended period of time. We are not just looking for a hot deck. We want the deck, the walls and the dome hot. To do this we must burn.
To accumulate and retain this much heat we have to know what temperature we are ultimately aiming for and an average idea of what time we want to bake. For sourdough rustic loaves I am looking for a temperature of 500-550 degrees f. I am also looking for a morning bake, as the shaped sourdough loaves need a longer period of time to ferment and develop flavor ideally over a long slow ferment overnight.
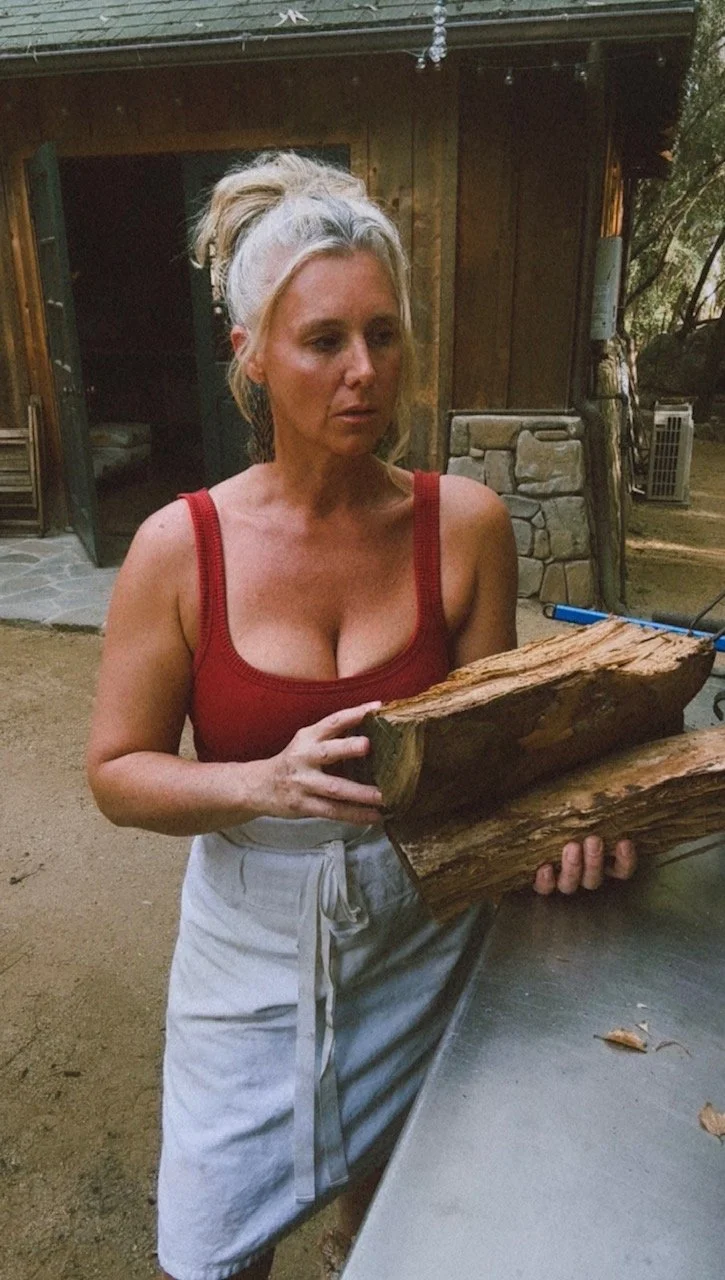
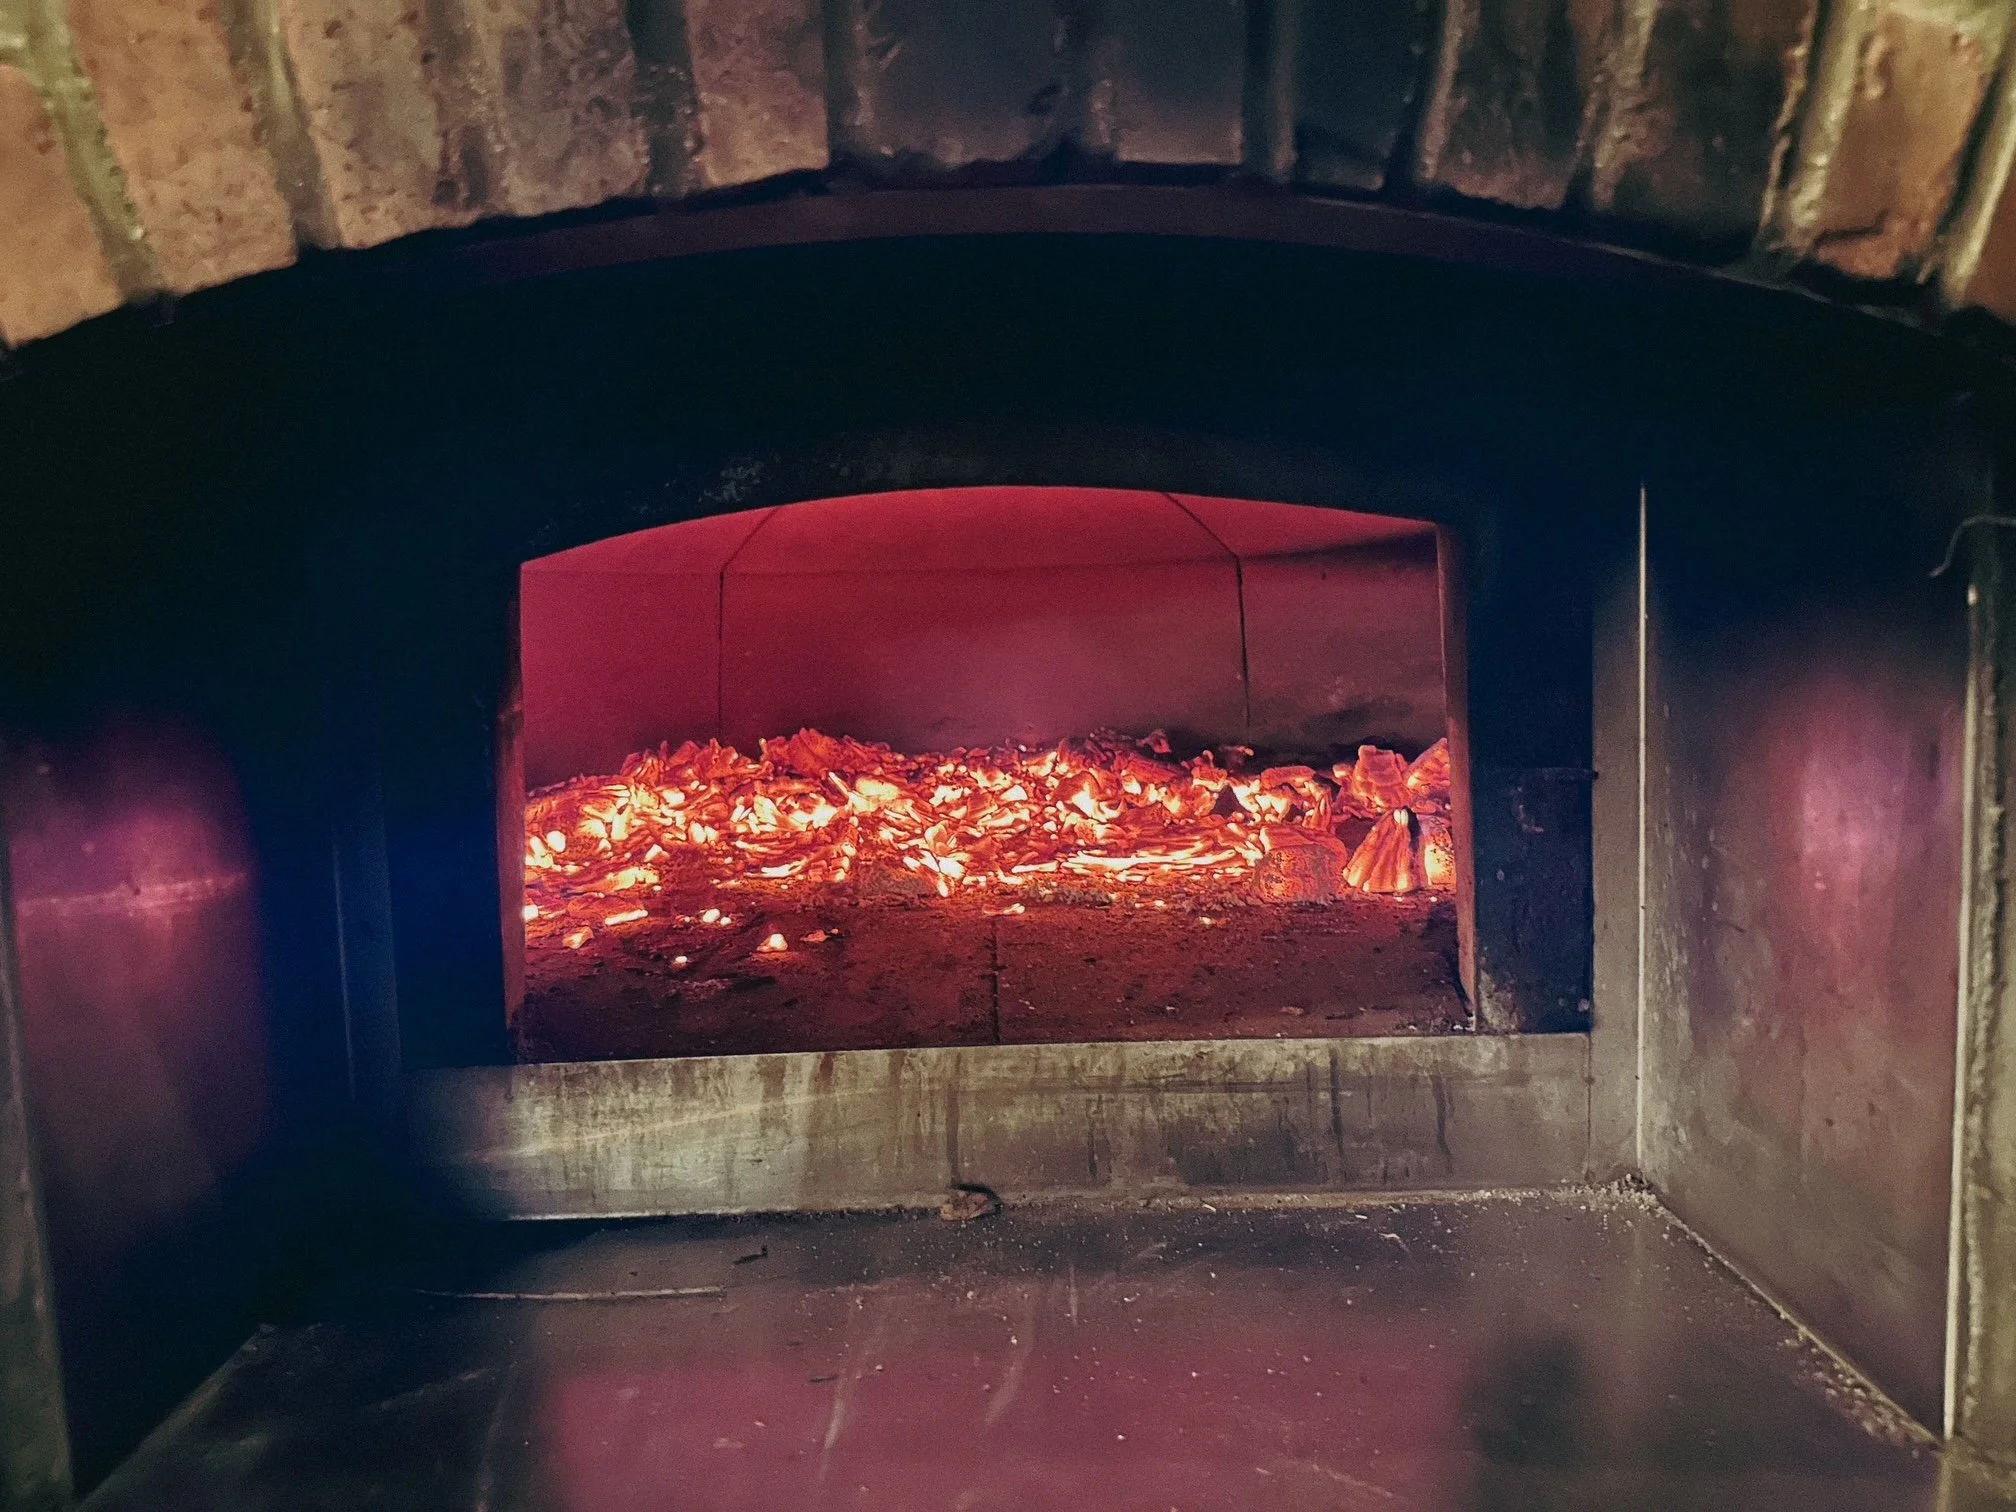
We will light the fire the day before the bake. I usually aim to have a fire going in the oven for roughy 6 hours before I burn the fuel down to coals and shut the oven for the night. I will light the fire about the same time I mix the dough. I will start the fire in the front of the oven so it has enough oxygen to catch and get a good burn started. As the logs burn down and I add more, I slowly move the fire the the middle of the oven.
Once the fire has run it’s course over the 6 or so hours, I break the embers and coals down and spread them across the deck of the oven to distribute the heat. Then I shut the oven doors for the night.

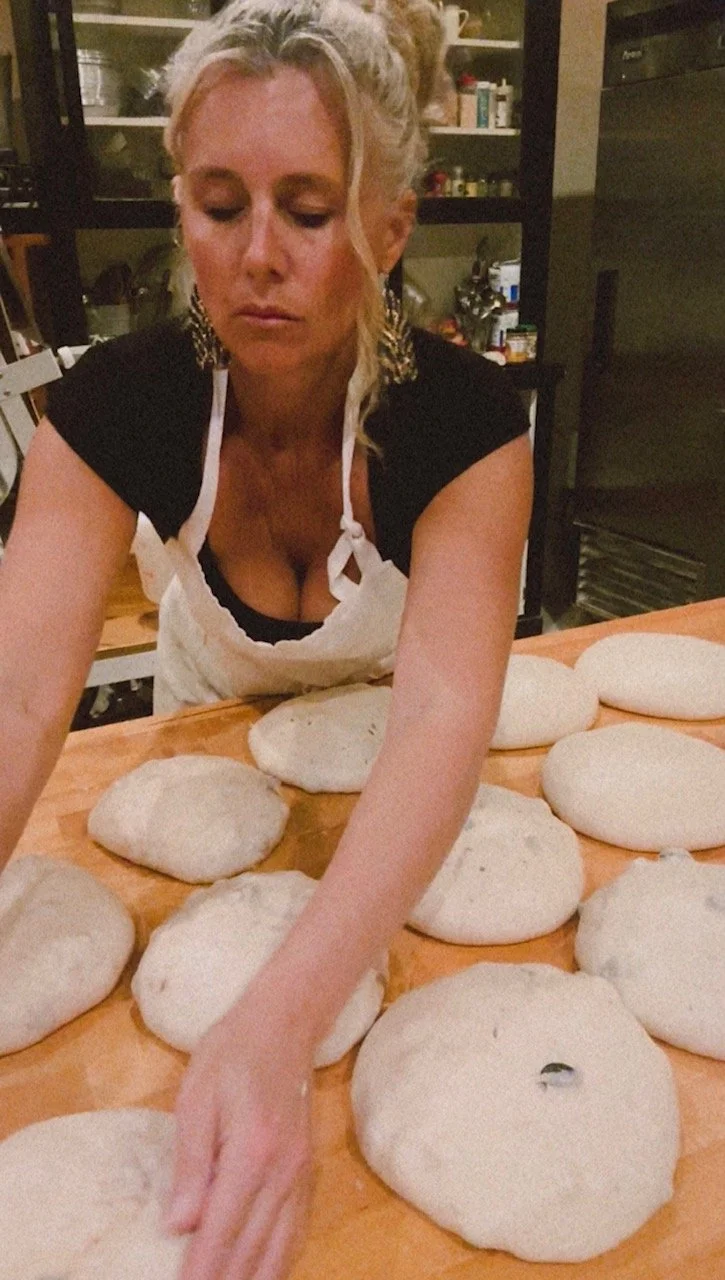
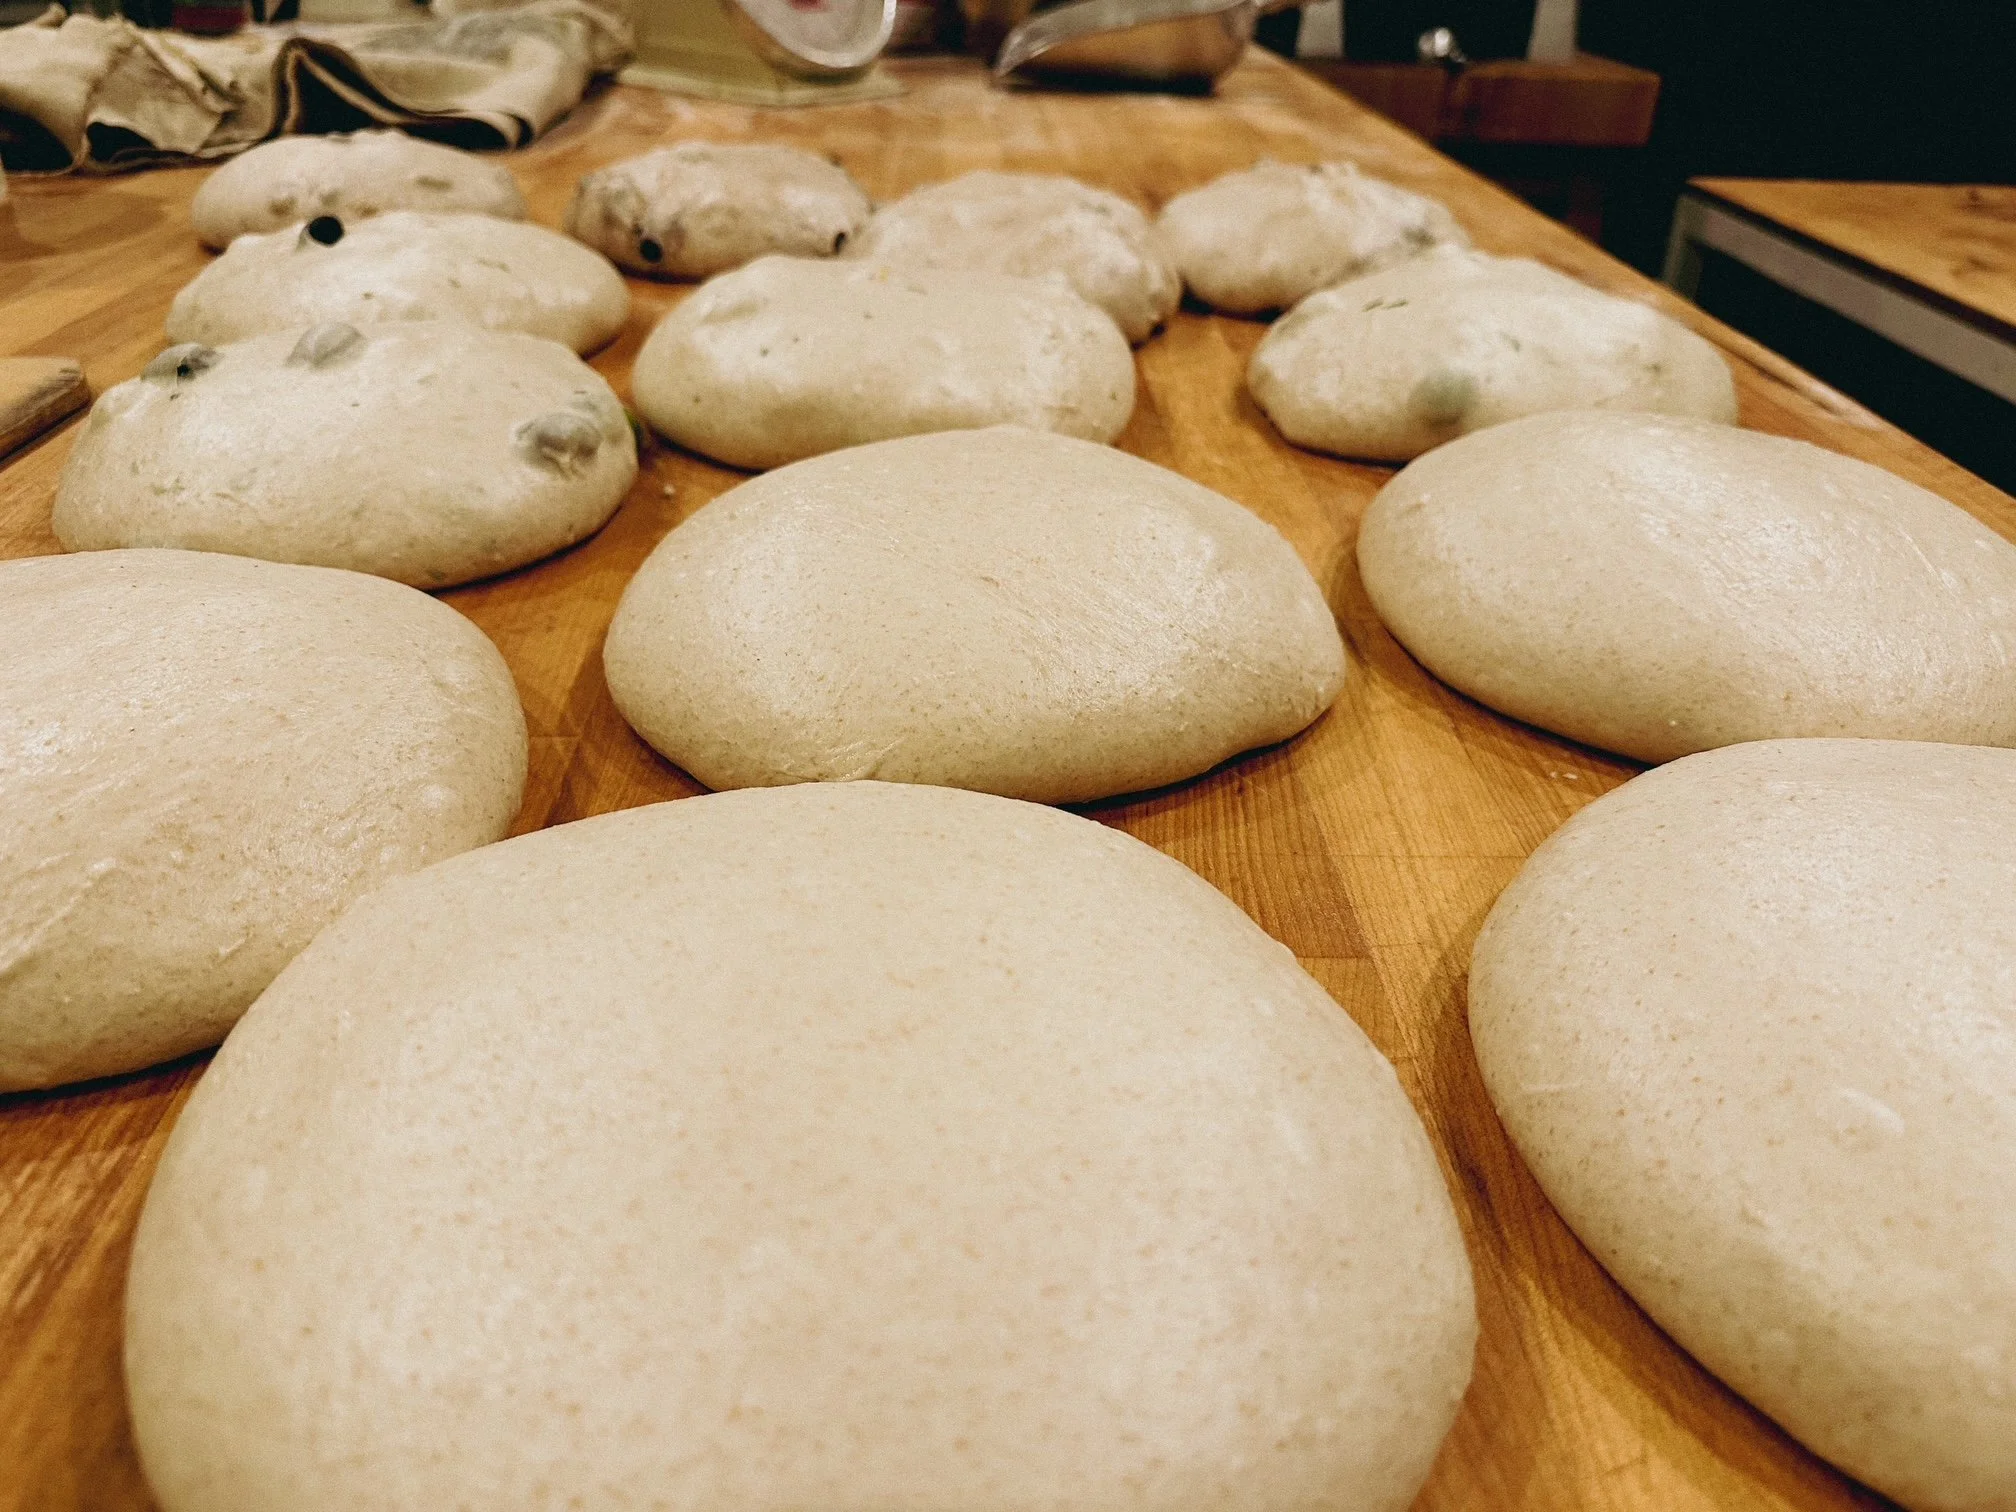
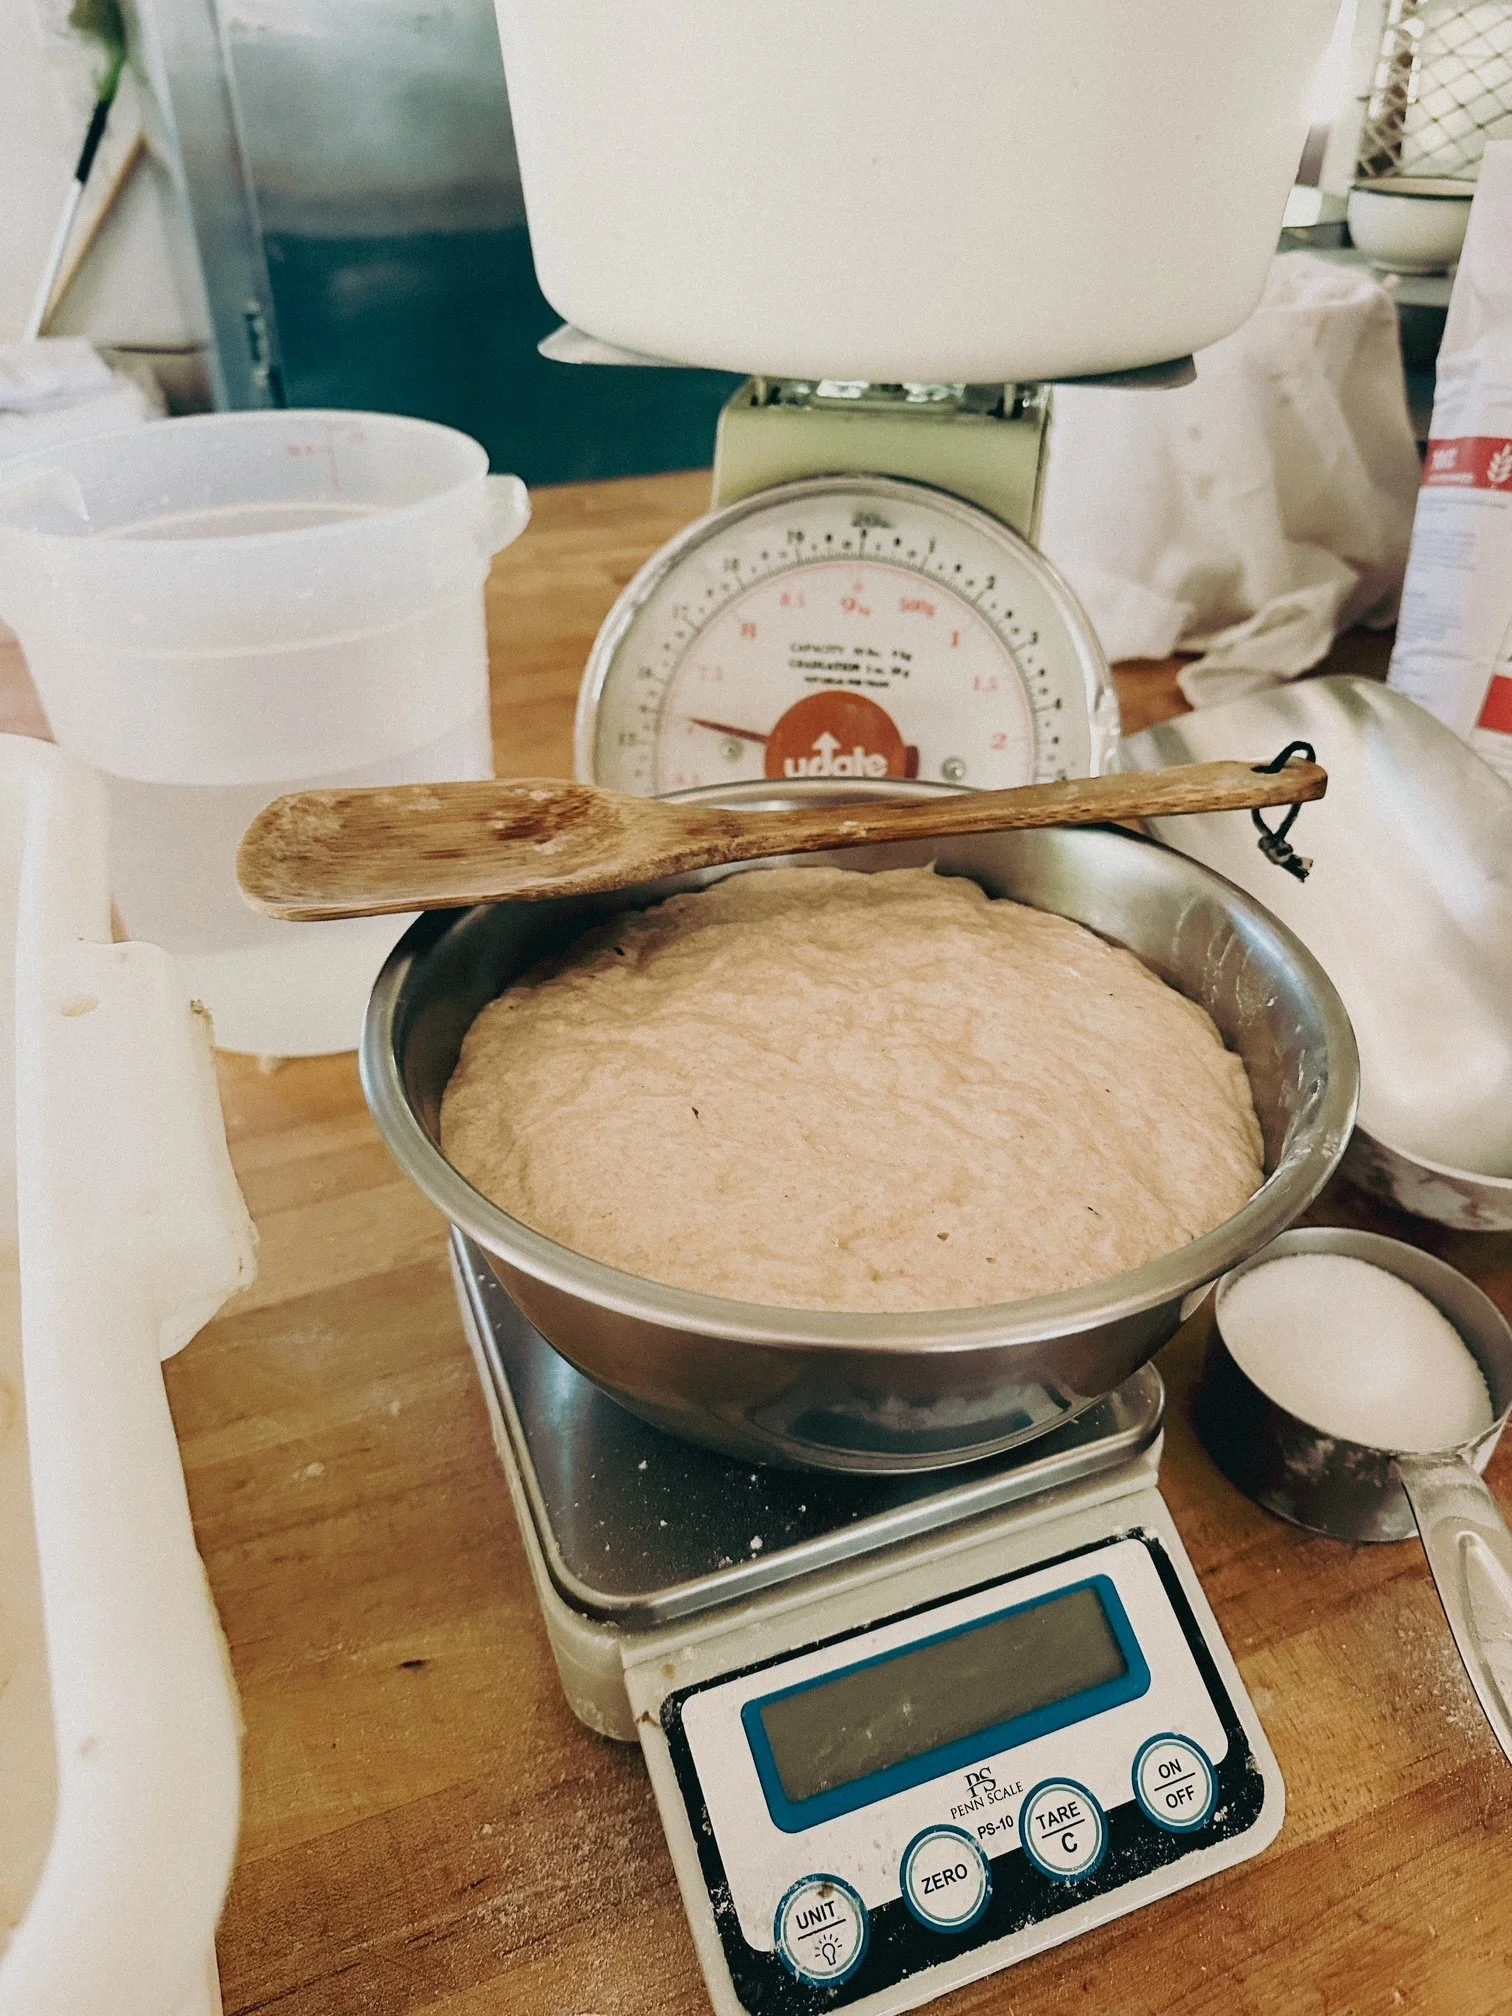
During this 6 hour burn I am also working with the dough. It is mixed, fermented for 4 hours with turns every 30 minutes and then shaped. Once in the baskets or couche, the loaves are moved into a cooler area to retard overnight.
The next morning, check temperature of the oven. If it is roughly where you want it, you add quick fuel to the oven and do a flash burn. This is a fast hot burn to boost the heat quickly. It is good to use fuel such as smaller sticks, kindling like branches, and fill the deck so that the flash burn fills the oven with flame. If your oven dropped a significant amount of heat over night you can also add smaller logs to the flash burn to get a more extended burn to heat the oven again. Once the fuel has burnt down, close the door again and let the heat distribute throughout the dome for an hour or so. Alot of this depends on how hot the oven is. You will have to gage the timing based on your temp readings and a lot of practice.

Open the oven door and scrape or brush the coals into a tin to remove them from the oven. We will want our deck to be very clean to bake off the bread. Check temp. If it reads close to what you are looking for you can now wash down the deck. I use a flour sack towel that I wrap around the long handled brush and dip in a bucket of water. Then brush the deck down with the wet towel. You don’t want to use to much water or keep the door open for too long as you will loose heat. On the contrary, if you find that the oven is running too hot still, this method of washing down the deck can help drop temp a little faster.
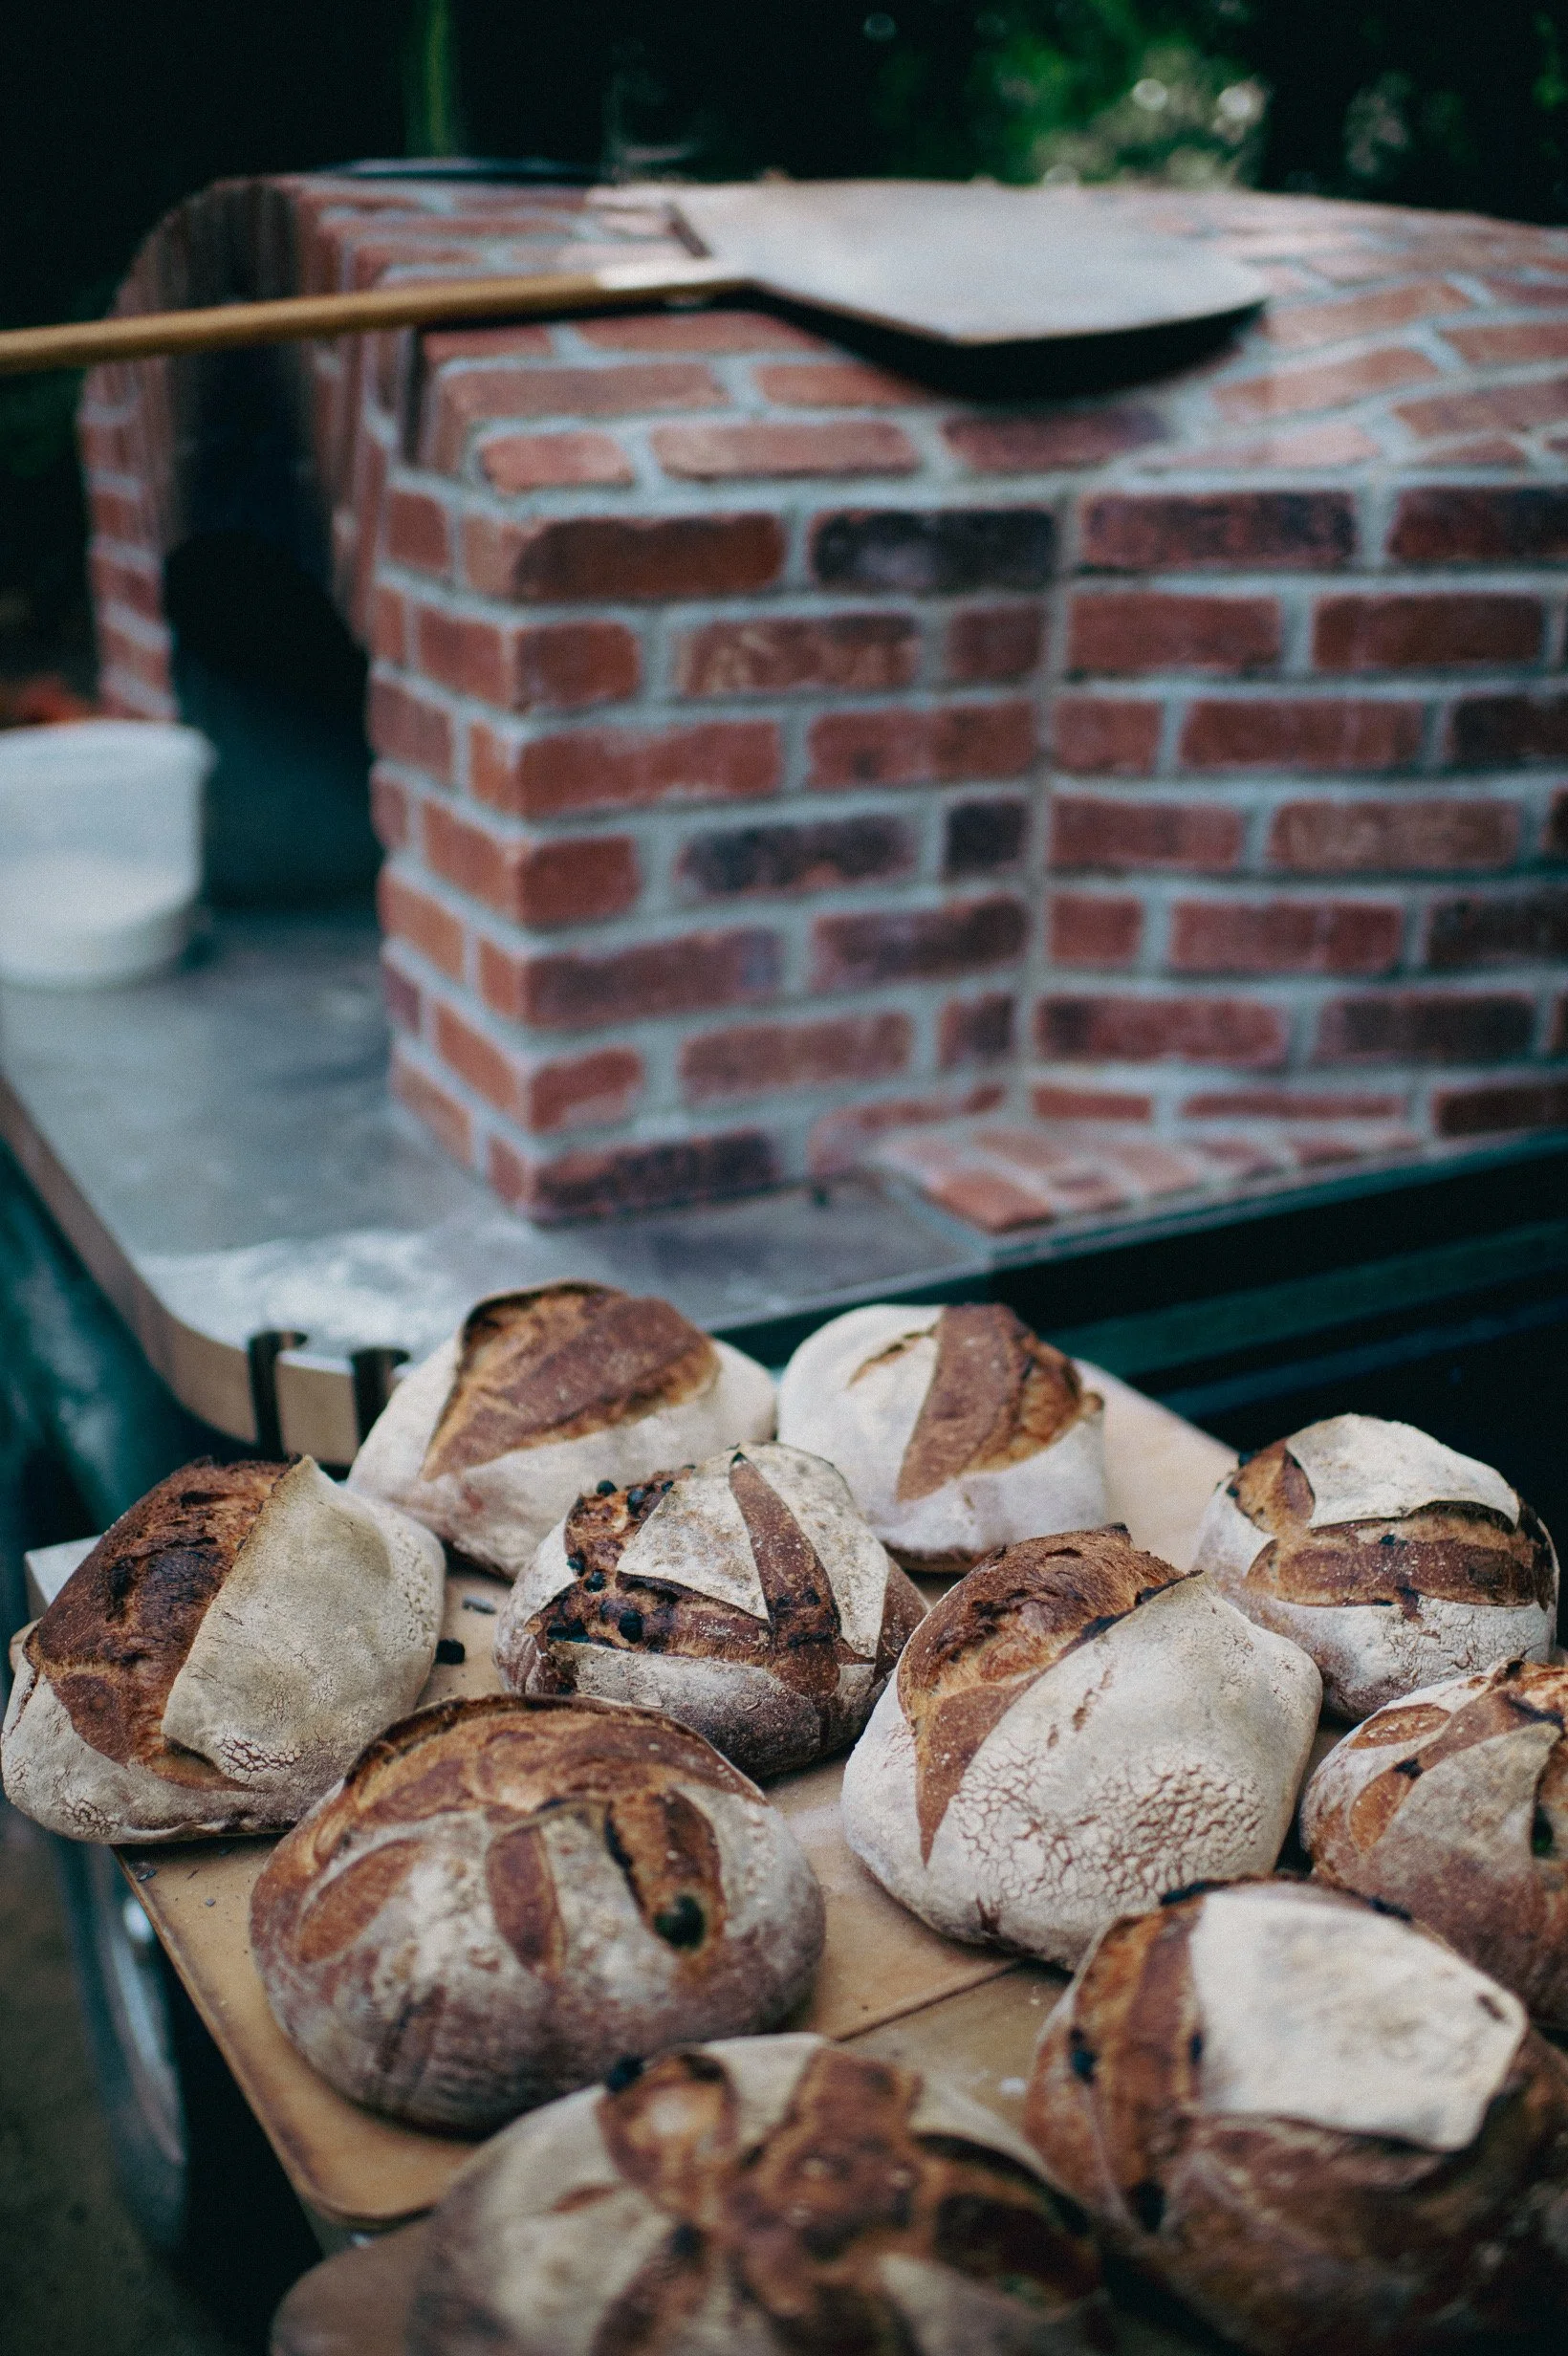
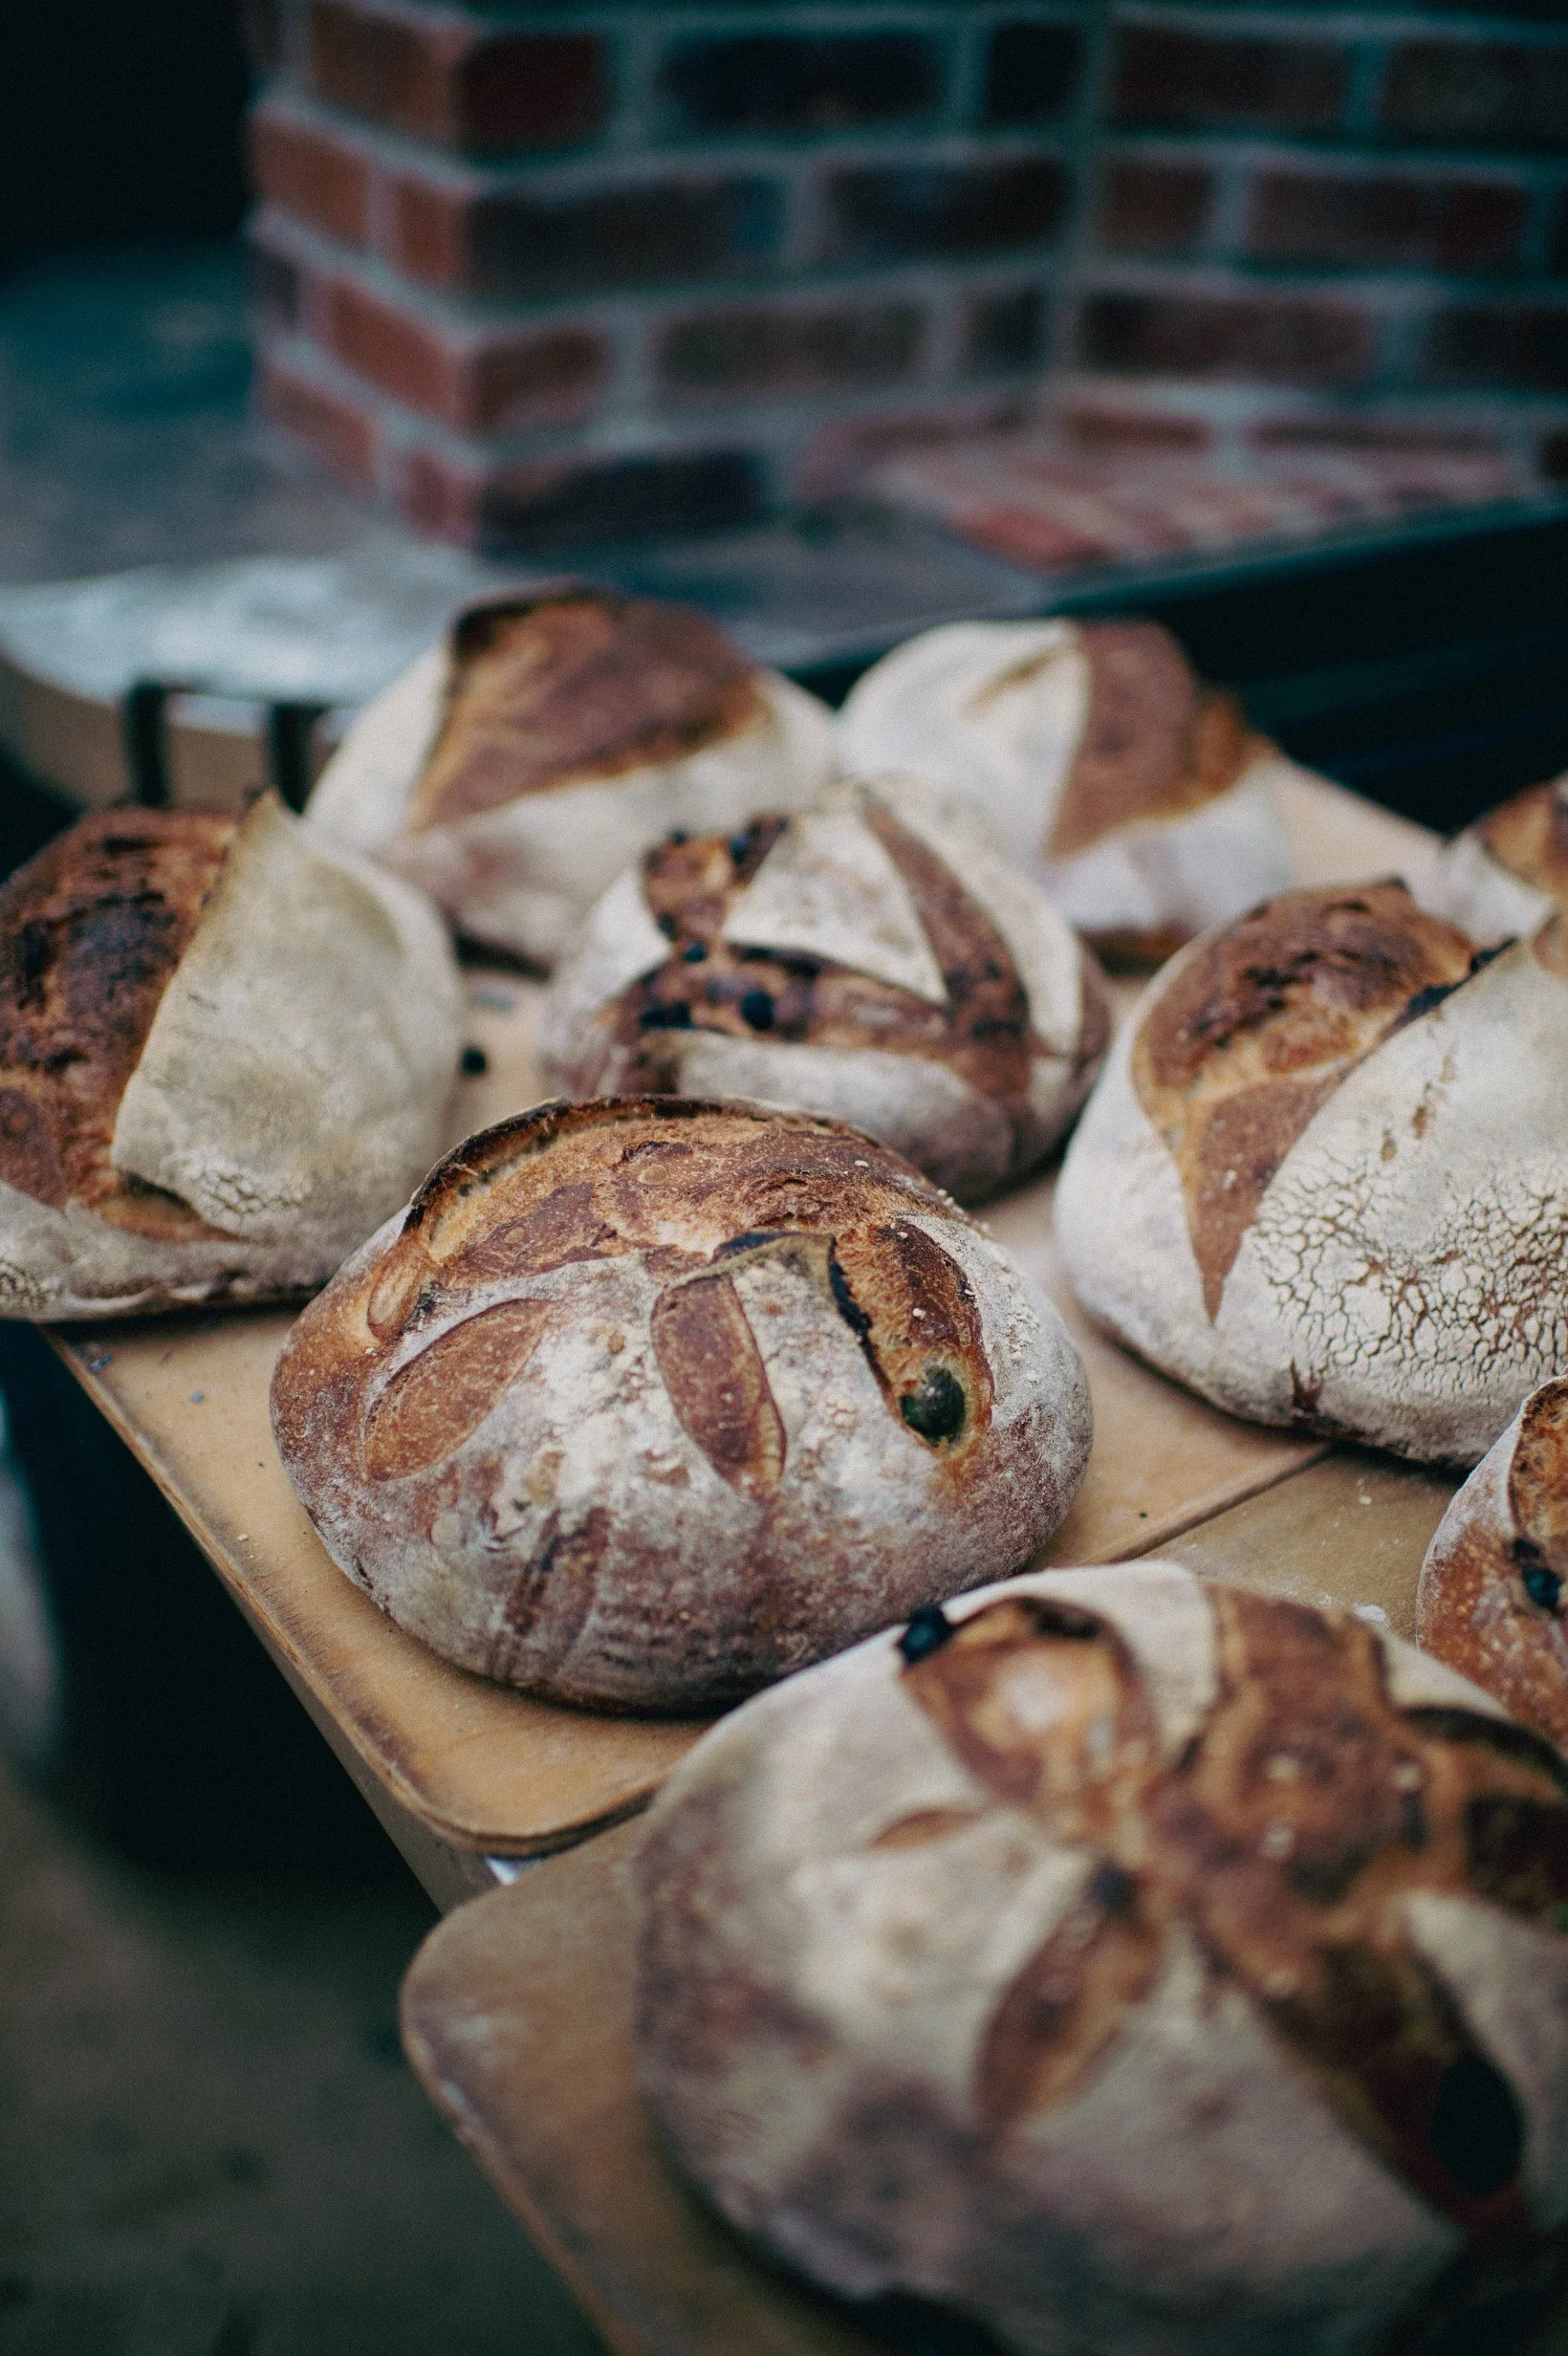
Once the temp reads right you can start loading you loaves in the oven. Try to be quick and efficient with your loading so heat doesn’t escape. Close the door and bake bread until done.
The temp will slowly drop during the baking. Ideally you can do up to 2 or 3 bakes. You start with the rustic sourdoughs first at the high temp and as temp drops you start to bake off your loaf pan loaves and cottage loaves that bake at a temp of 400 or so.

You can also think about foods you would like to cook and throw that in at the lower temp as well. Roast a chicken perhaps or vegetable roast. You can also load up the oven with a small fire again and throw in some pizzas for lunch or dinner.
VIDEO TUTORIAL: DAY ONE
VIDEO TUTORIAL: DAY TWO
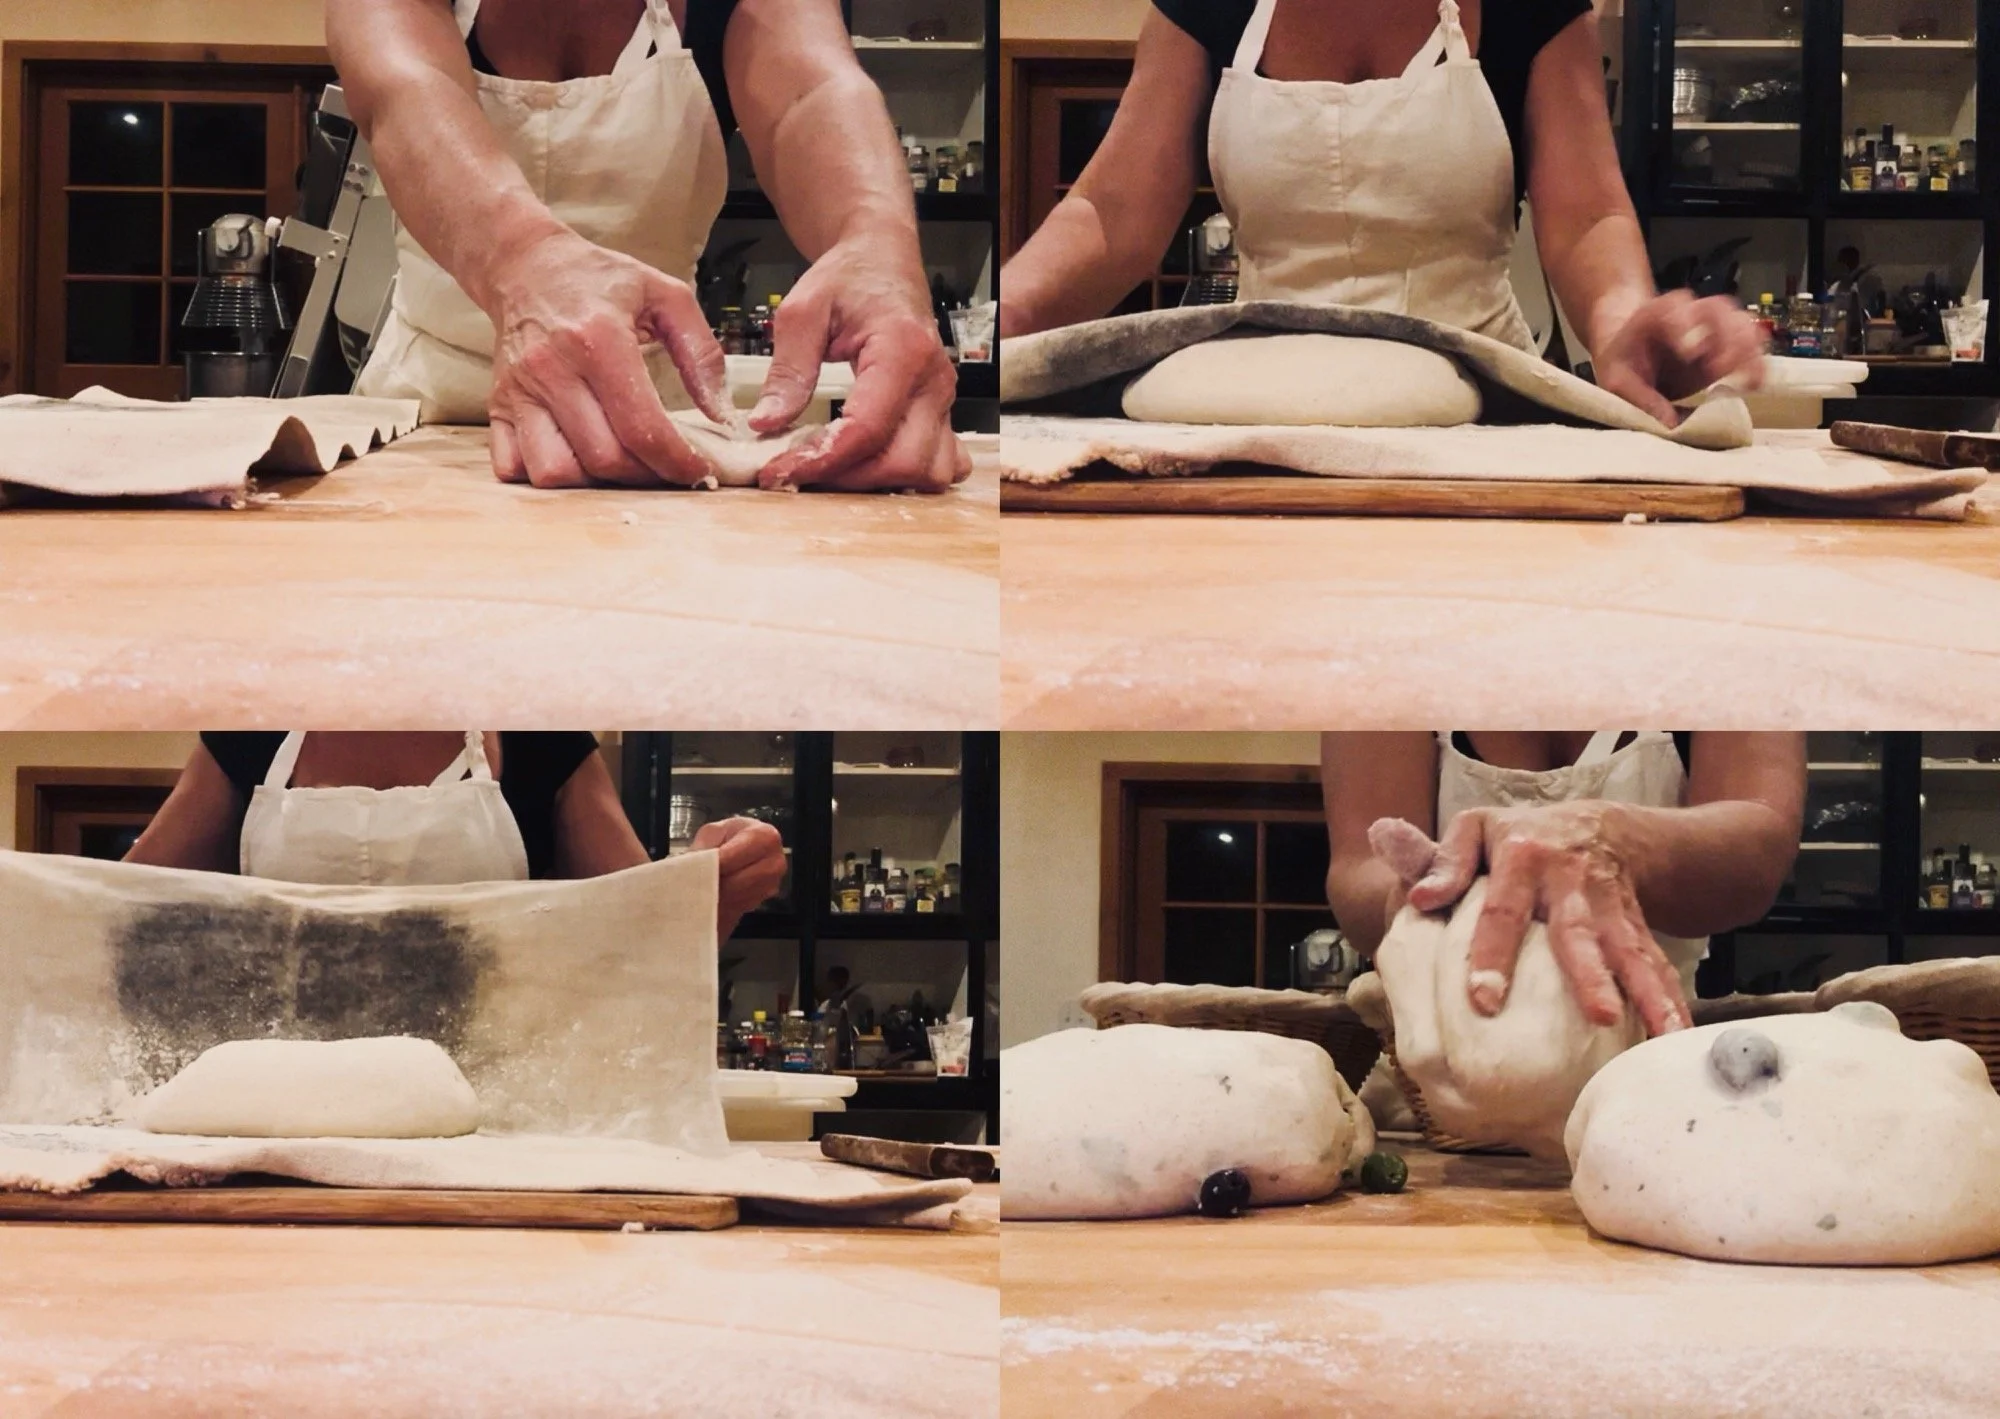
DOUGH AND MIX INS
〰️
DOUGH AND MIX INS 〰️

You will follow the formula and process for the country sourdough loaf here. When you reach your third turn of the dough during the turn and fold fermentation process, you will add in your mix ins. For this tutorial we are working with the Olive Loaf and the Cinnamon Raisin Boule.
olive loaf
〰️
olive loaf 〰️
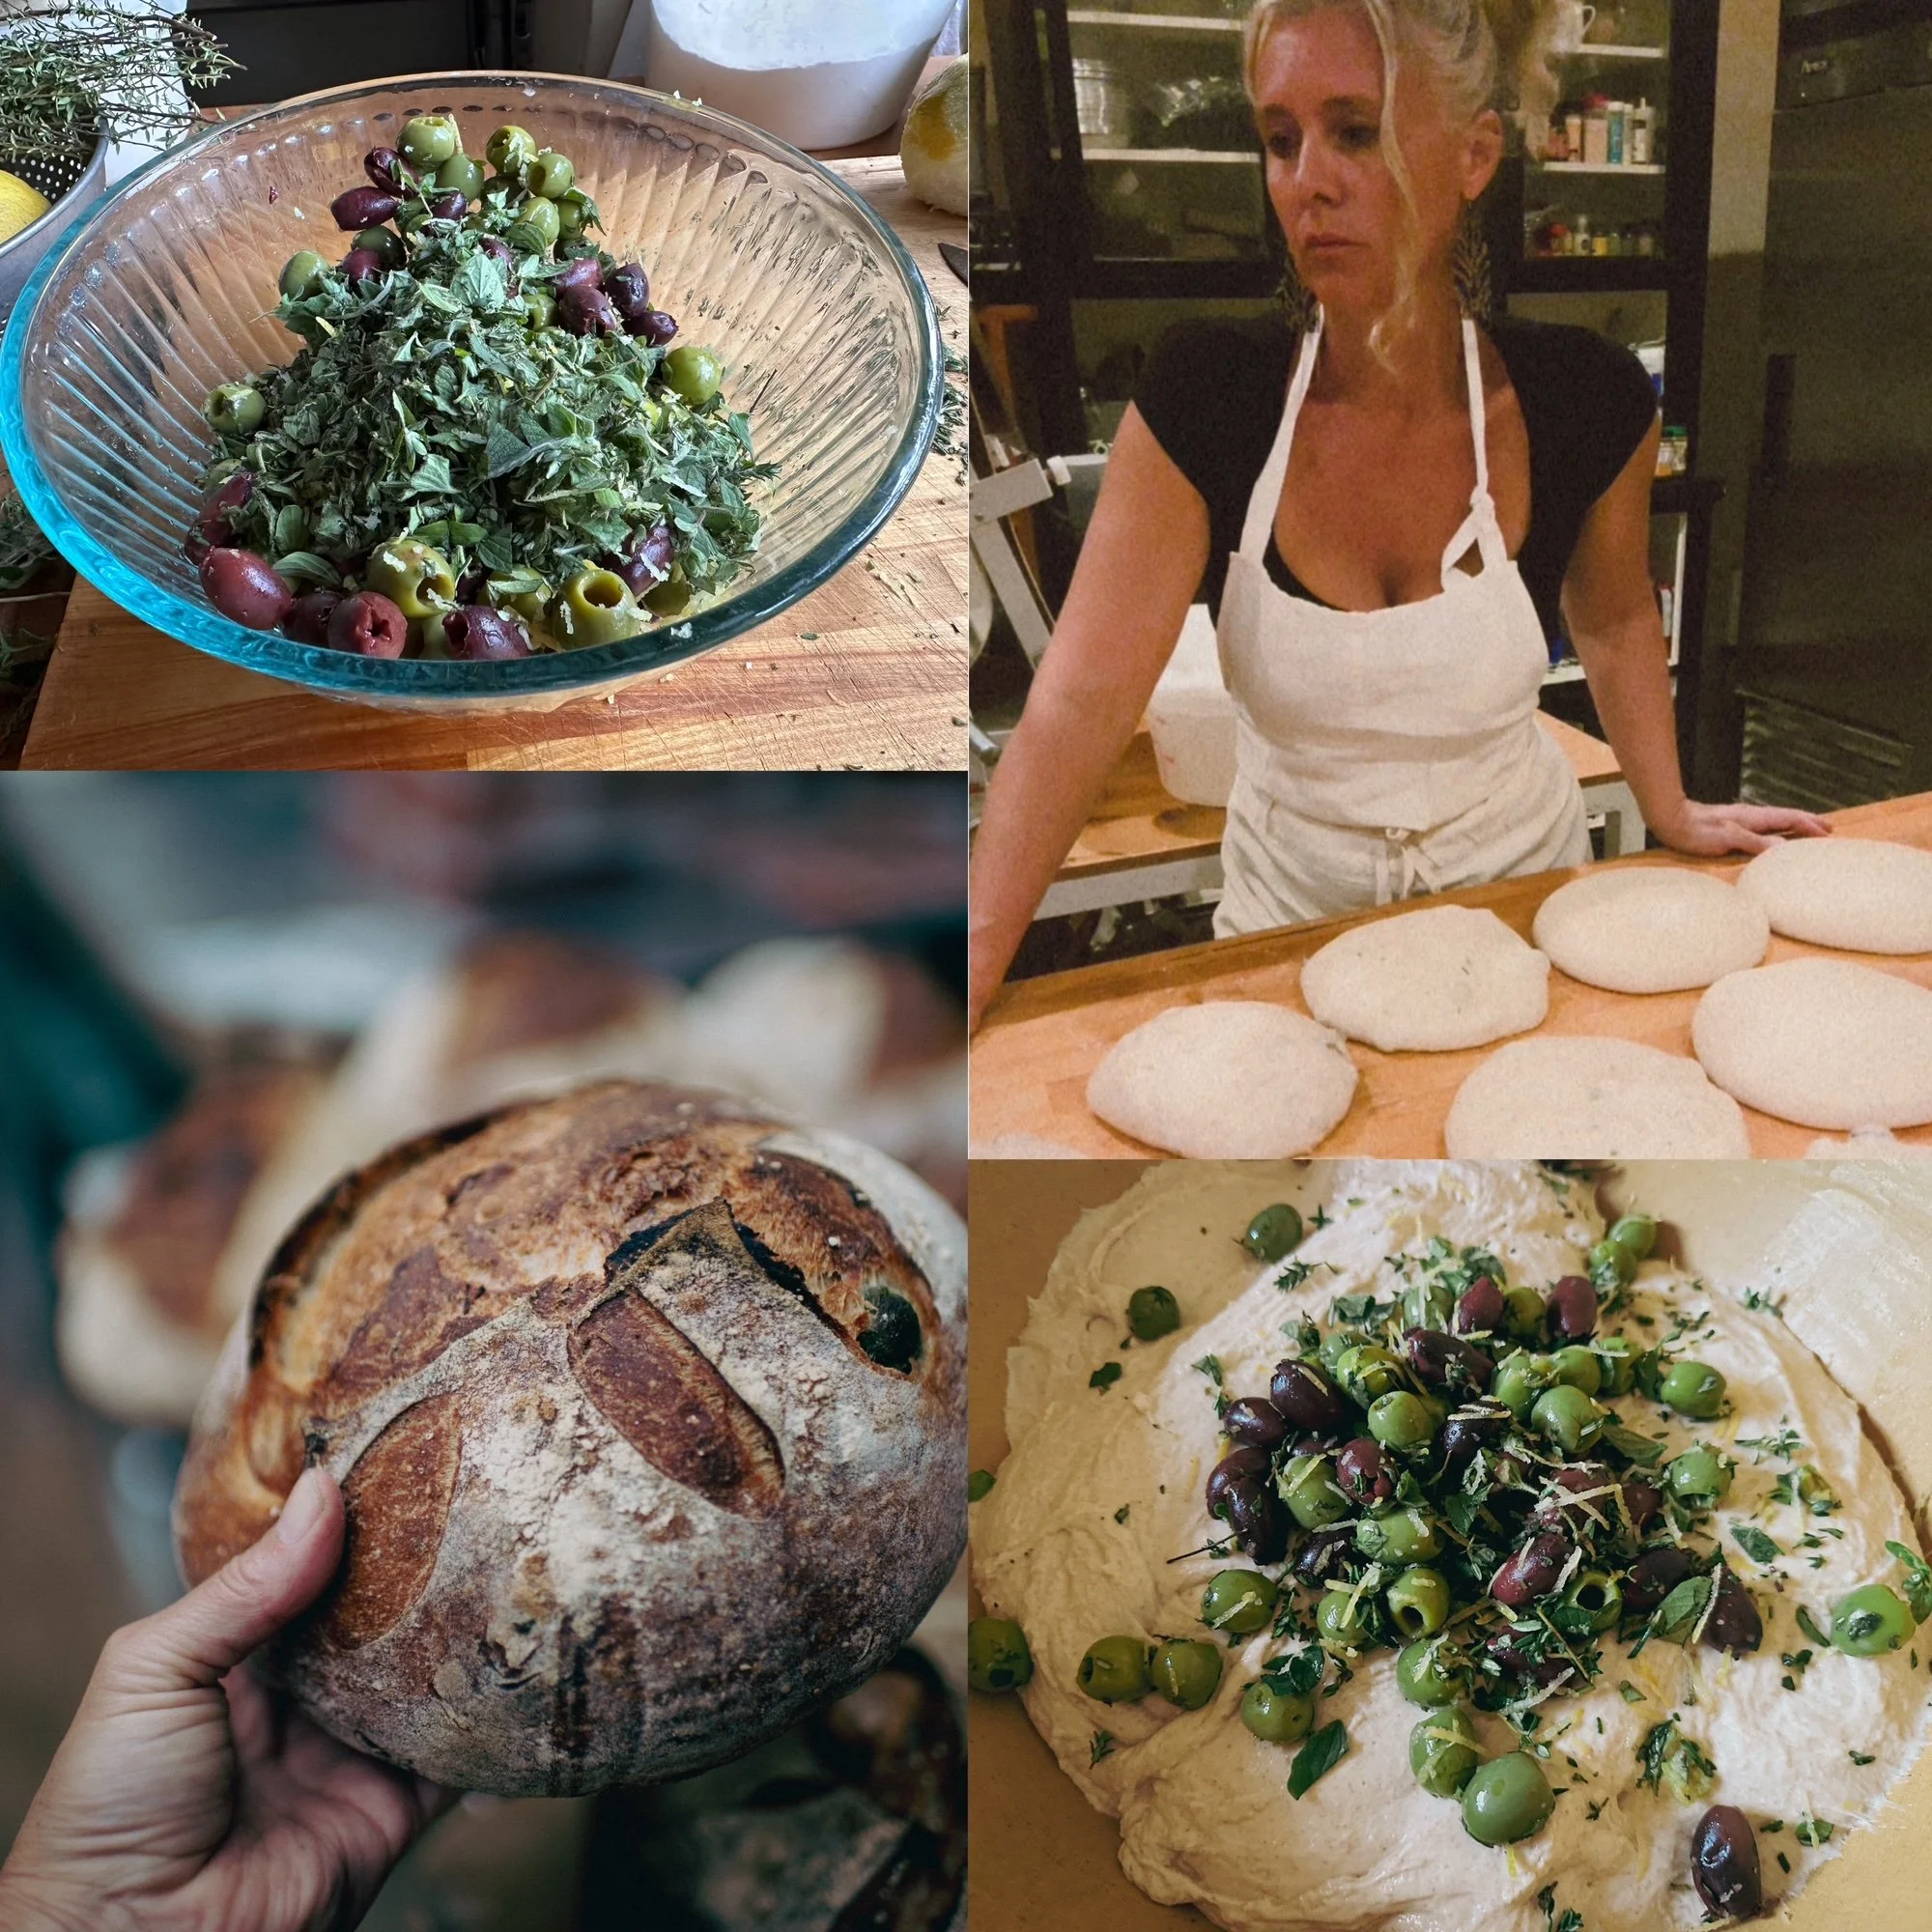
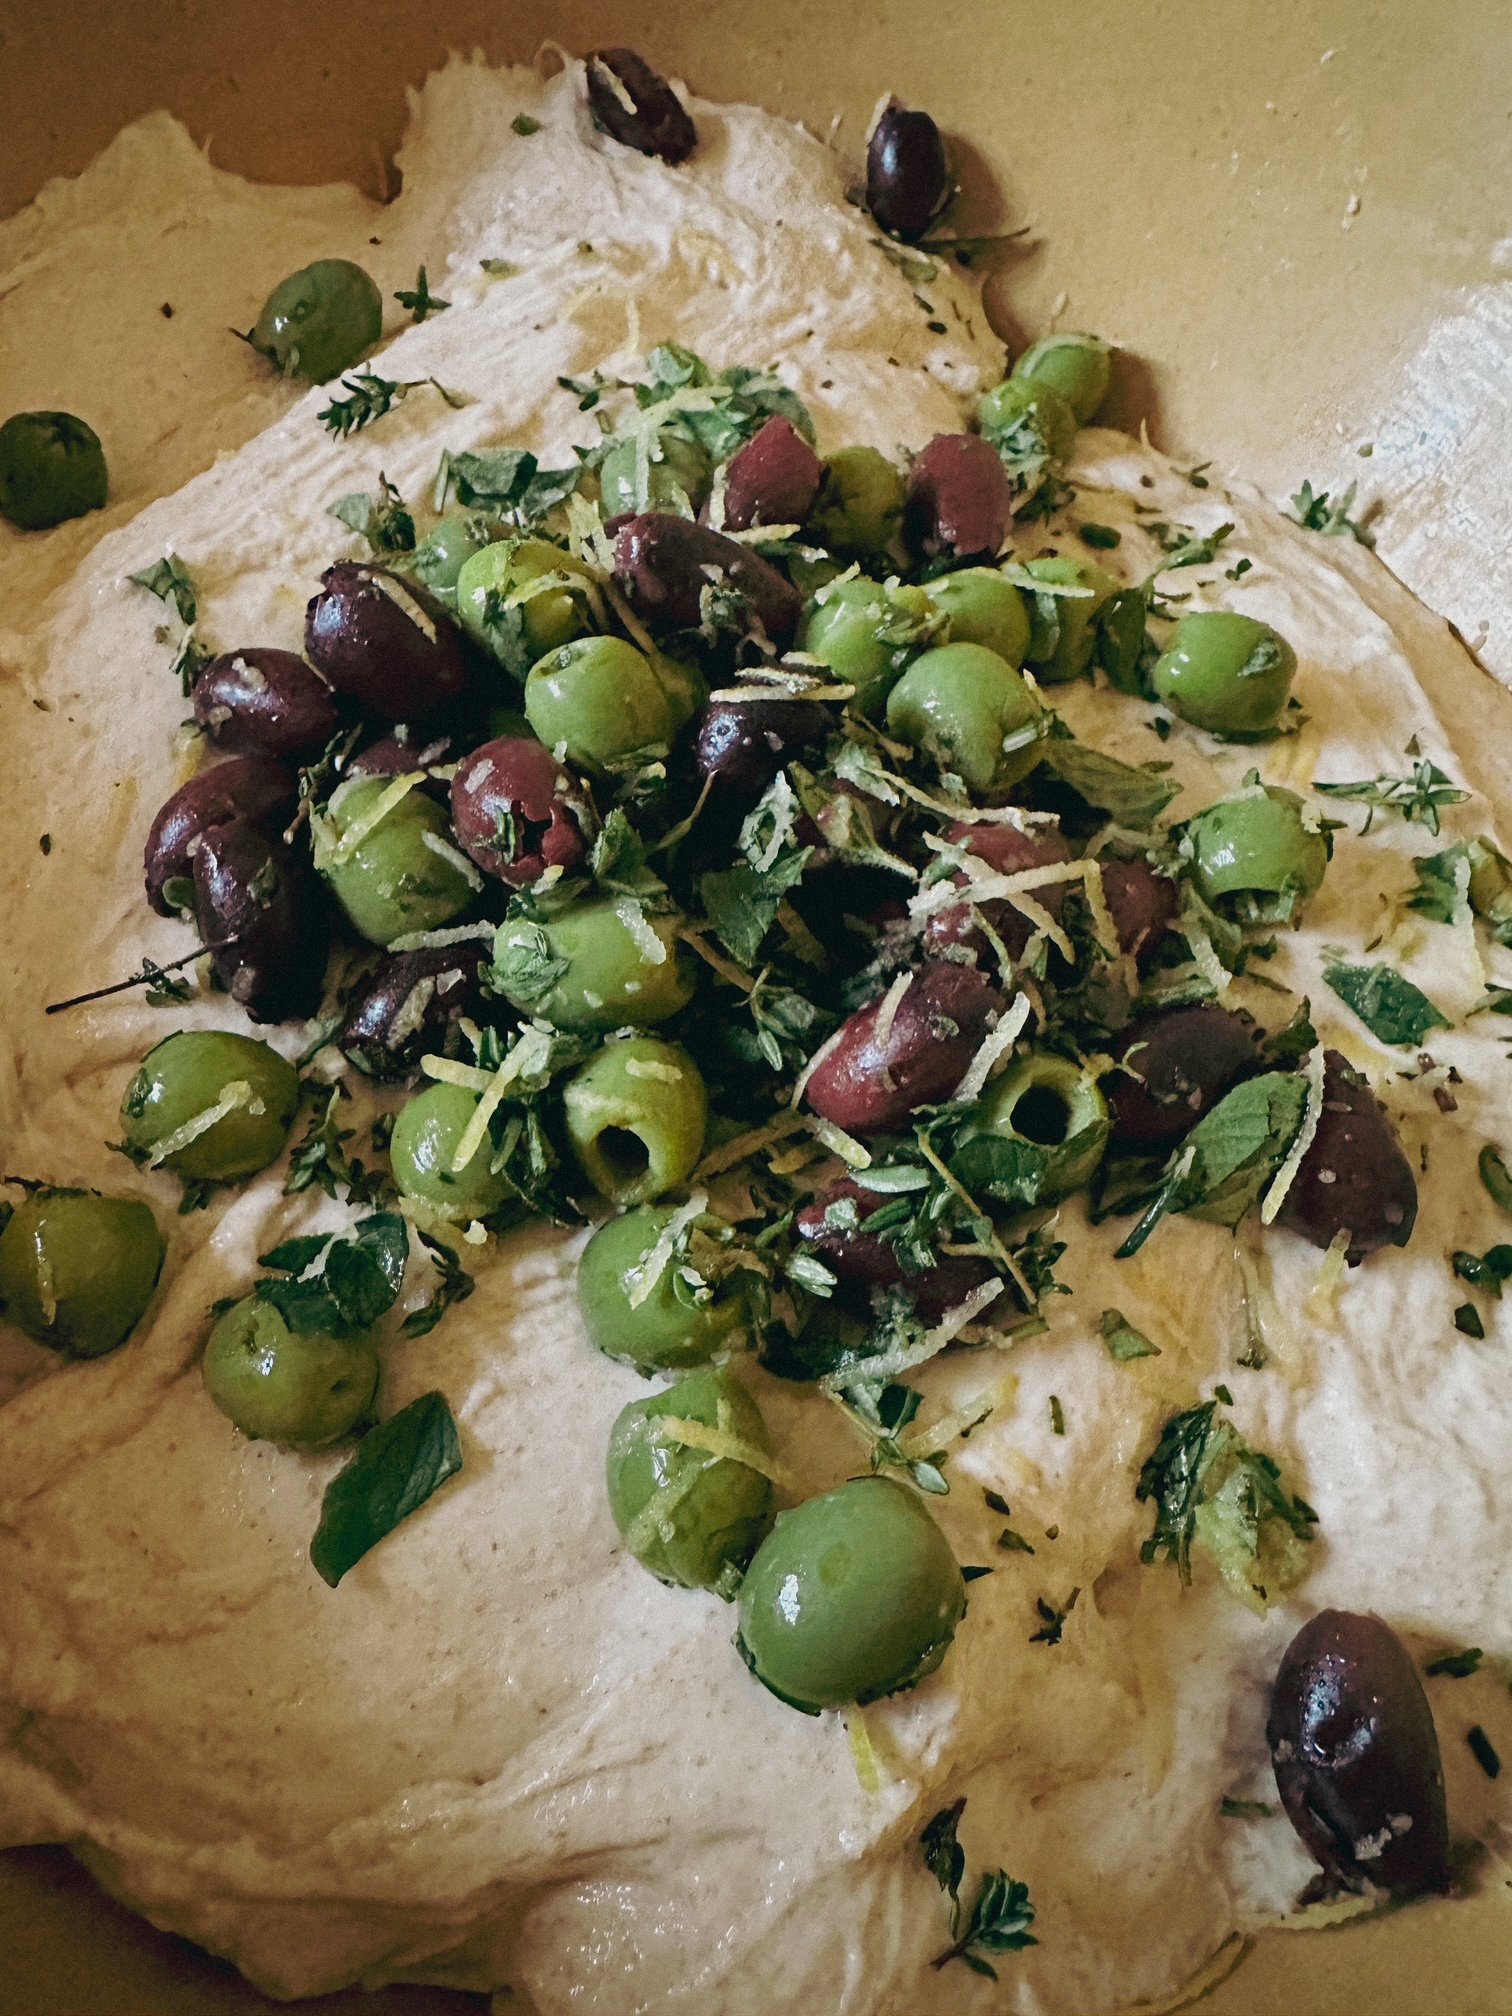
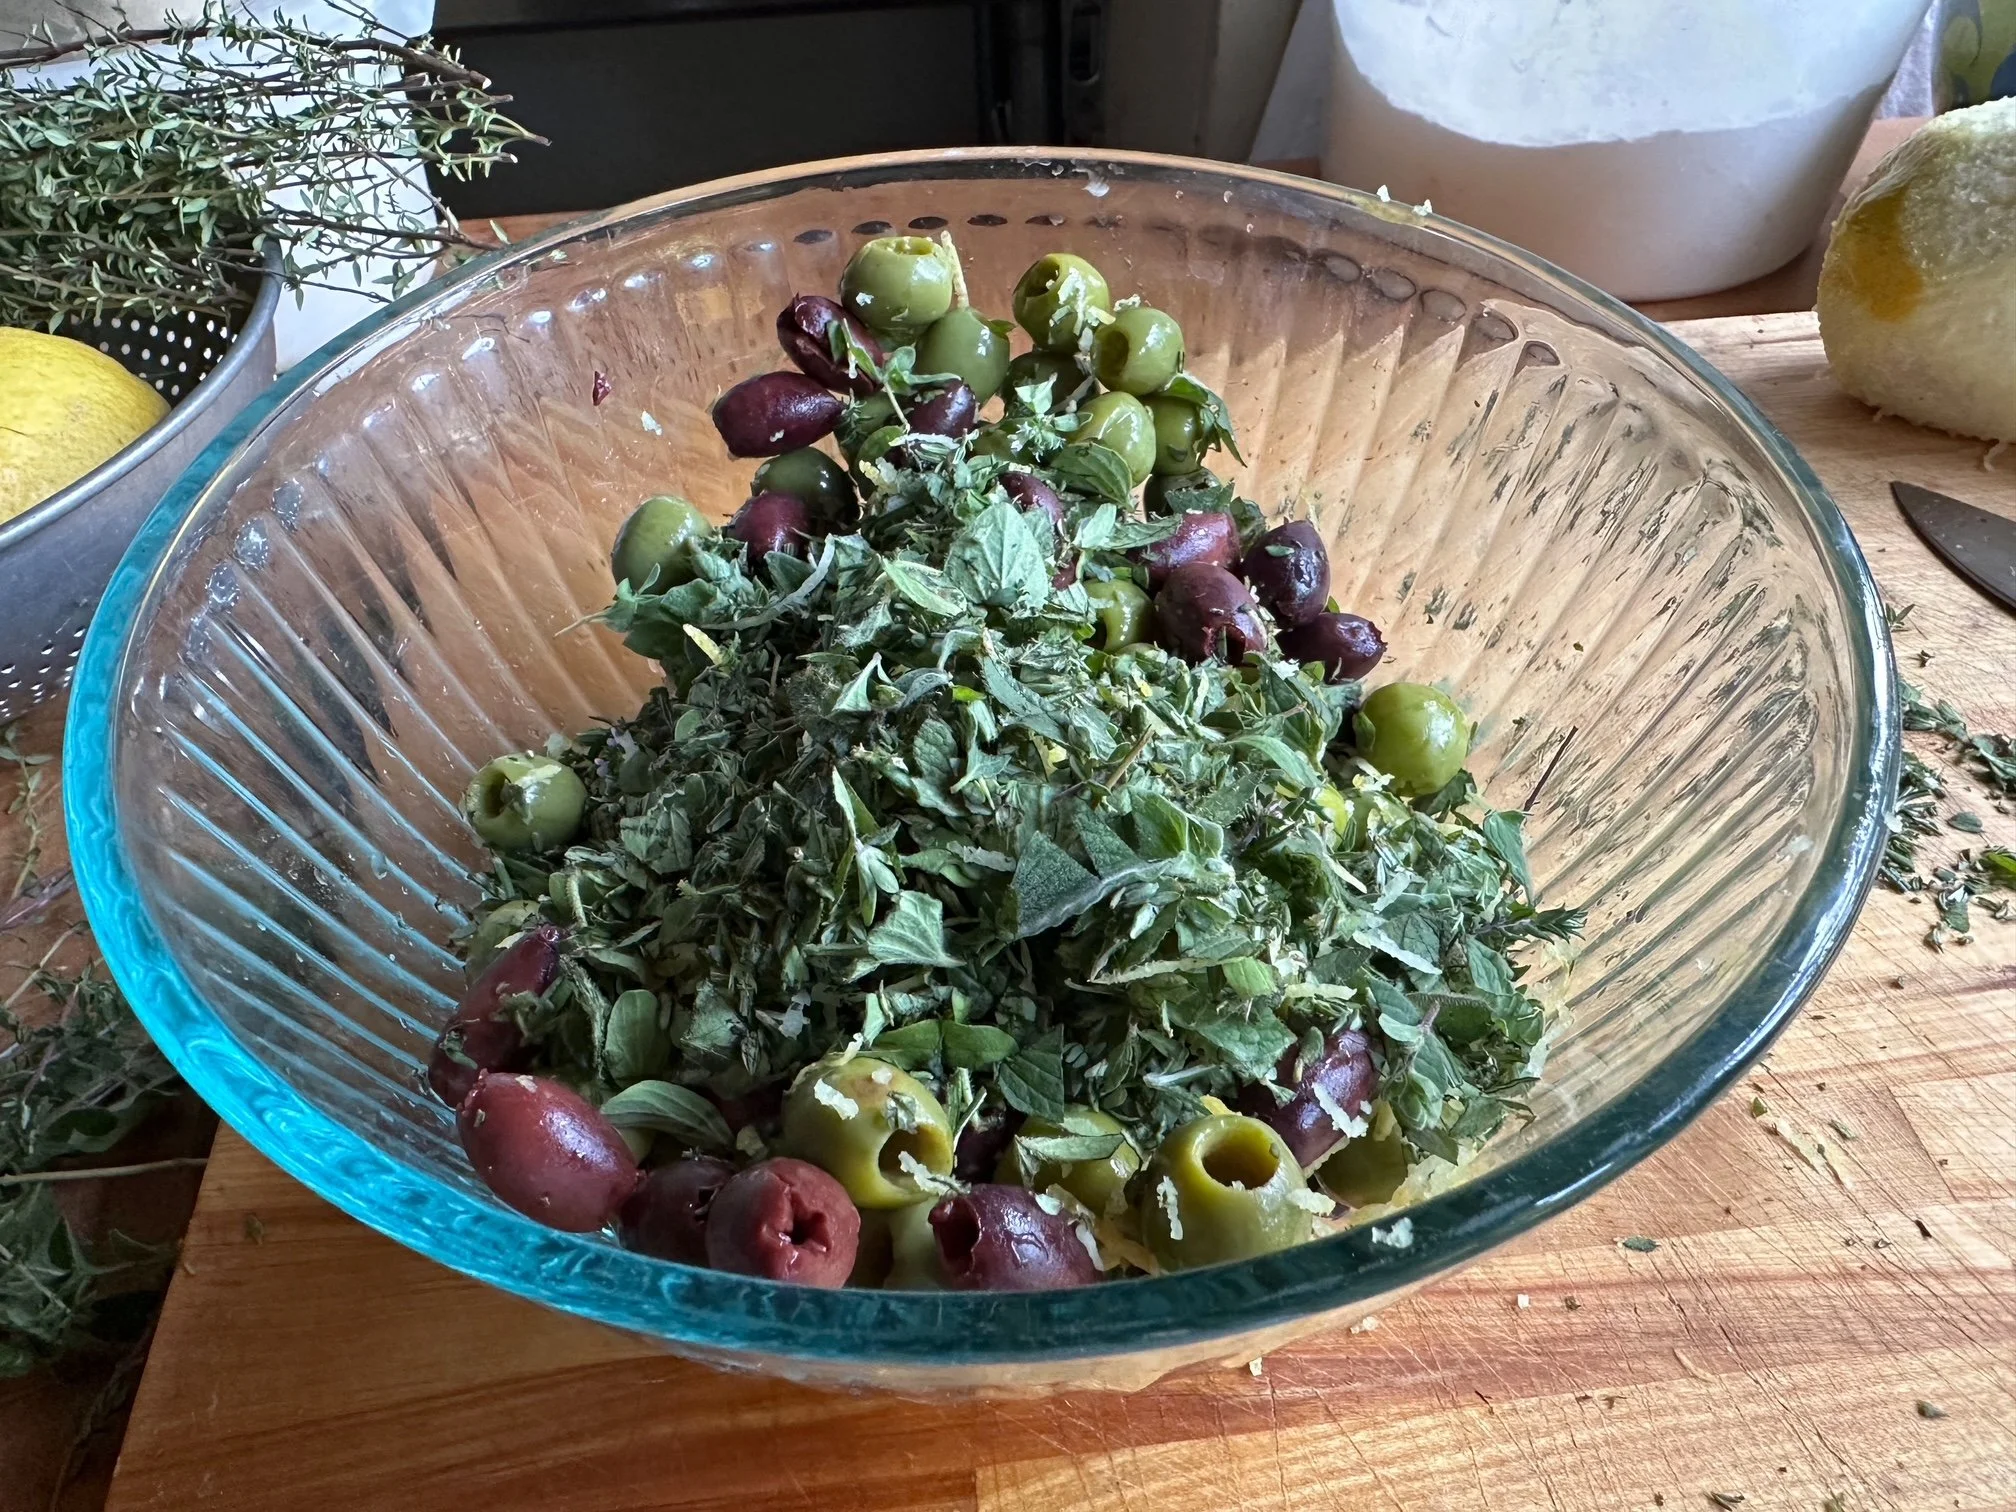
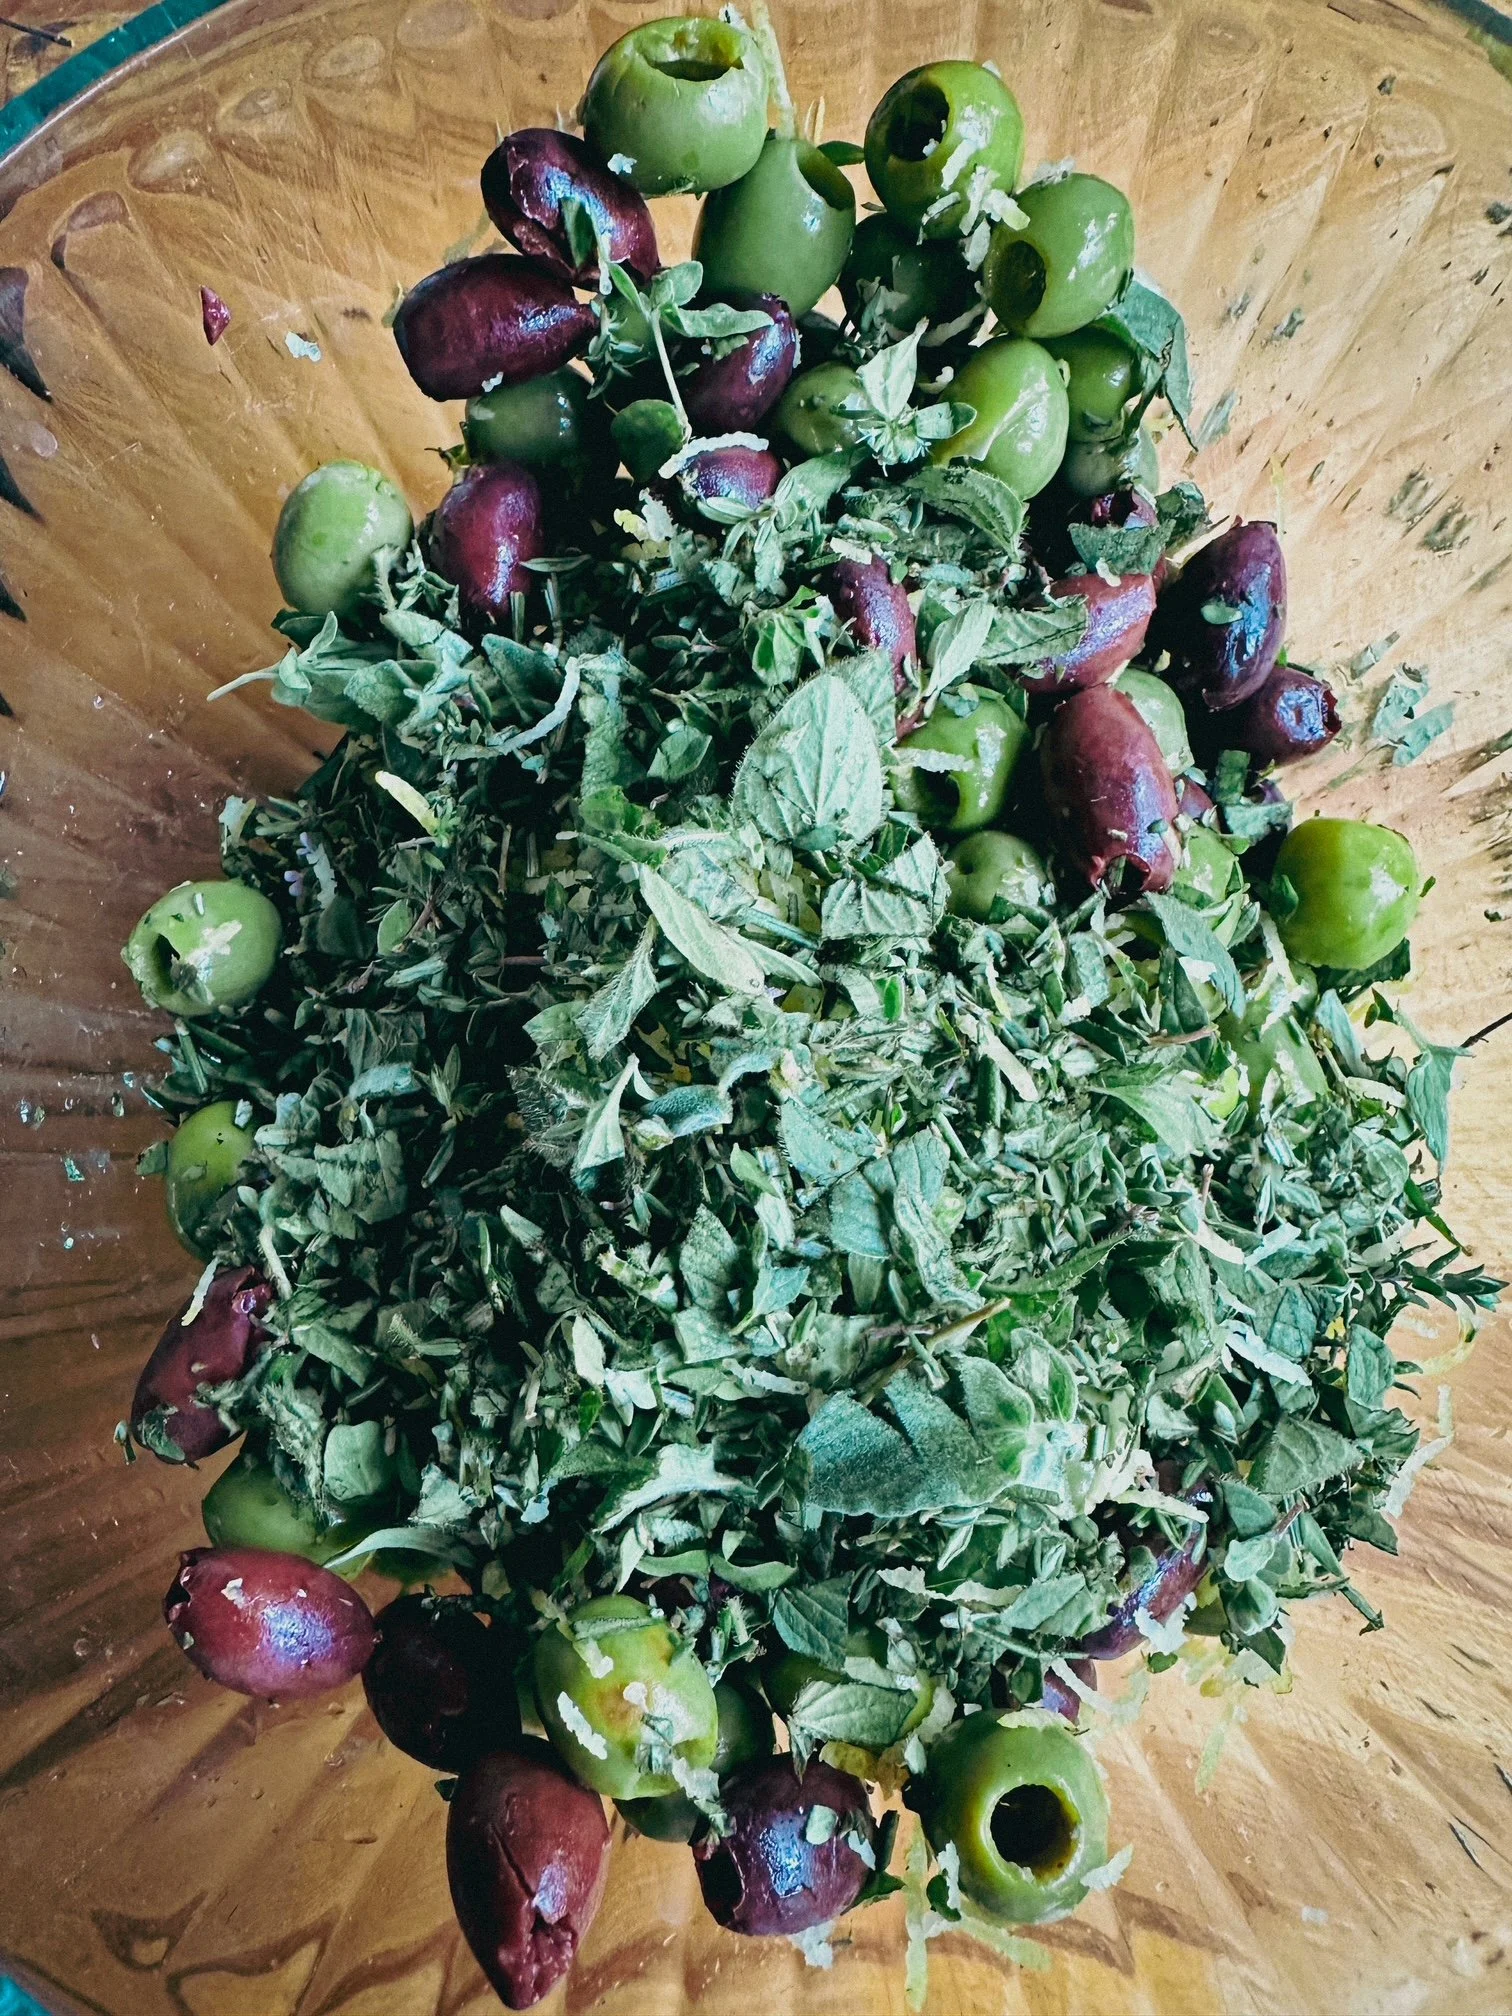
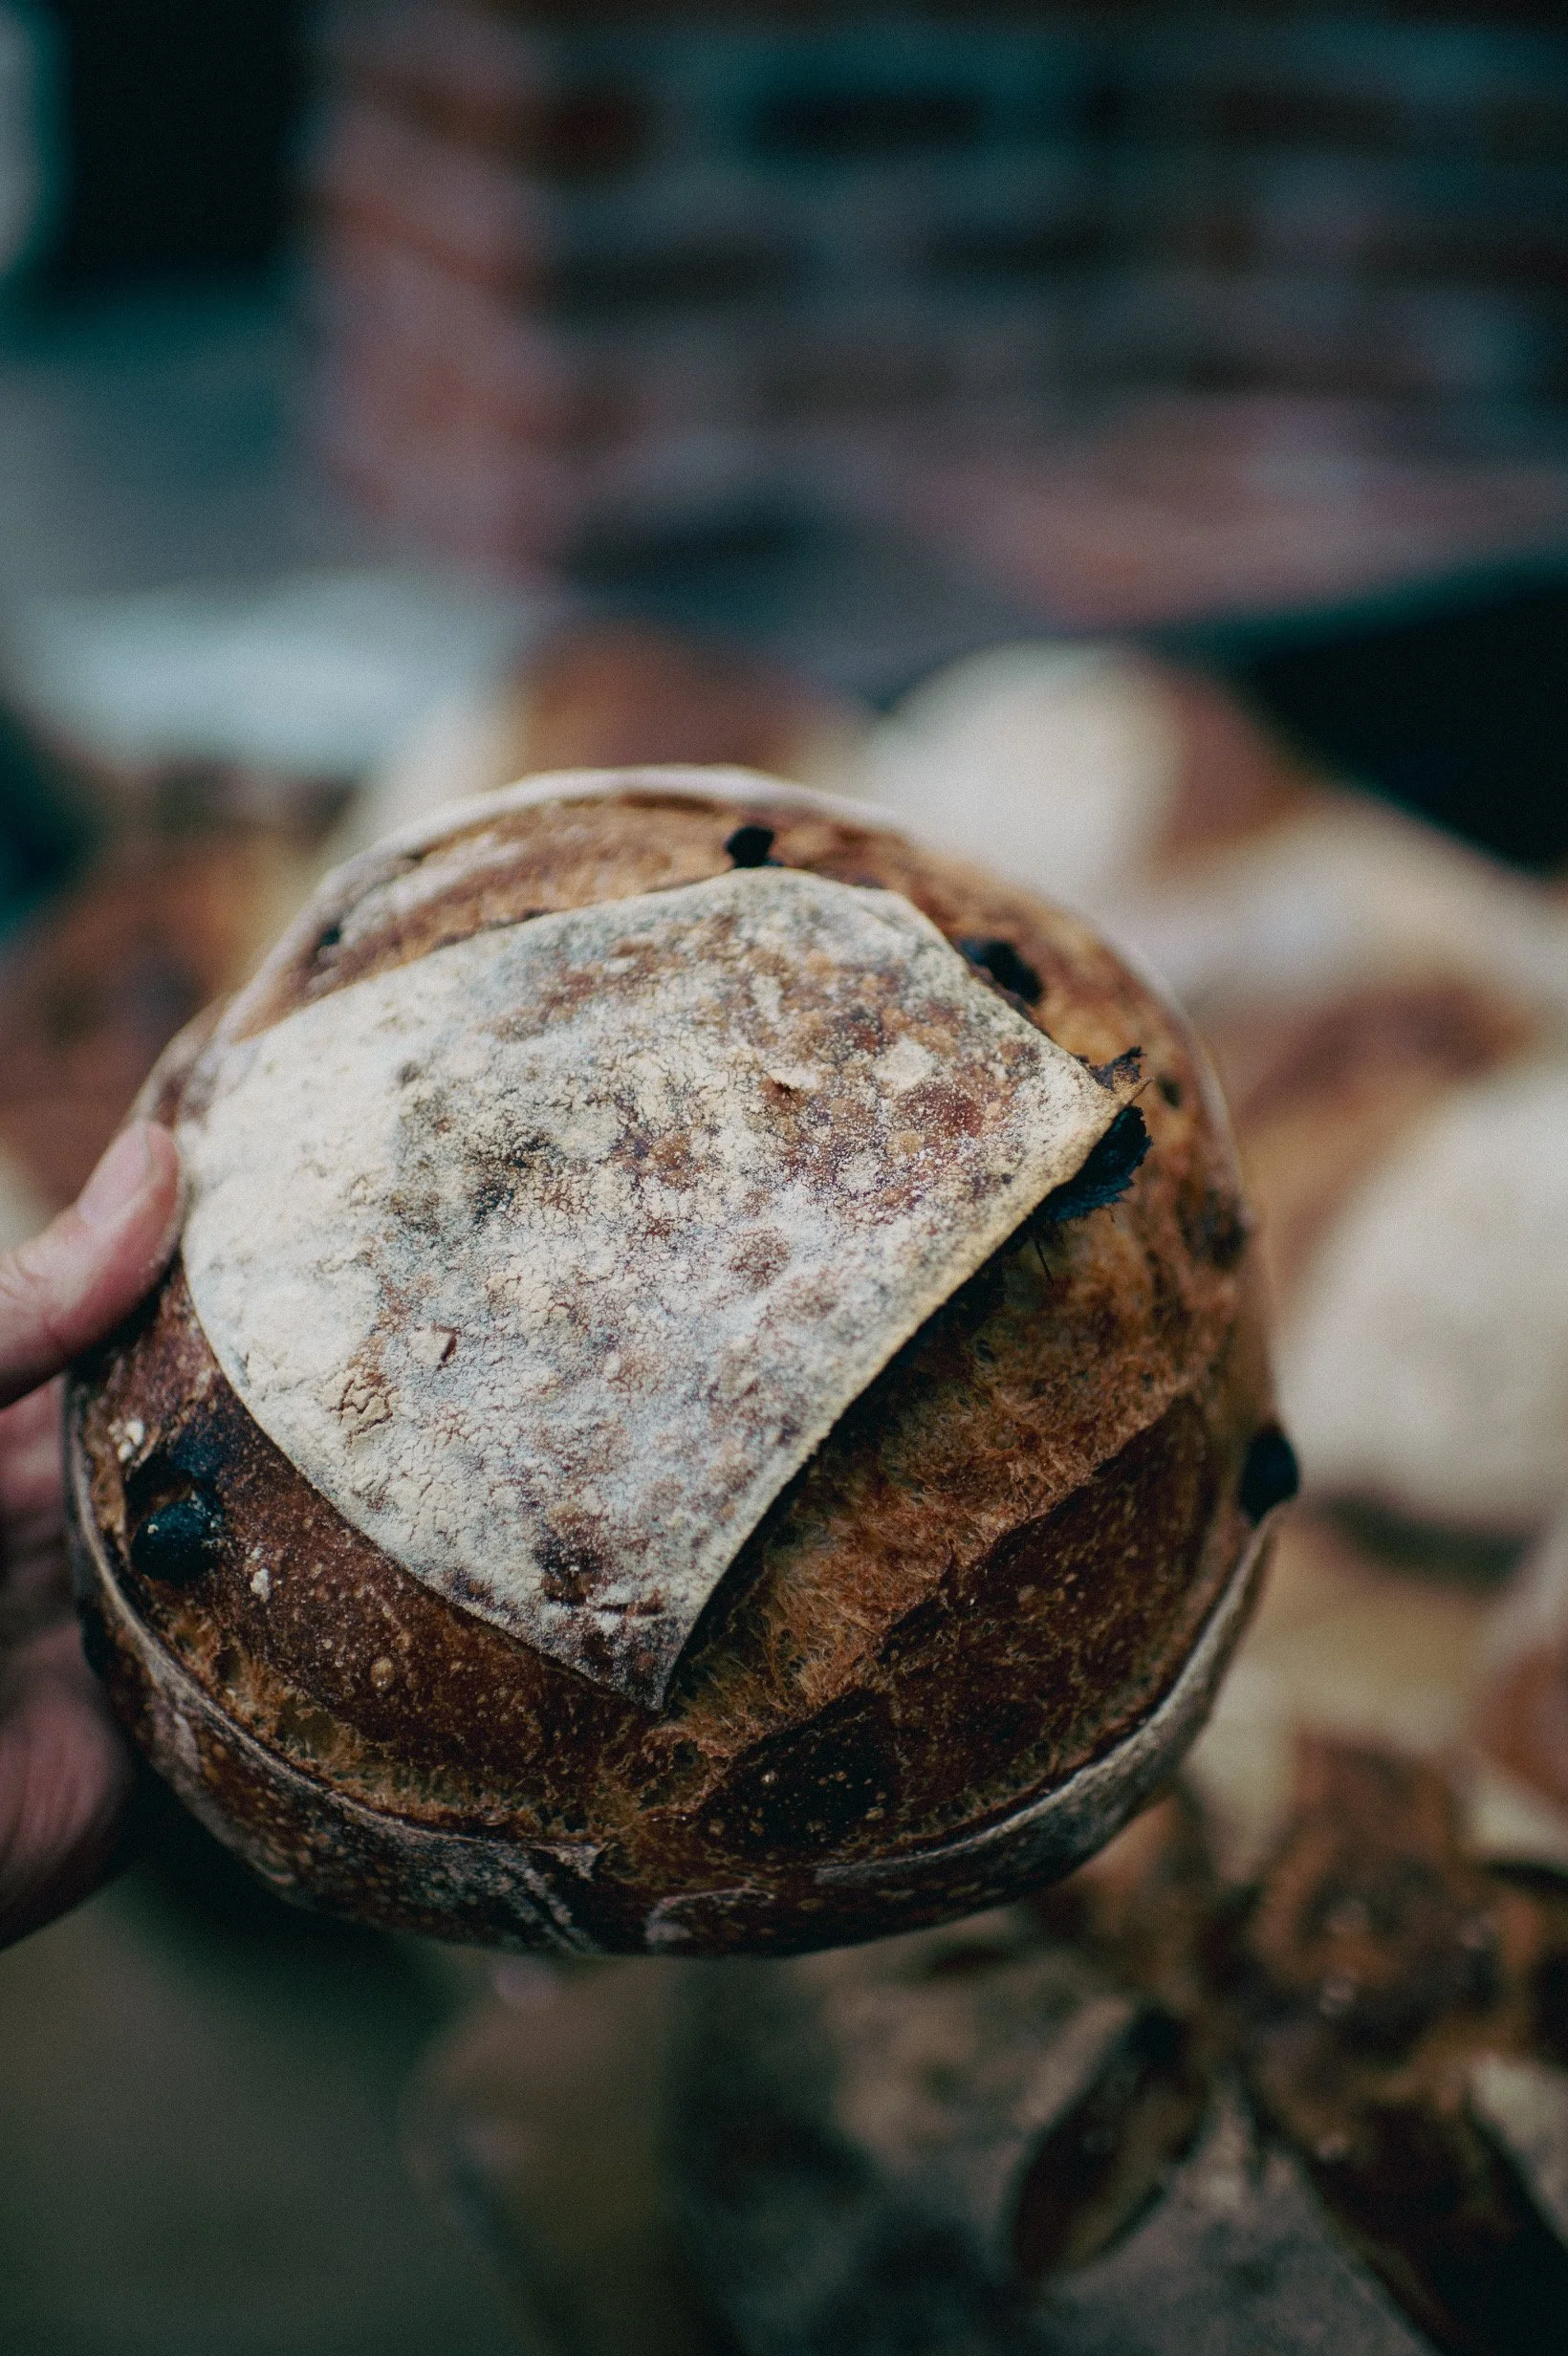
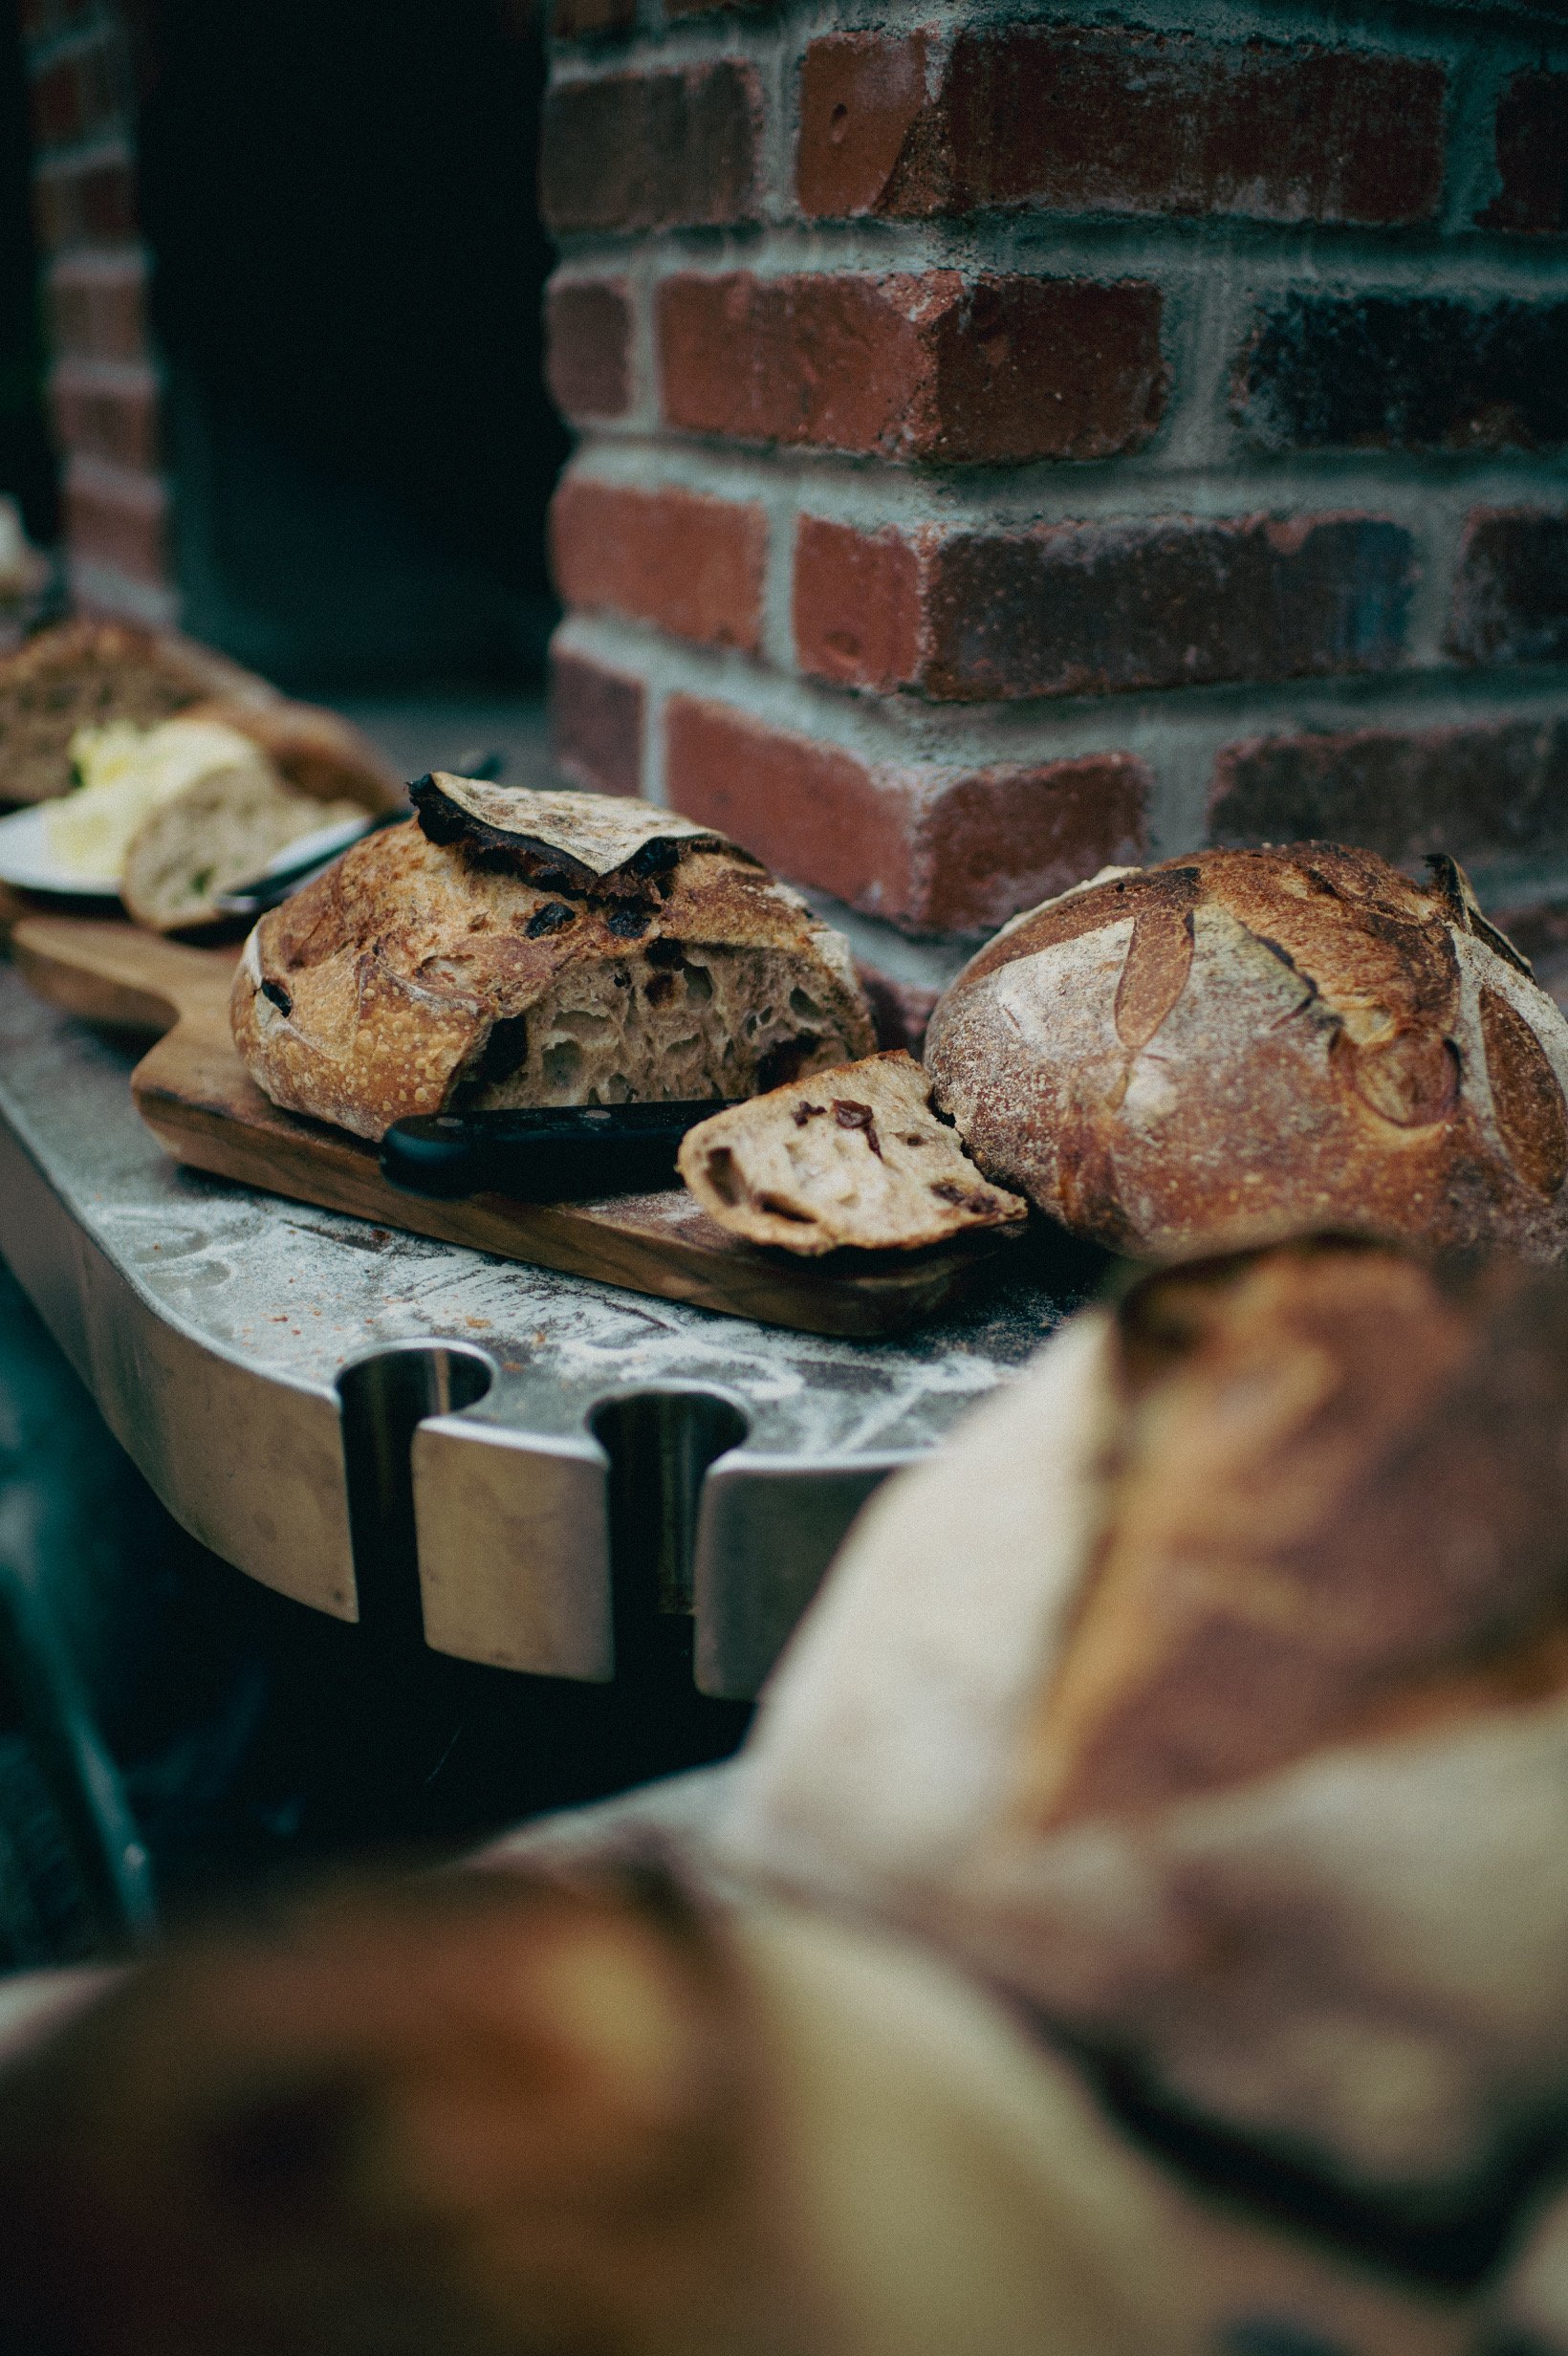
The Olive Loaf was a staple in my bakeshop. It is made with Castelvetrano Olives, which is a Sicilian olive that is quite mild and buttery and a Kalamata Olive, which is a purple olive from Greece known to be rich and briny in flavor. In addition to the olives, I add the zest of a lemon and a large handful of chopped fresh herbs. My herb mix is of the provincial variety, often including thyme, oregano, marjoram, rosemary, sage. Make sure all of your olives are pitted. Combine the olives, lemon zest and herbs. Fold the olive mix into your dough on the third turn. Something to note: the olives will add more hydration to the dough. Take that into account when mixing your dough as you don’t want to over hydrate of the bat and then find that when you add in your olive mix it has all gotten too wet. This is something you can feel through the more you practice and bake.
cinnamon raisin boule
〰️
cinnamon raisin boule 〰️
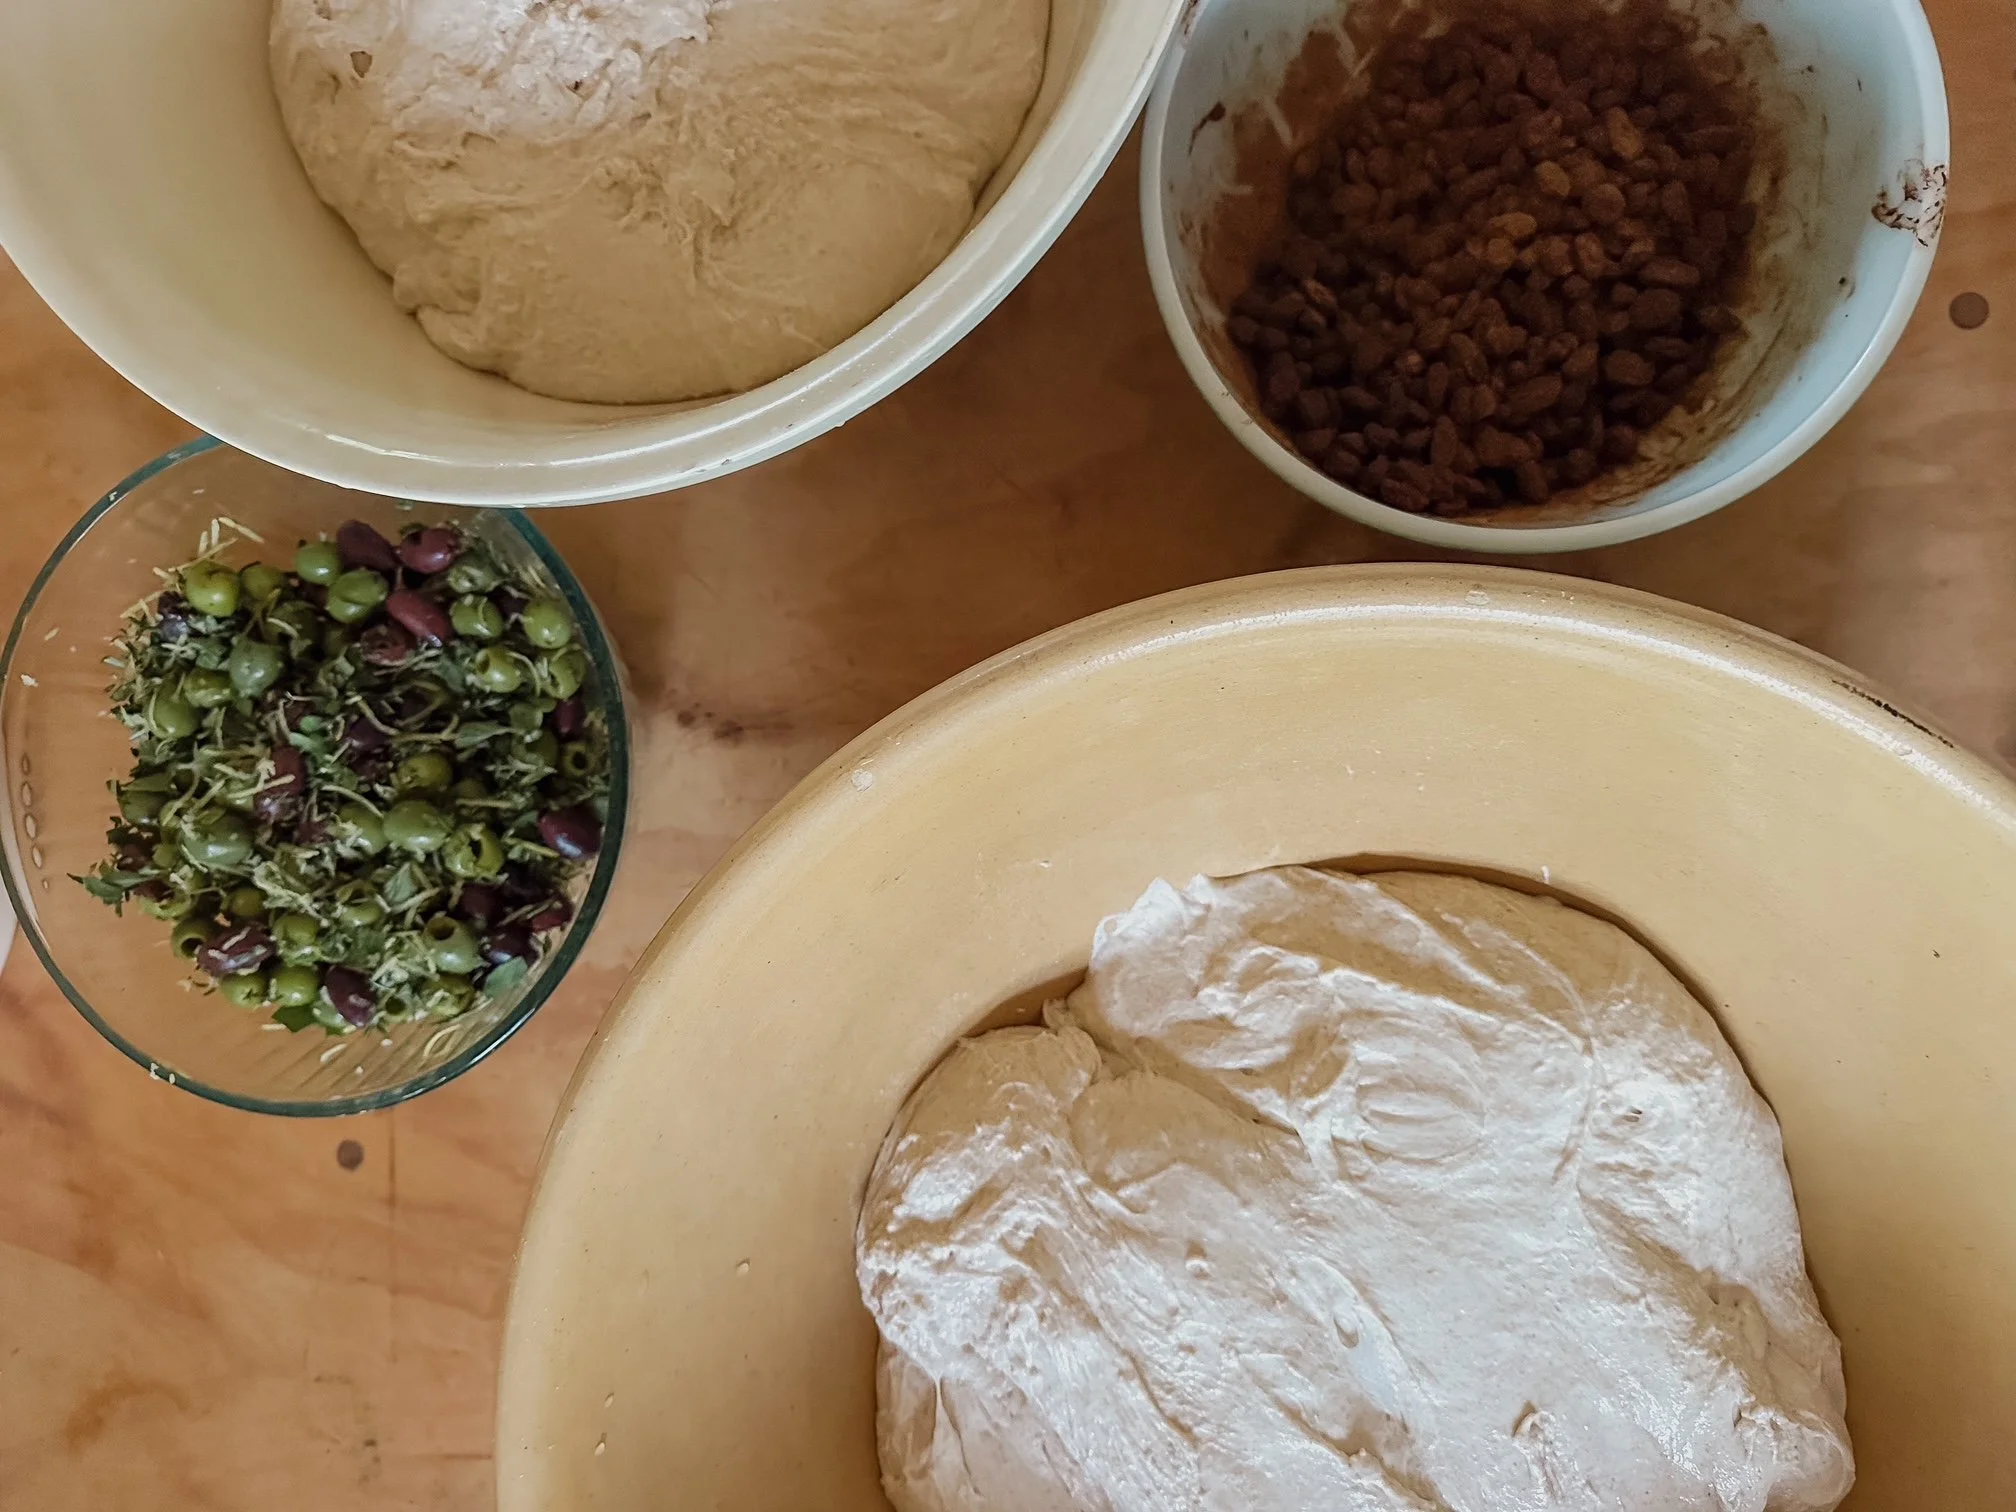
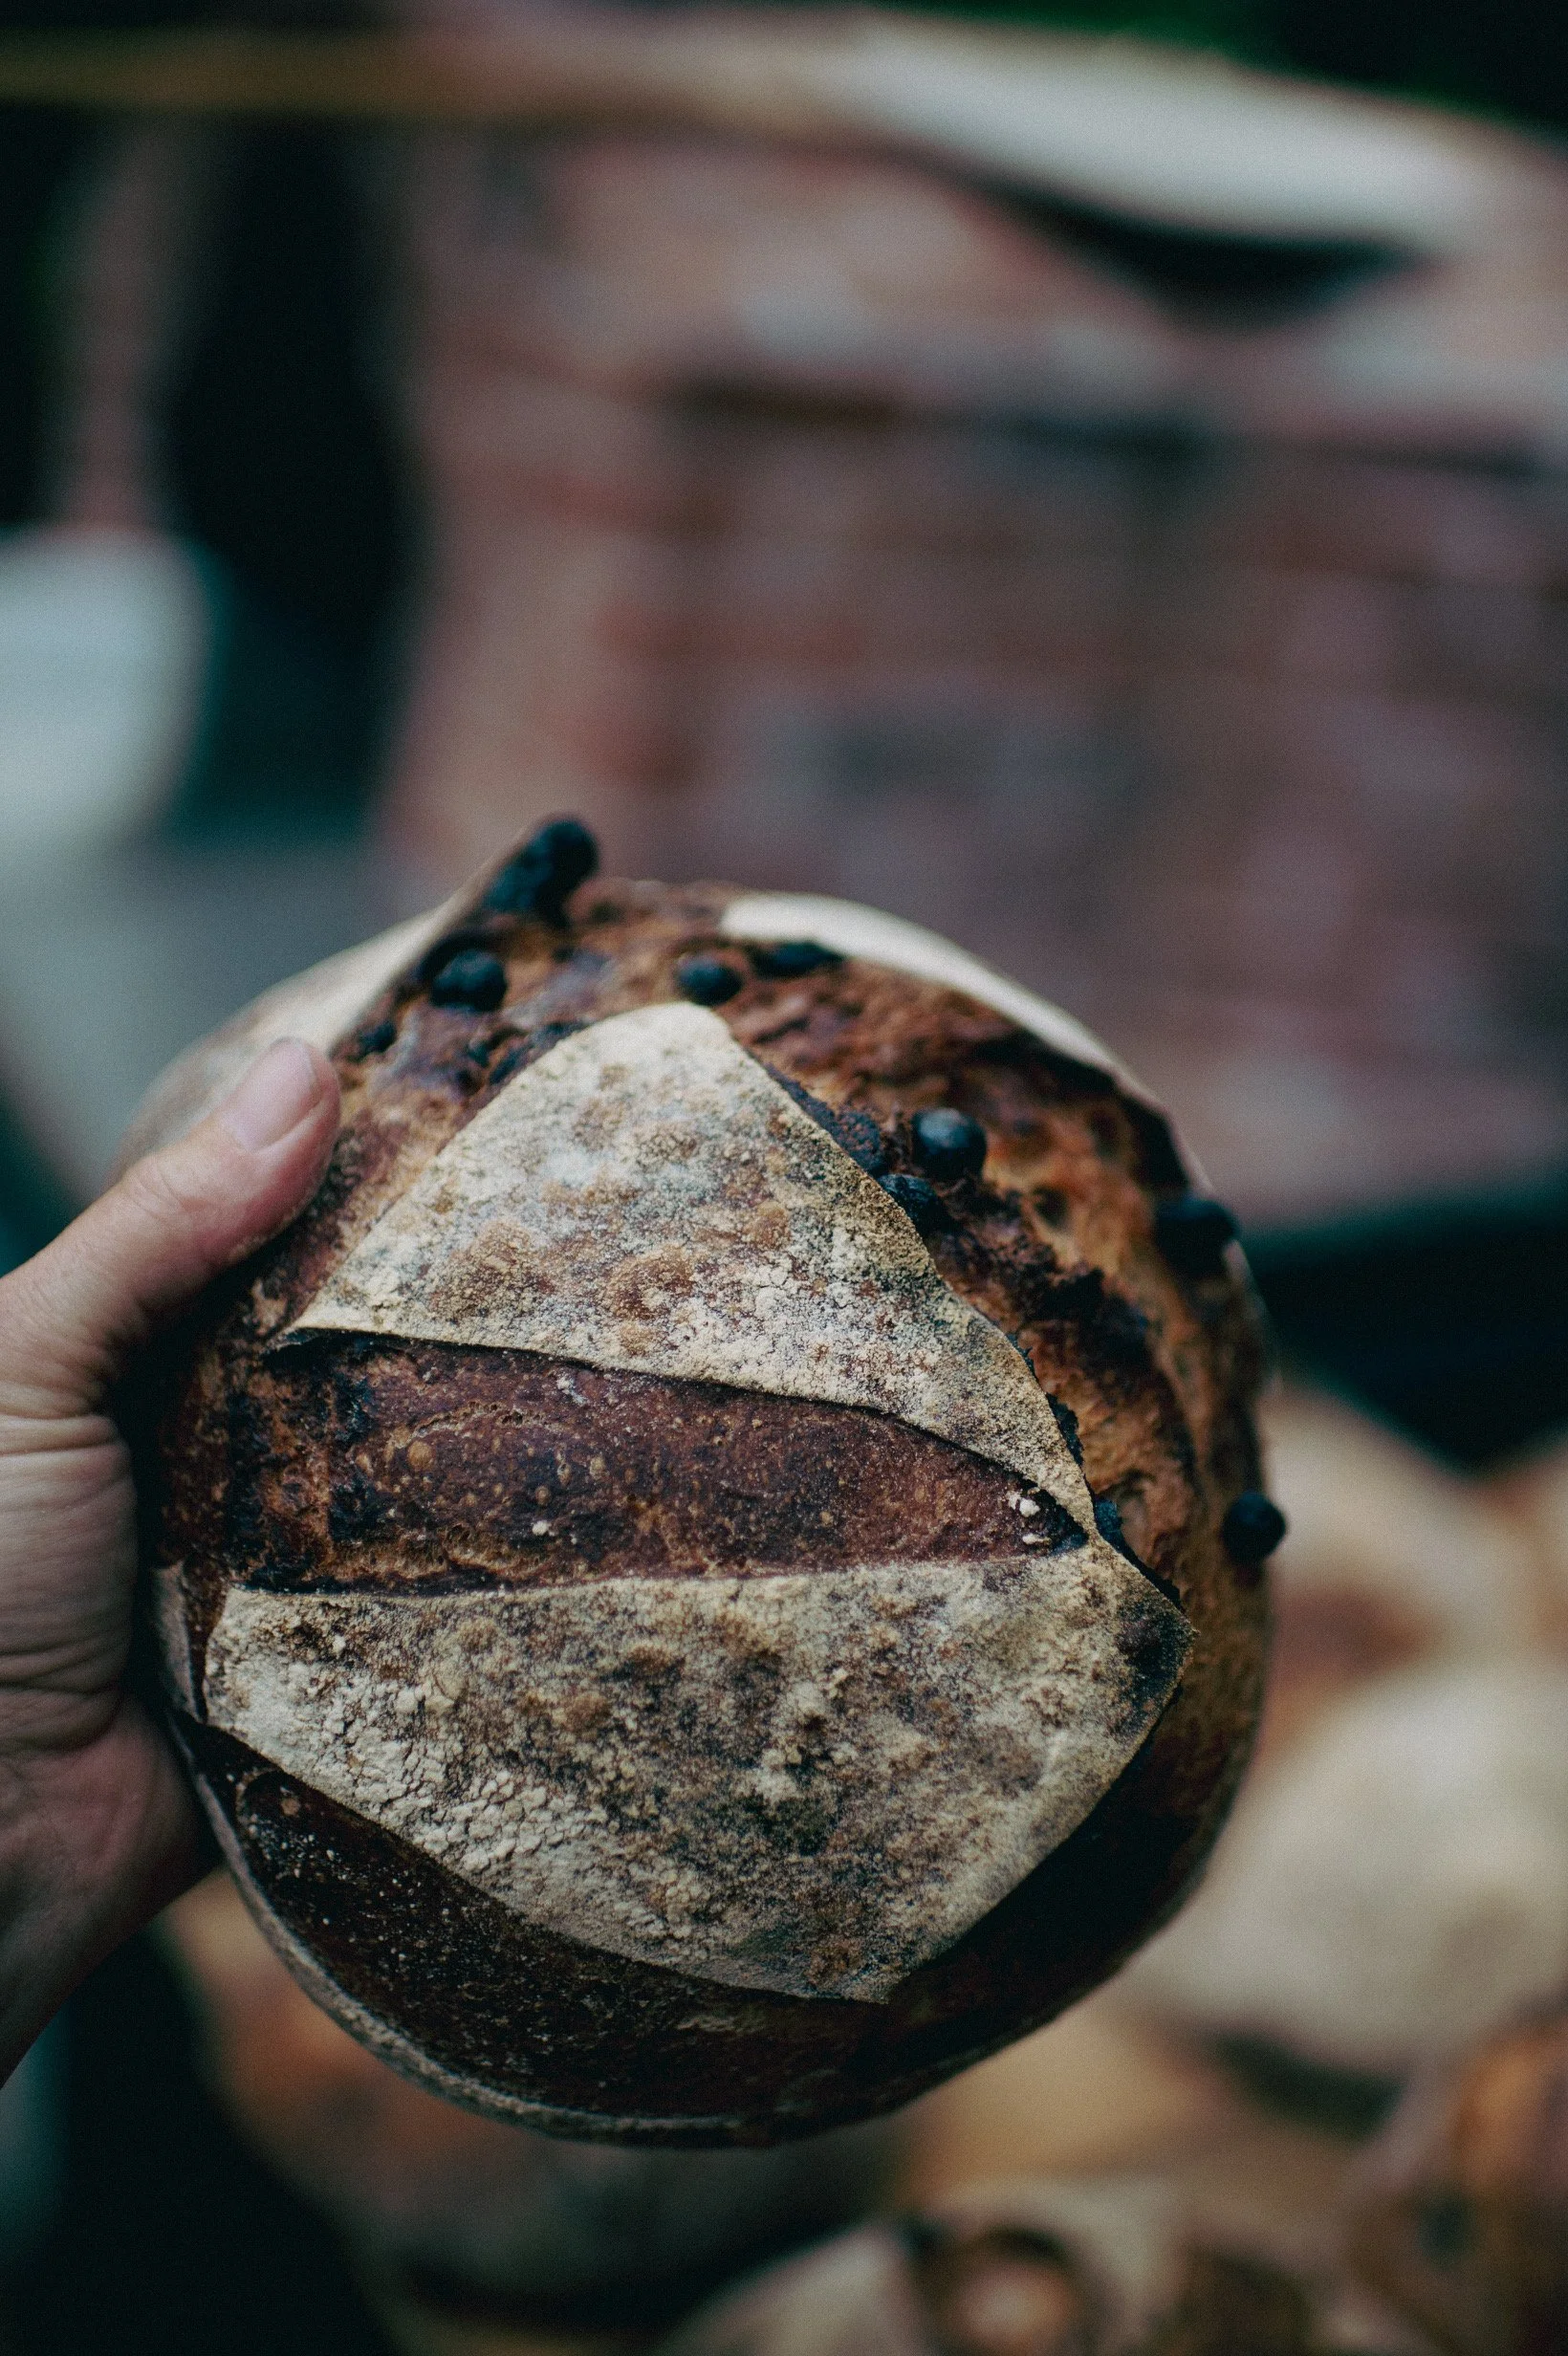
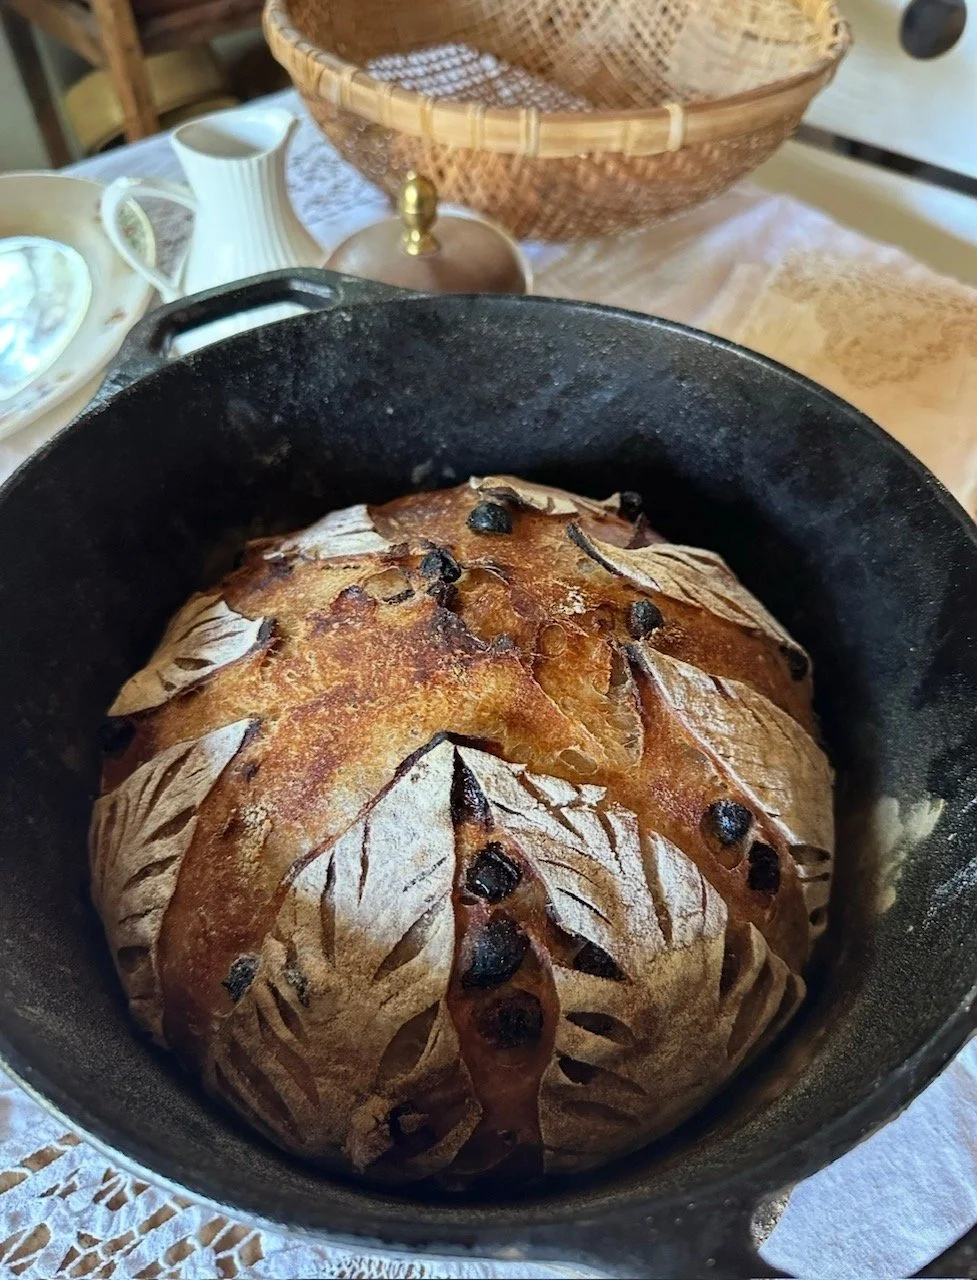
The Cinnamon Raisin Boule is simple. First soak your raisins in water for 20-30 minutes to hydrate and plump them. Strain the water and add cinnamon. Mix, making sure to coat the raisins with the cinnamon. This does not call for sugar like many cinnamon raisin loaves do. This loaf is special because of the balance between the tart sourdough and the sweet raisins. You will mix this into the dough on the third turn as well. You will add it to the dough in portions, folding it in until incorporated.
A reminder: The third turn of the dough refers to the developmental process of the dough. For example: If we mix our dough at 2:00pm, we will autolyse for 30 minutes before we mix in our salt at 2:30. Once the salt is mixed in we call this our first turn. We continue to turn the dough every 30 minutes, for five turns total. This means our first turn with the salt at 2:30, second turn at 3:00, third turn at 3:30, fourth turn at 4:00, fifth turn at 4:30 and then the dough rests for an hour before you begin the shaping process. So your mix in would be the third turn at 3:30.
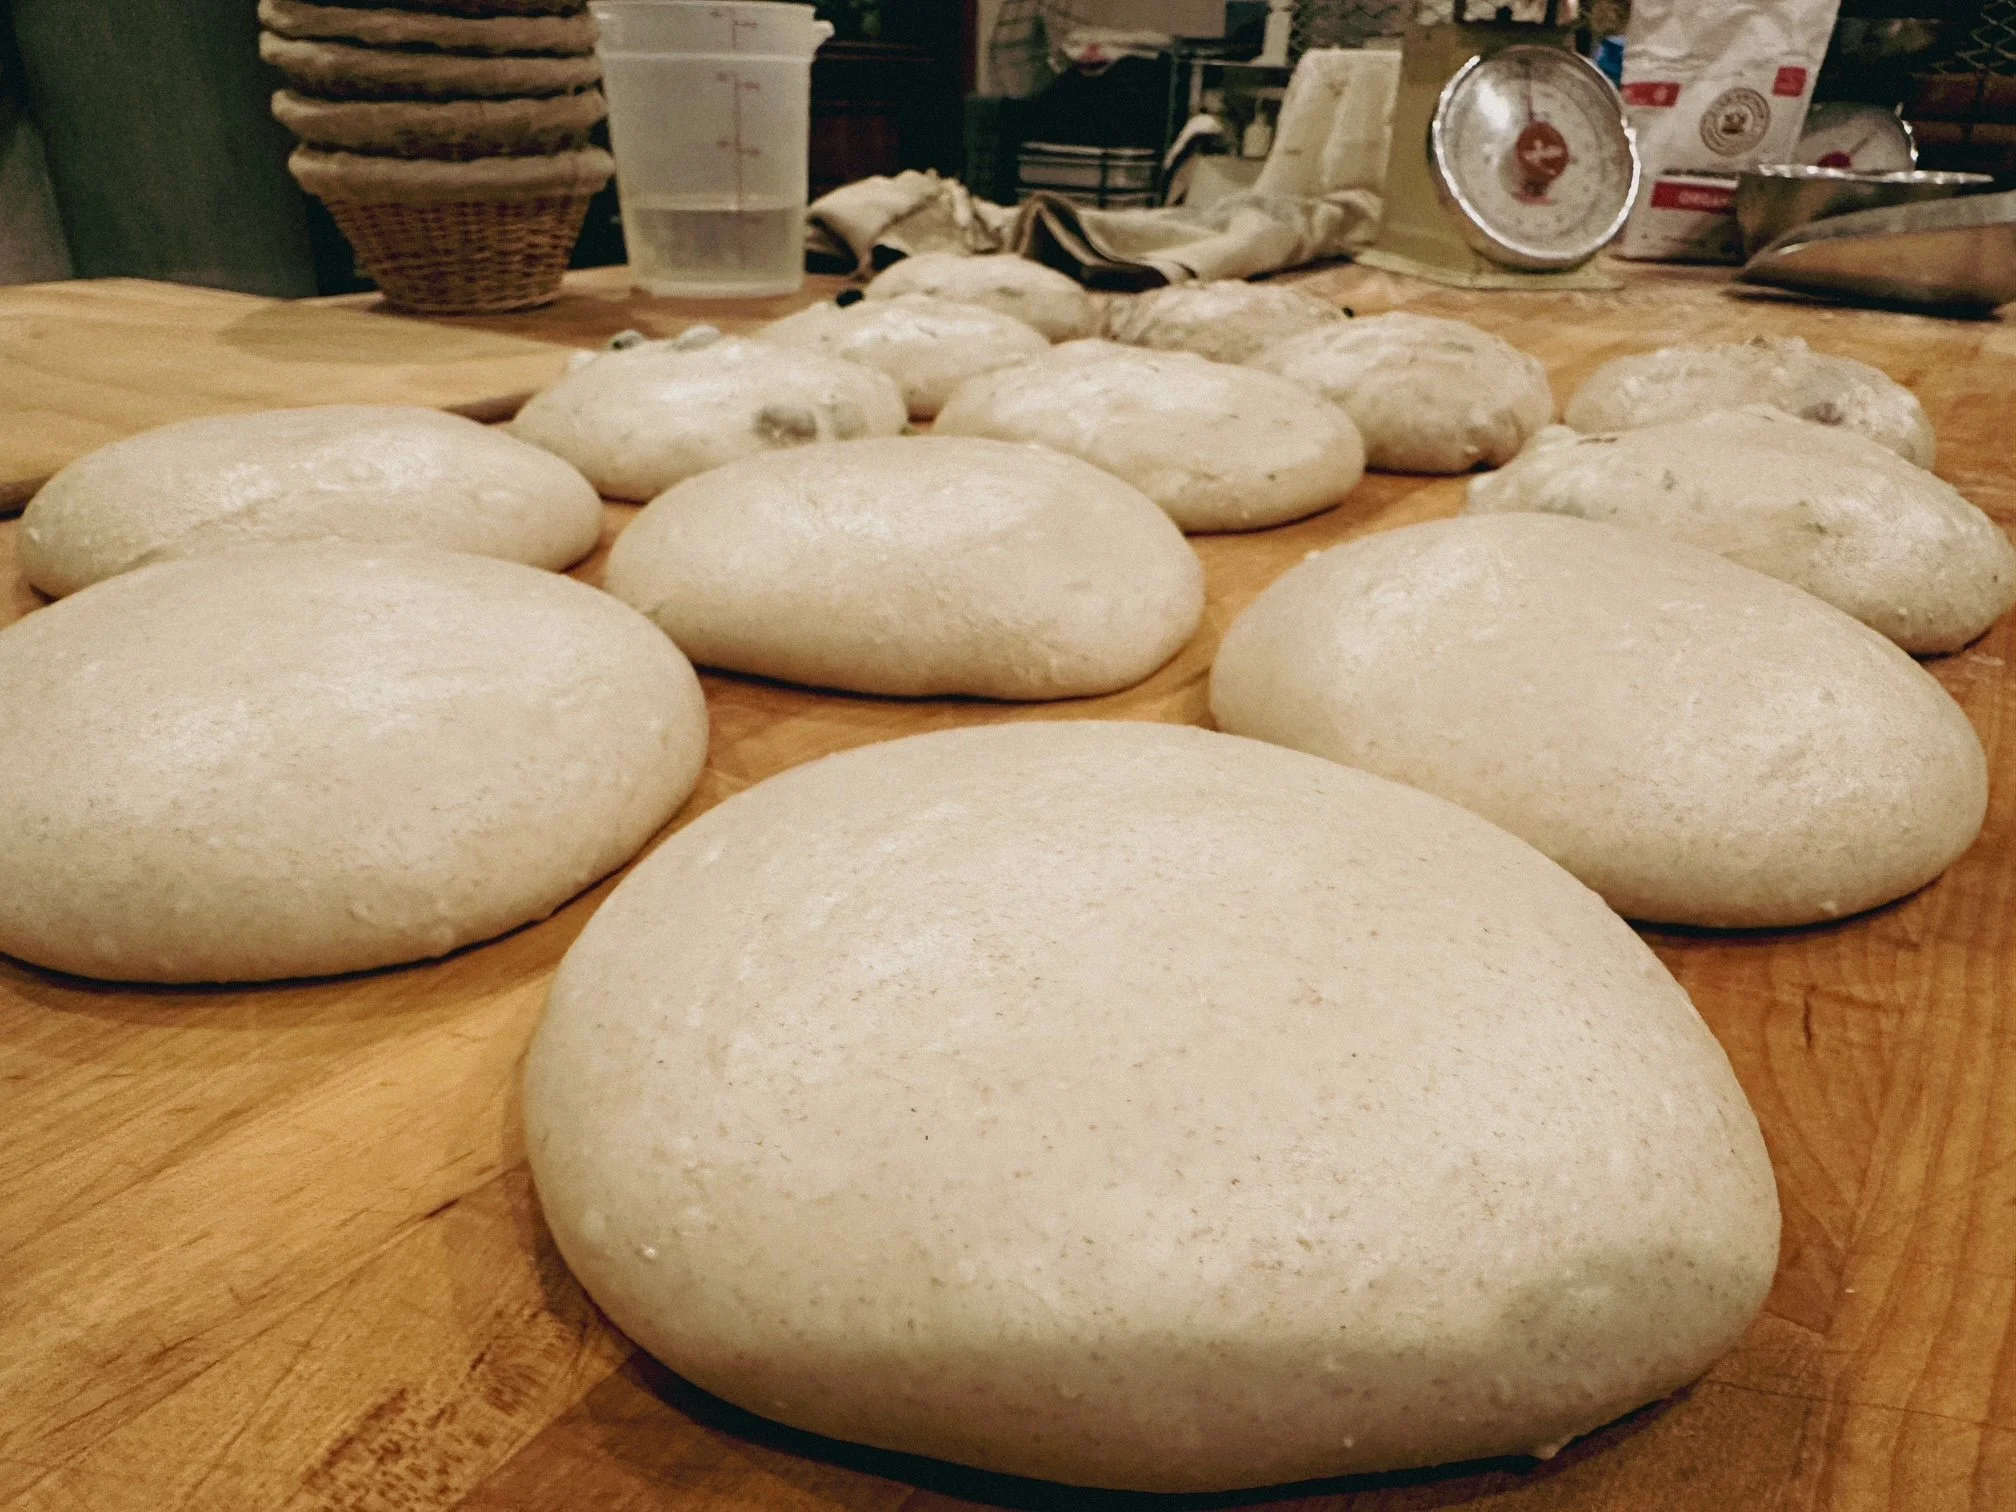
THEN ON TO SHAPING AND RETARDING LOAVES OVERNIGHT FOR A MORNING BAKE
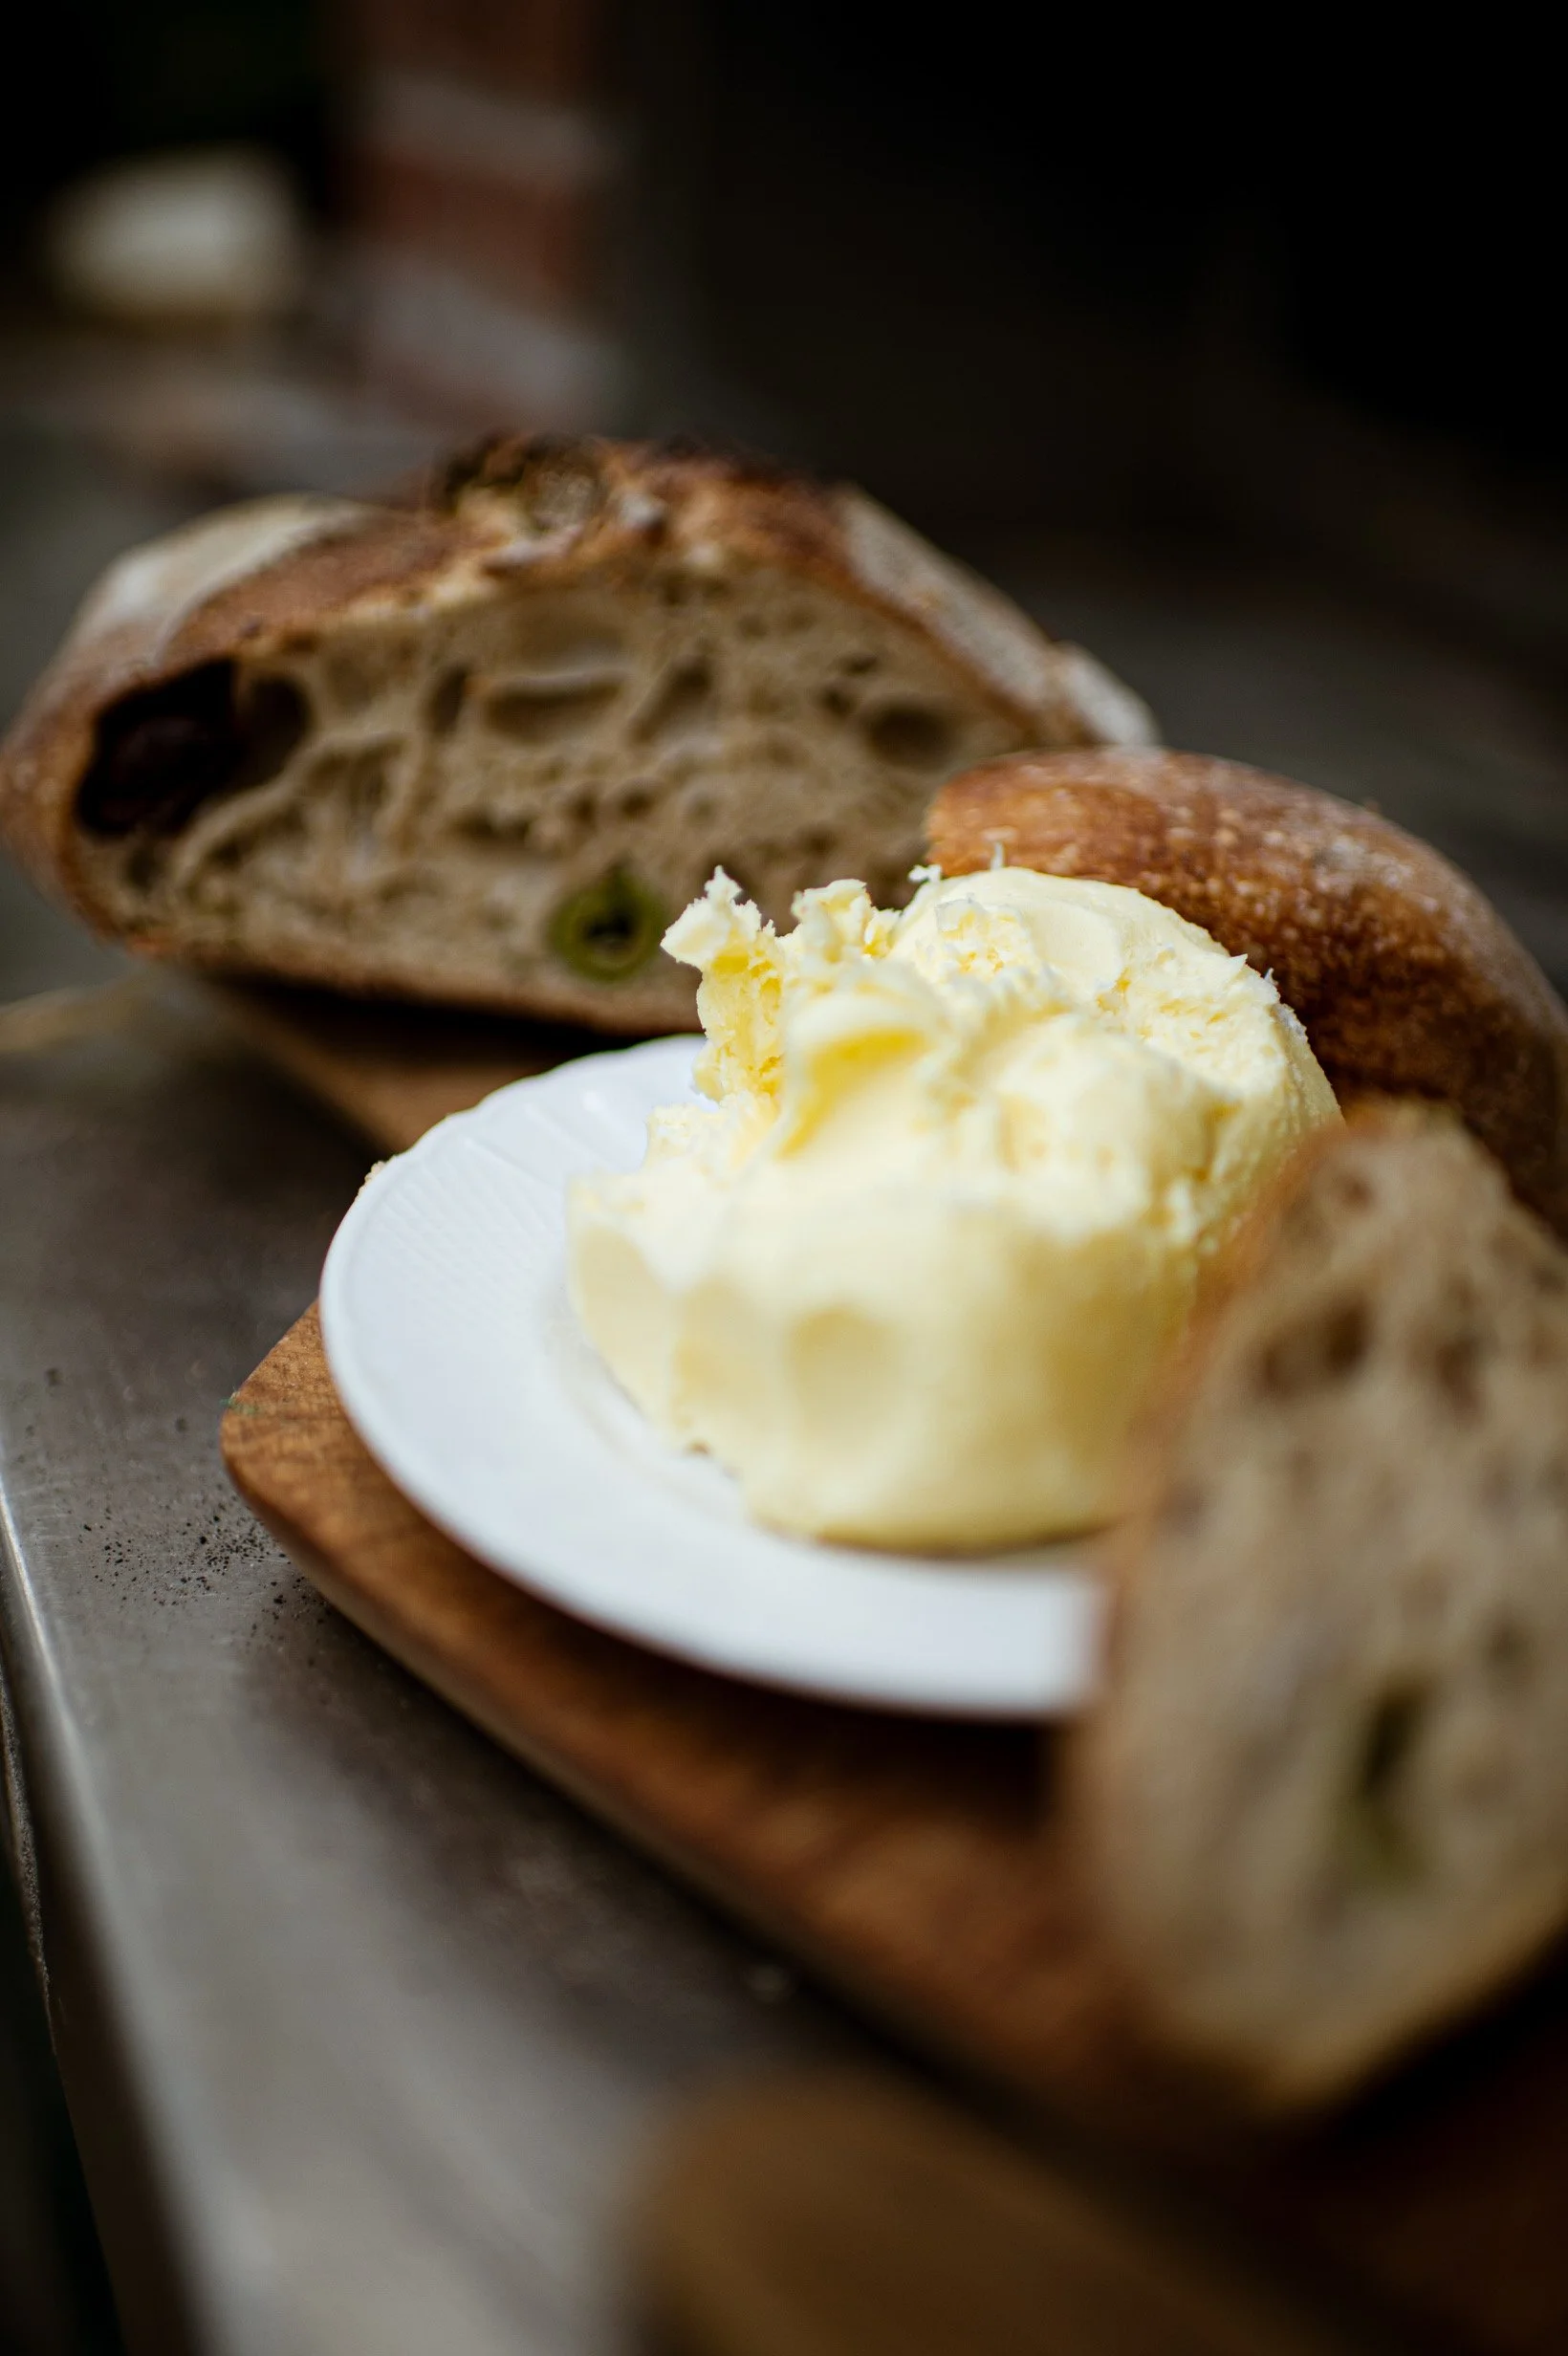
MAKING BUTTER
〰️
MAKING BUTTER 〰️
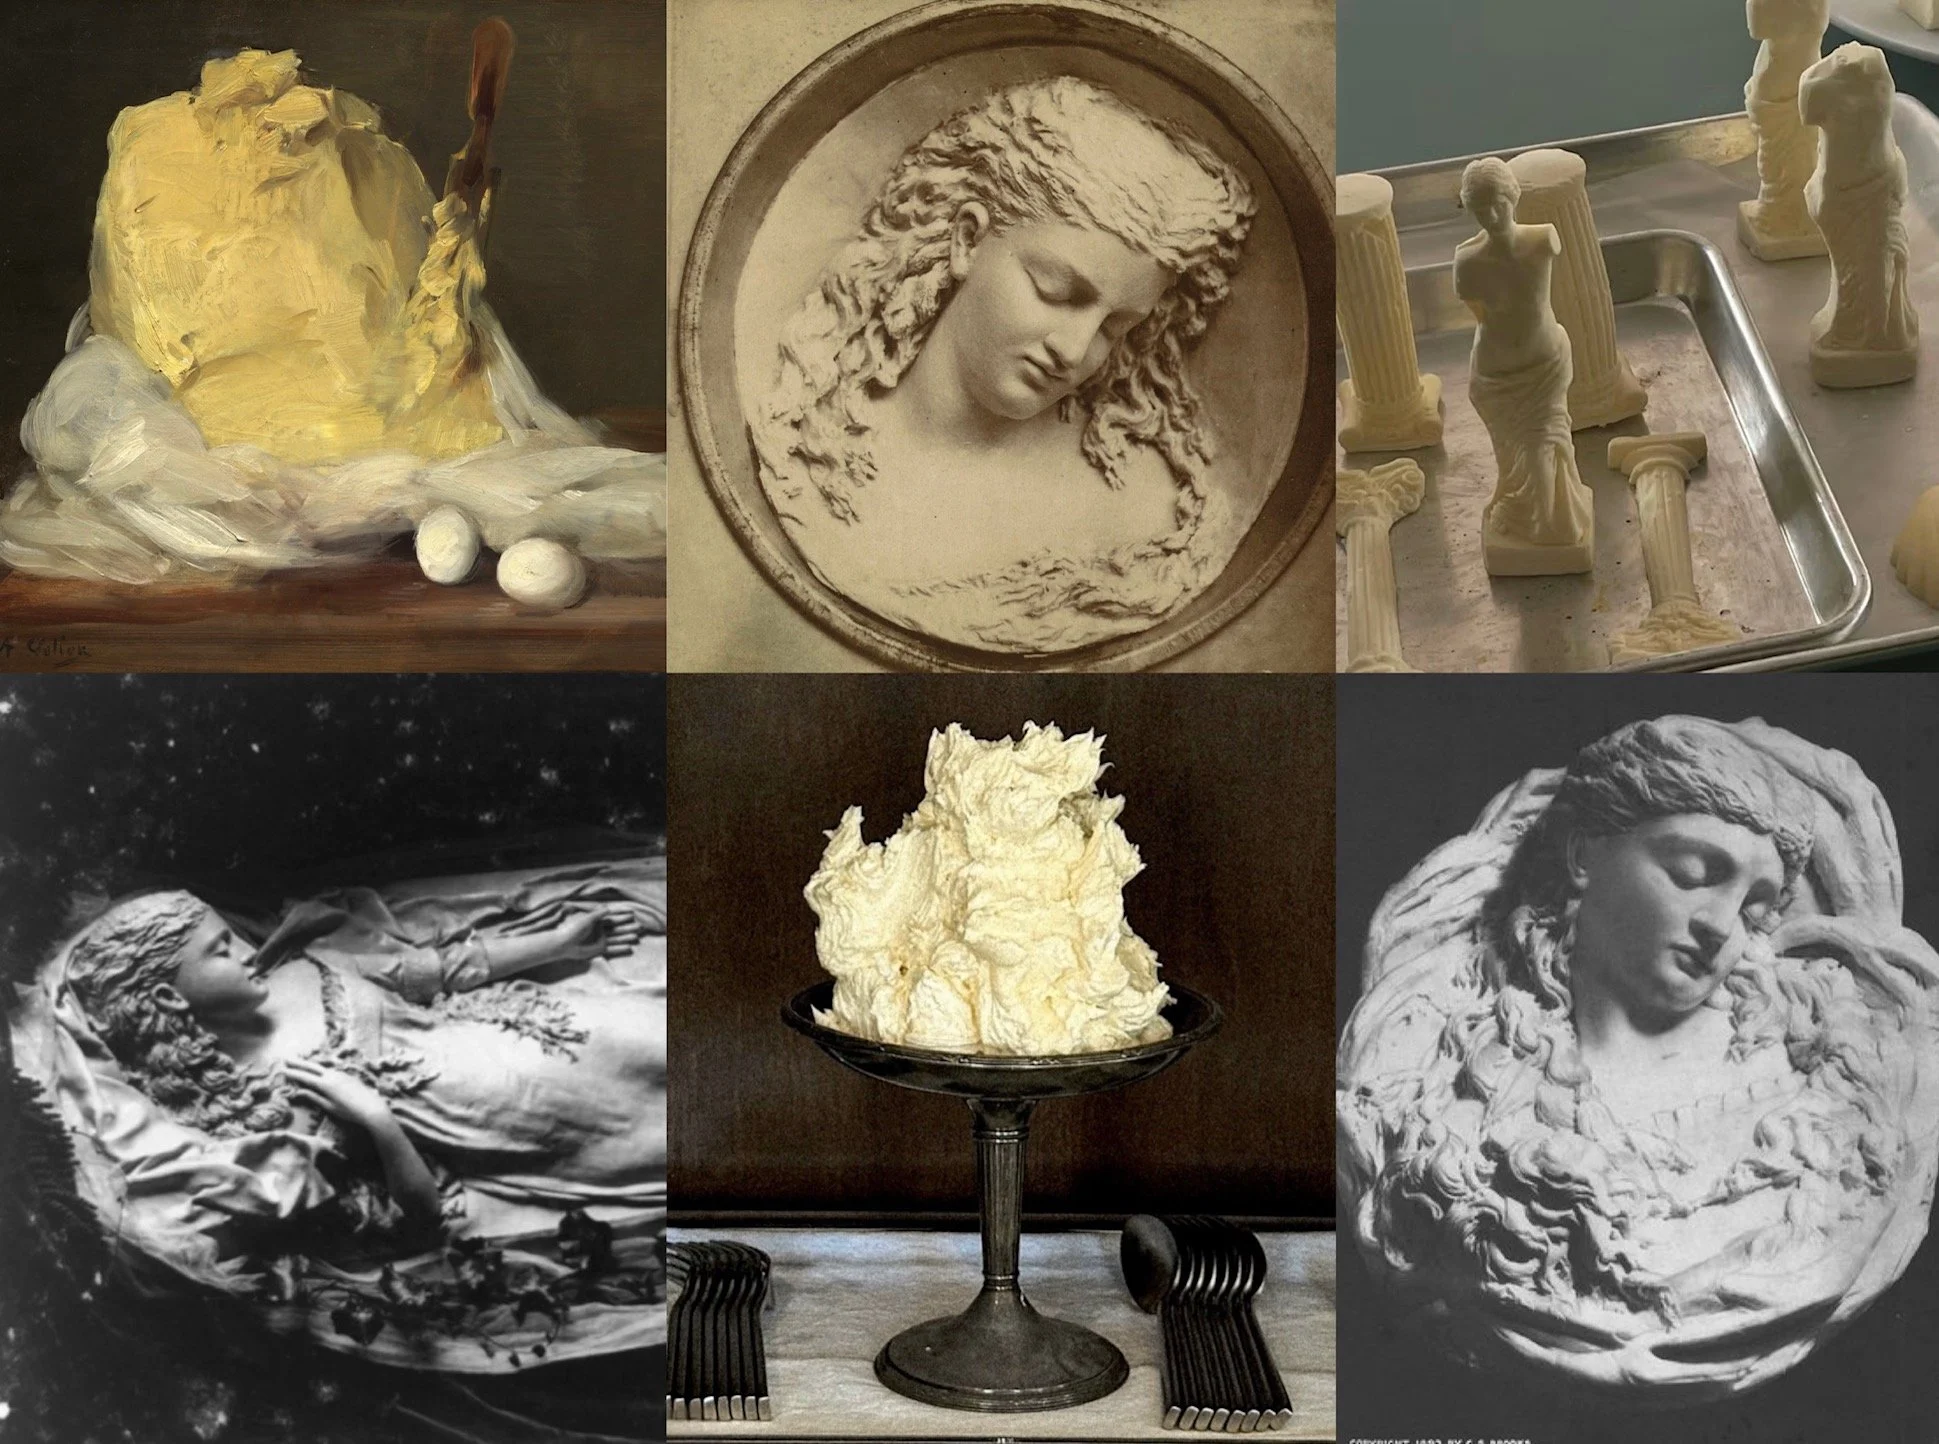
butter molds by artist Caroline Shawk Brooks
Butter was accidentally discovered on the back of a donkey, maybe a mule, on an animal of transportation. It is dated back to around 8000 B.C. with a nomadic people in Neolithic Africa. They would transport the milk in animal skins most likely on the back of an animal. During the trip, the milk would shake and the cream would separate into butter.
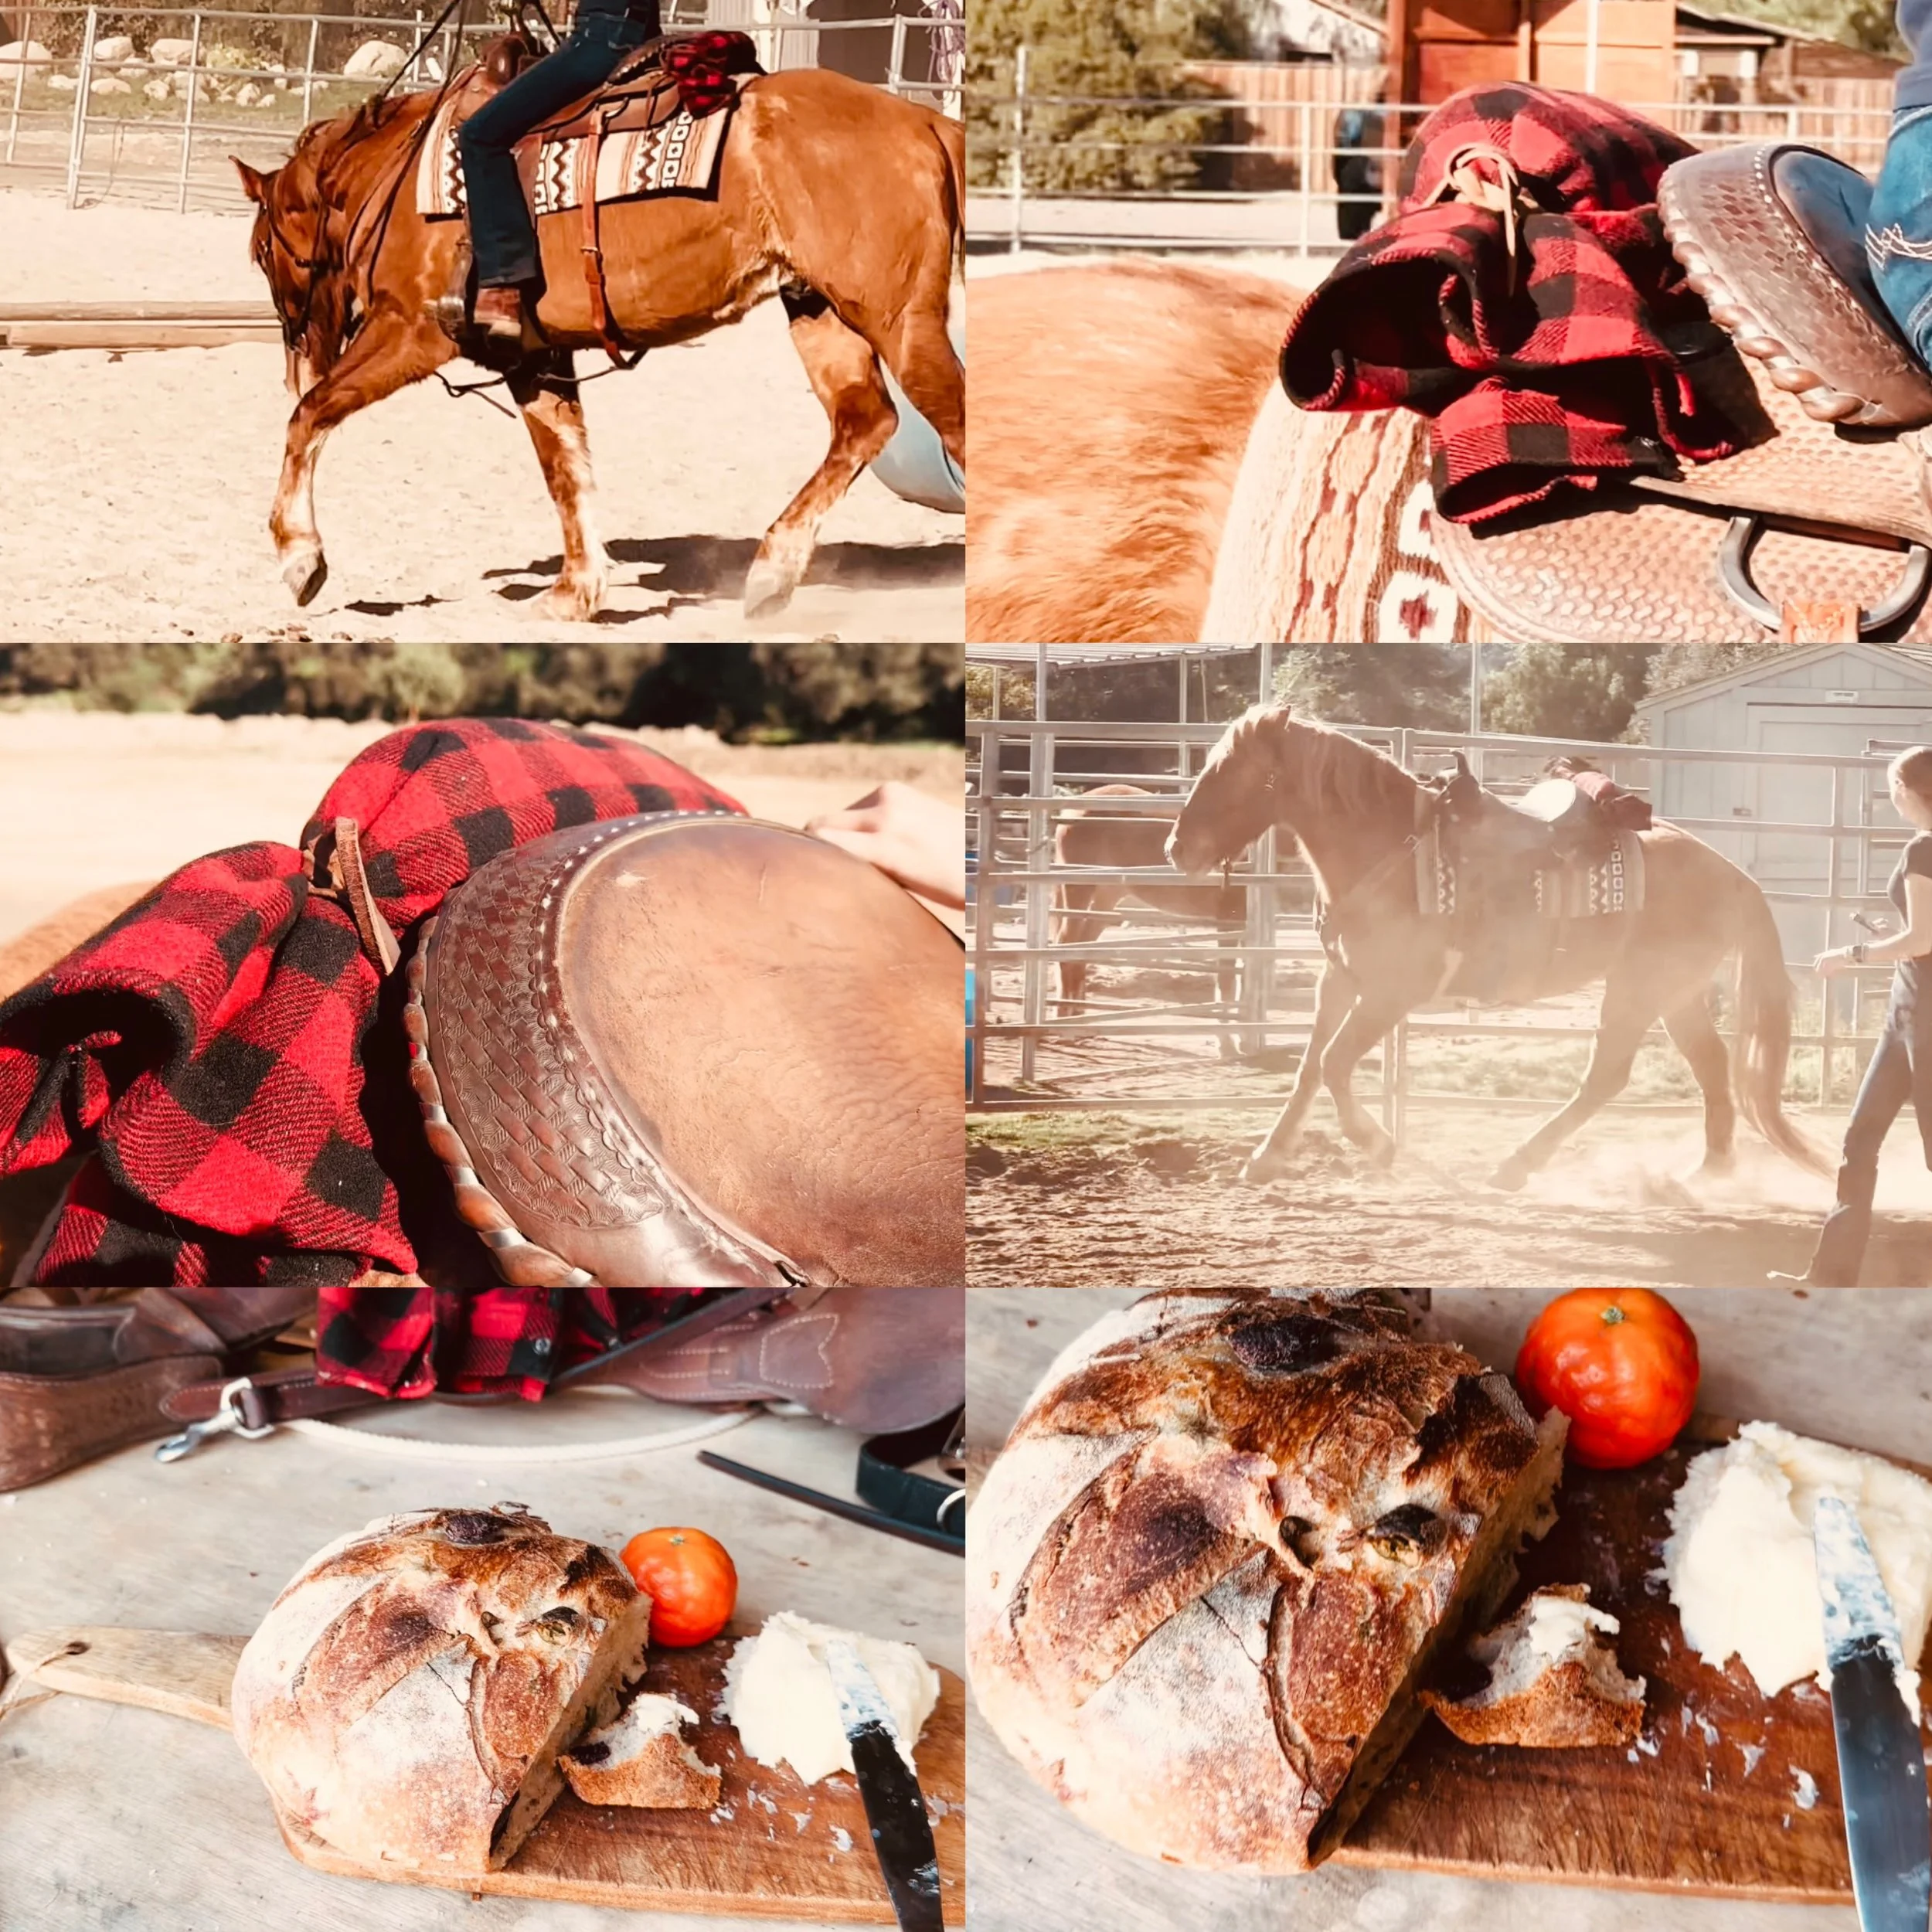
To make our butter we will do the same: shake the cream until it separates. First we will attempt it in the kitchen mixer. Then we will try it on the horse.
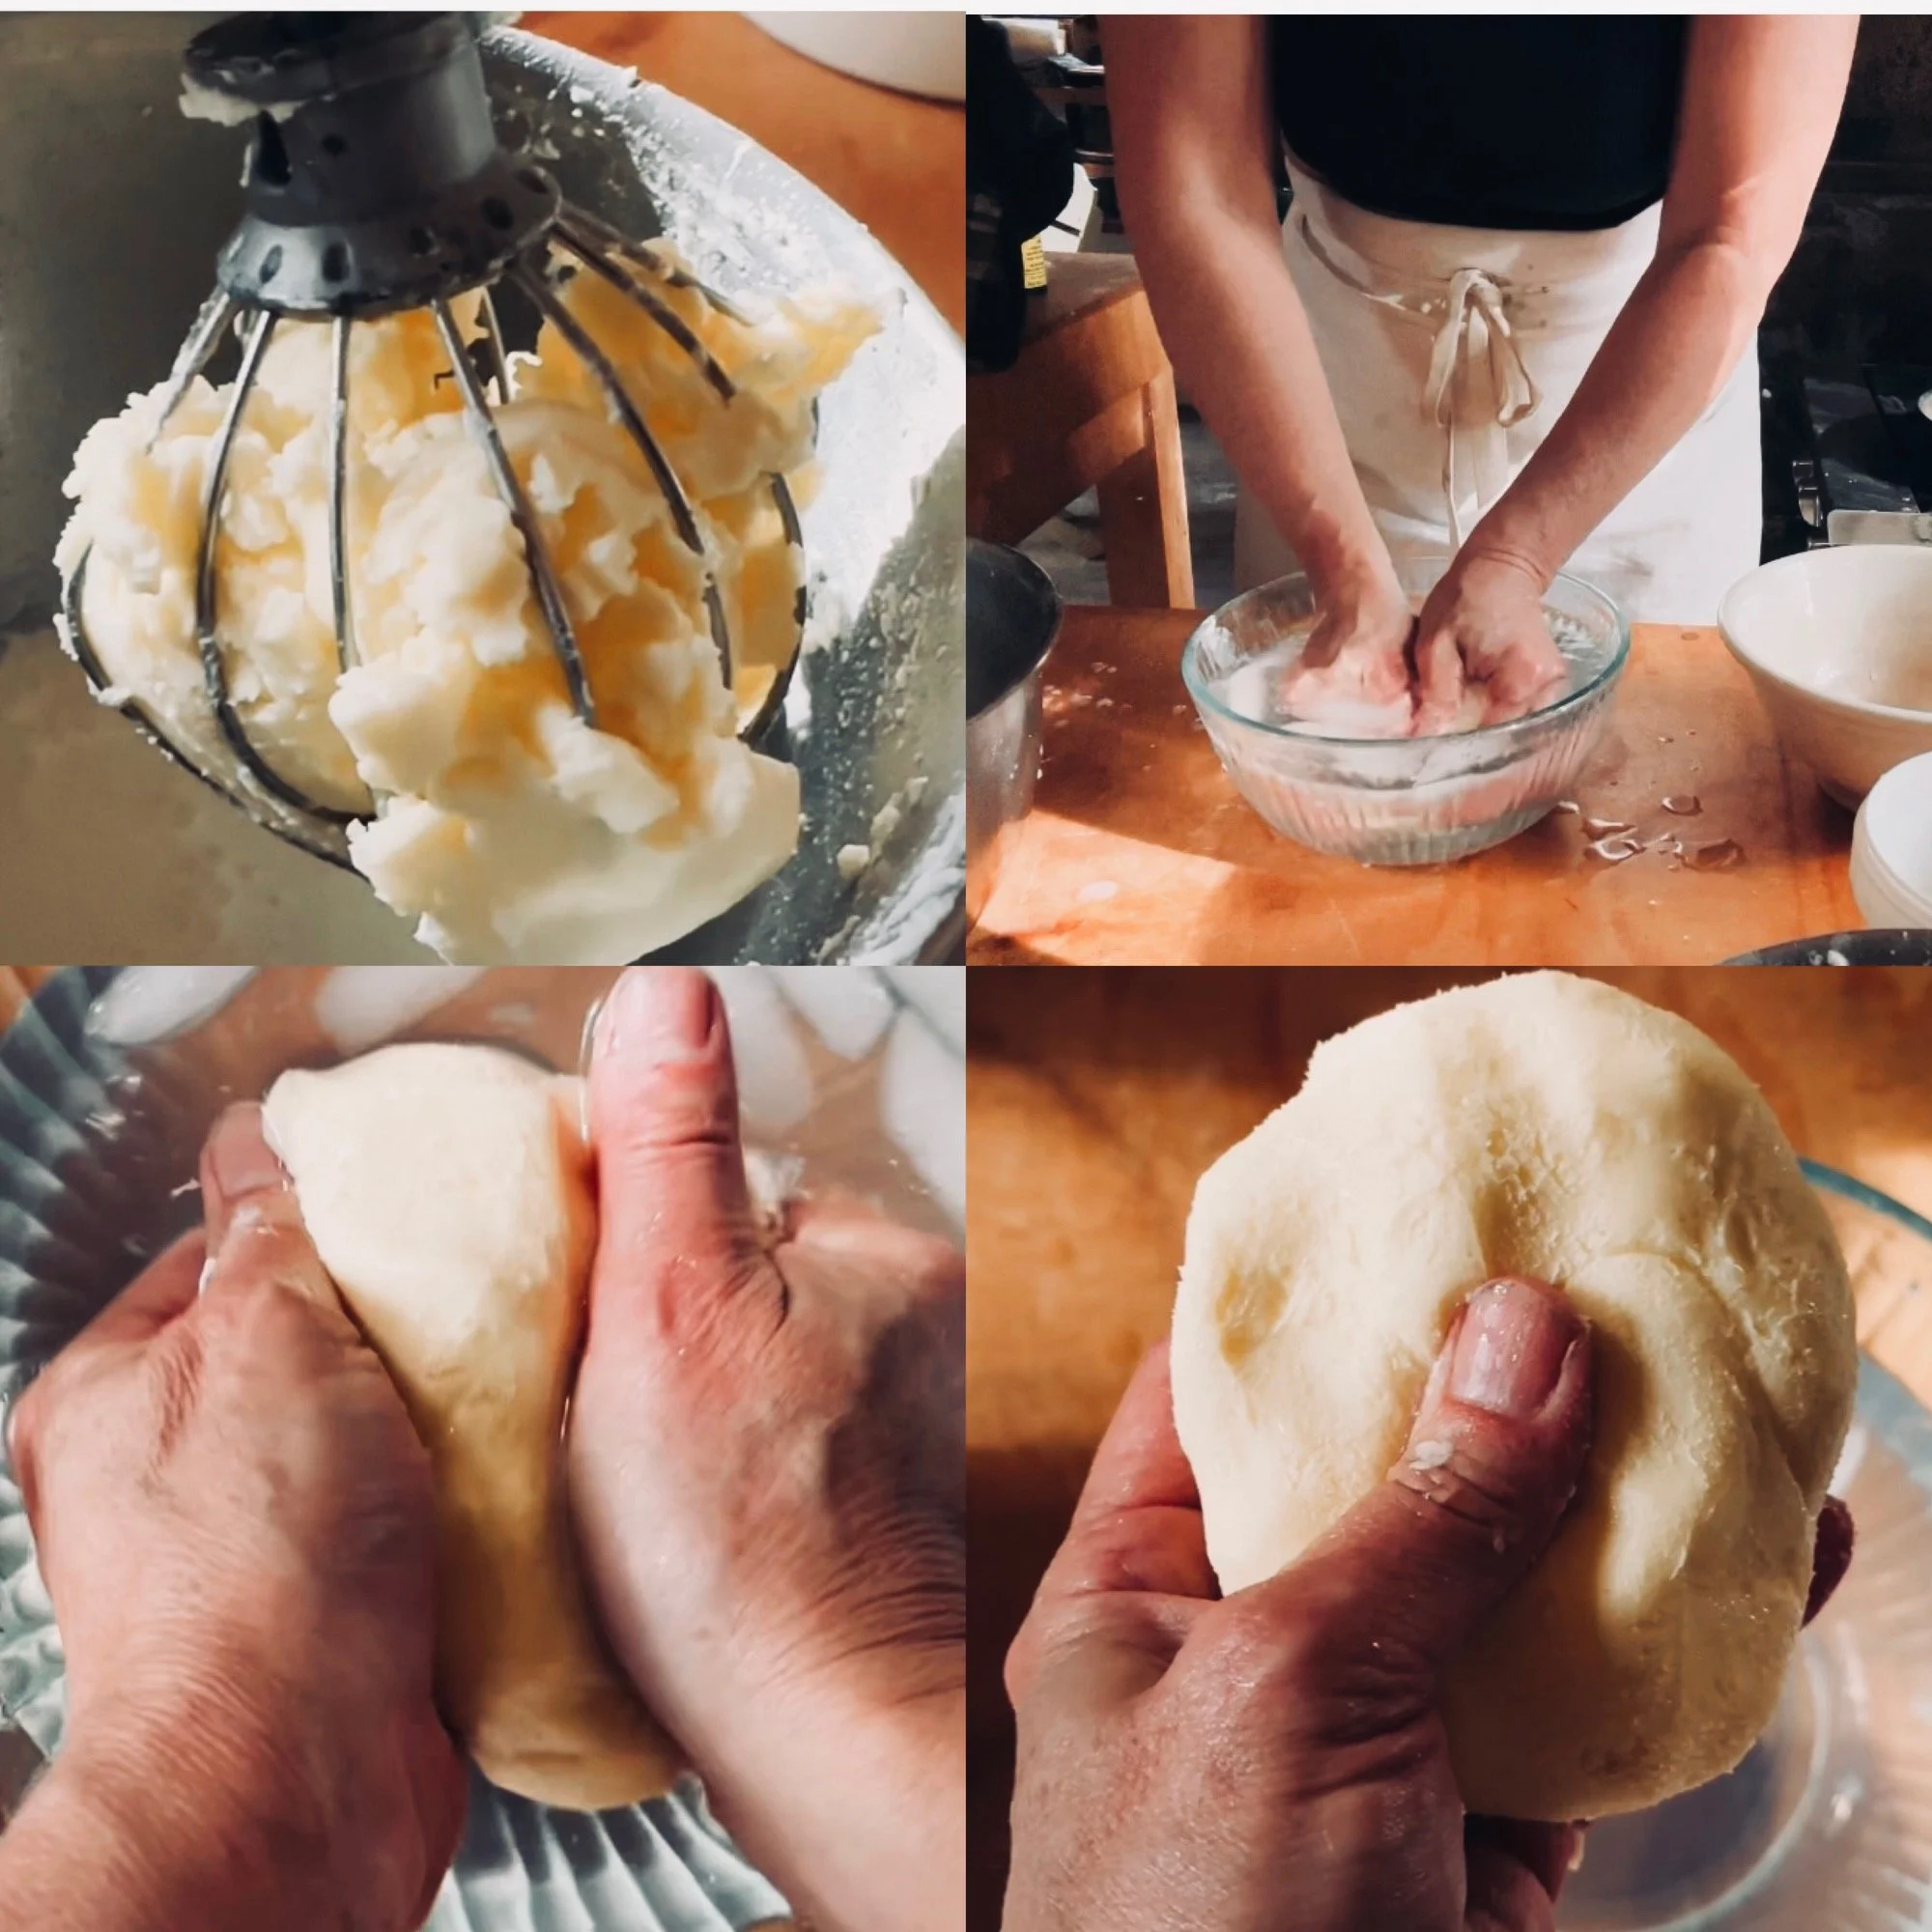
This is a very simple recipe and process. TWO CUPS HEAVY CREAM. Mix until the cream separates into a liquid and a solid: butter and buttermilk. Remove the butter from the milk. In a bowl of ice cold water, squeeze the butter to get out the rest of the butter milk. Do this until the water run clear. Place butter in a bowl and knead in salt if you so wish. Your butter is done.
I CAN’T BELIEVE IT’S BUTTER: A FUN LITTLE EXPERIMENT
Some of you may already know that we adopted a wild mustang in July. Frances decided she wanted to train a wild horse and so we welcomed Apollo into our lives and he has been an amazing little spirit. We decided to attempt the old school method of making butter and strapped a water bottle of cream to the back of his saddle one day while Frances exercised him. No one had much faith in the experiment but it did not deter me from giving it a try. Below is a short film of the experience.